How I Made My Home Smarter and More Secure with Google Nest Home Security Products

Hey Google, can you help me out here?
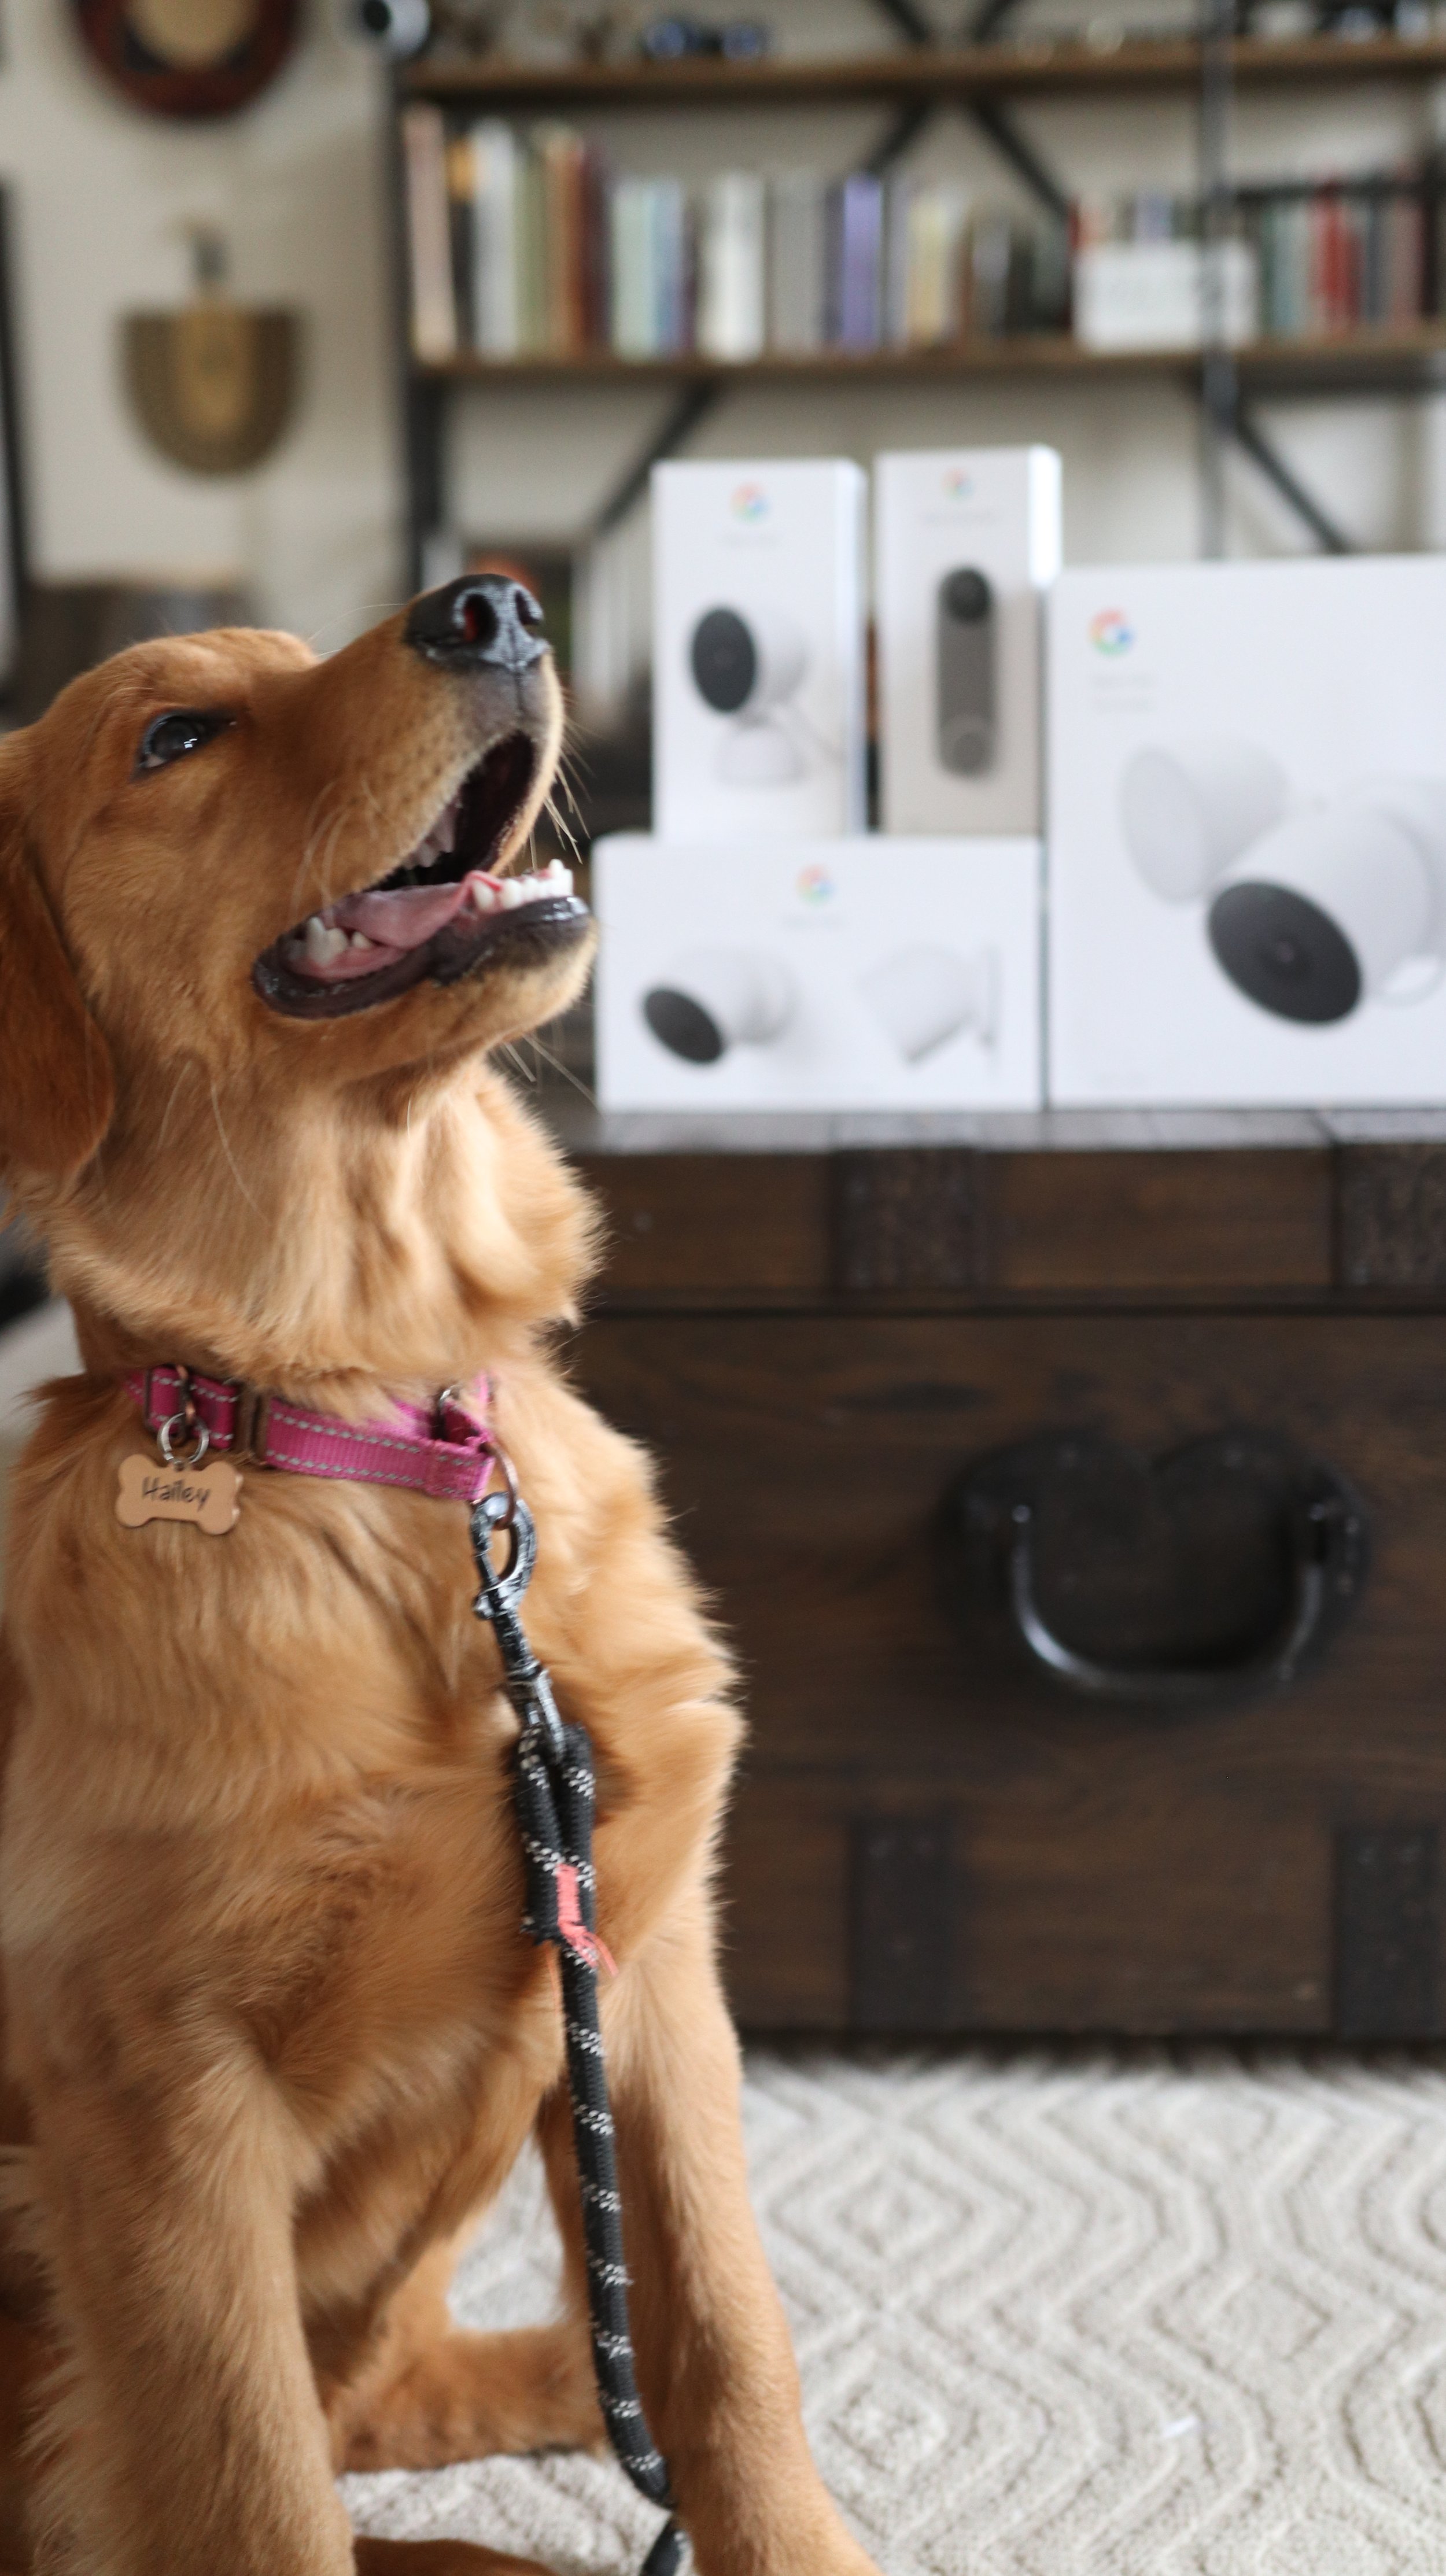
It’s so hard for me to imagine what my family’s life was like before “Hey Google…” became the most popular phrase in our house thanks to our Google Nest devices. These days, however, “Hey Google…” is running a closed second to “Hailey, where are you?!” thanks to our adorable new Golden Retriever puppy, Hailey, who just turned six months old.
Once I became a dog mom, I discovered that it’s more important than ever to have a clear picture of what’s going on in and around the house at all times. I found the perfect 24/7 solution to make our home smarter and more secure with the Google Nest Home Security products.

Not only was each product very easy to install, but the built-in intelligent alerts, 24/7 access from anywhere with the Google Home app, including 3 hours of free event history, and integration with my existing Google Nest devices were all serious game-changers for me.

Here’s how we use the Google Nest Doorbell (battery), Google Nest Cam (battery) Google Nest Cam Indoor (wired), and Google Nest Cam with Floodlight in our home:
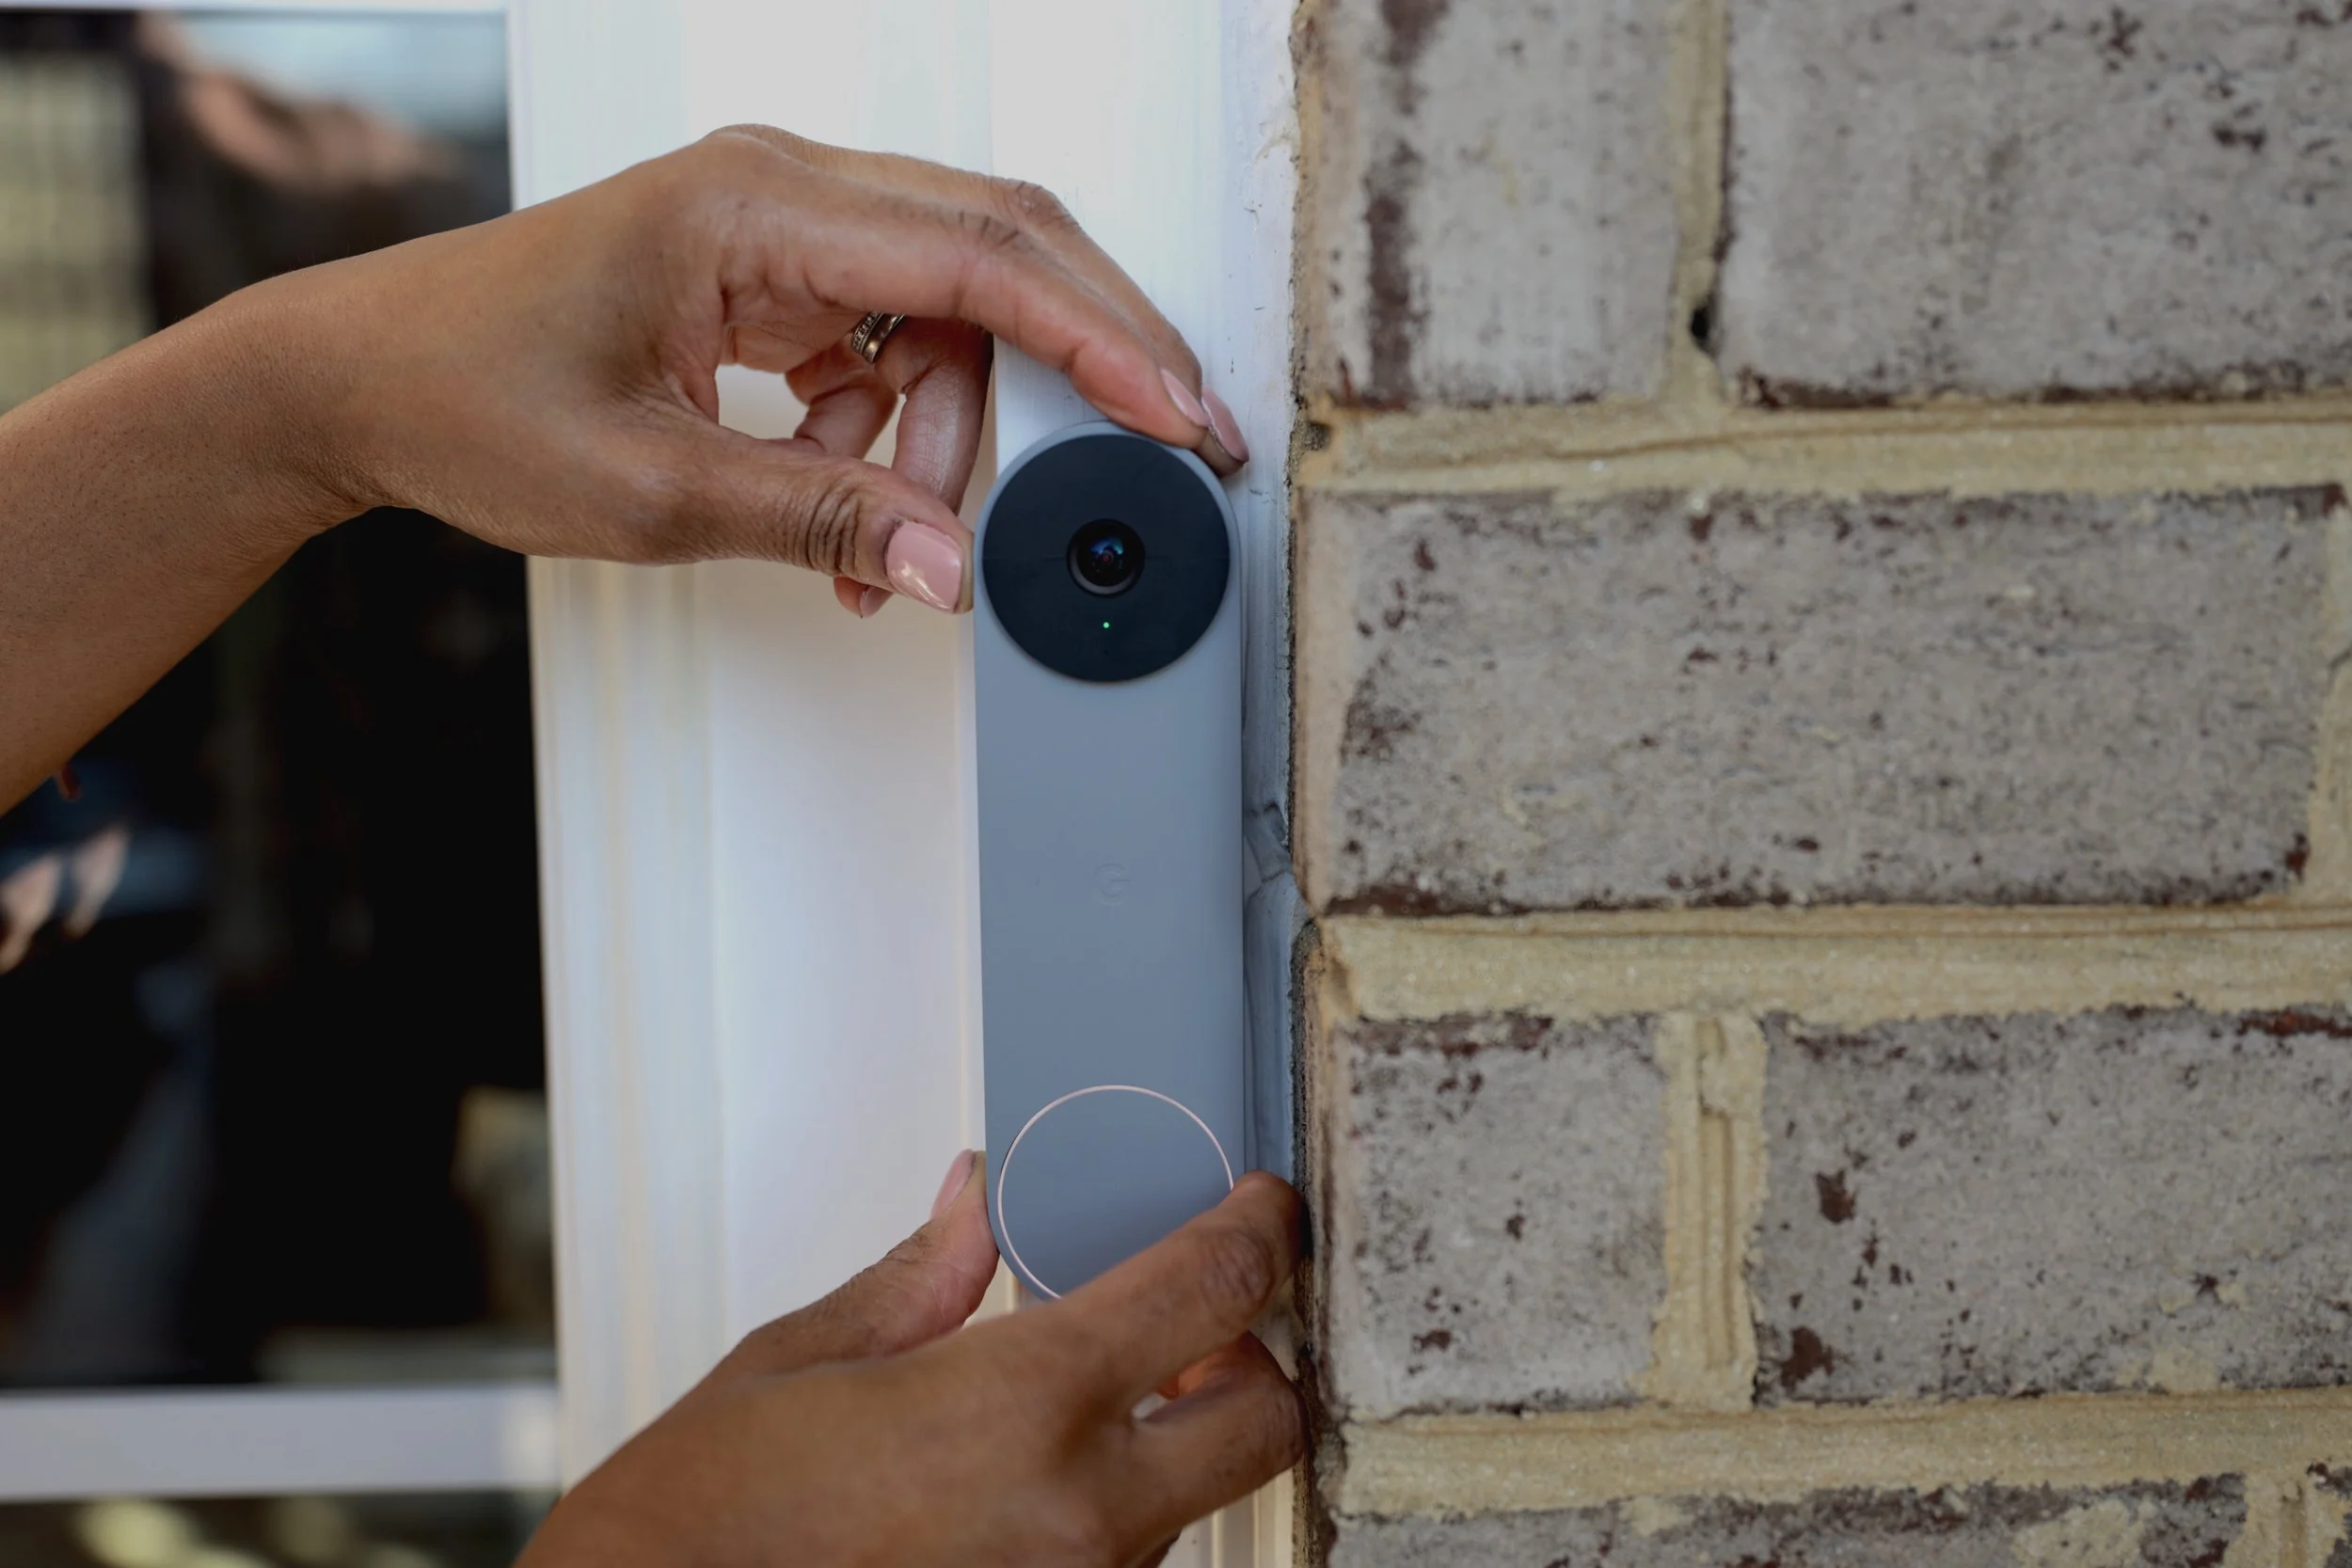
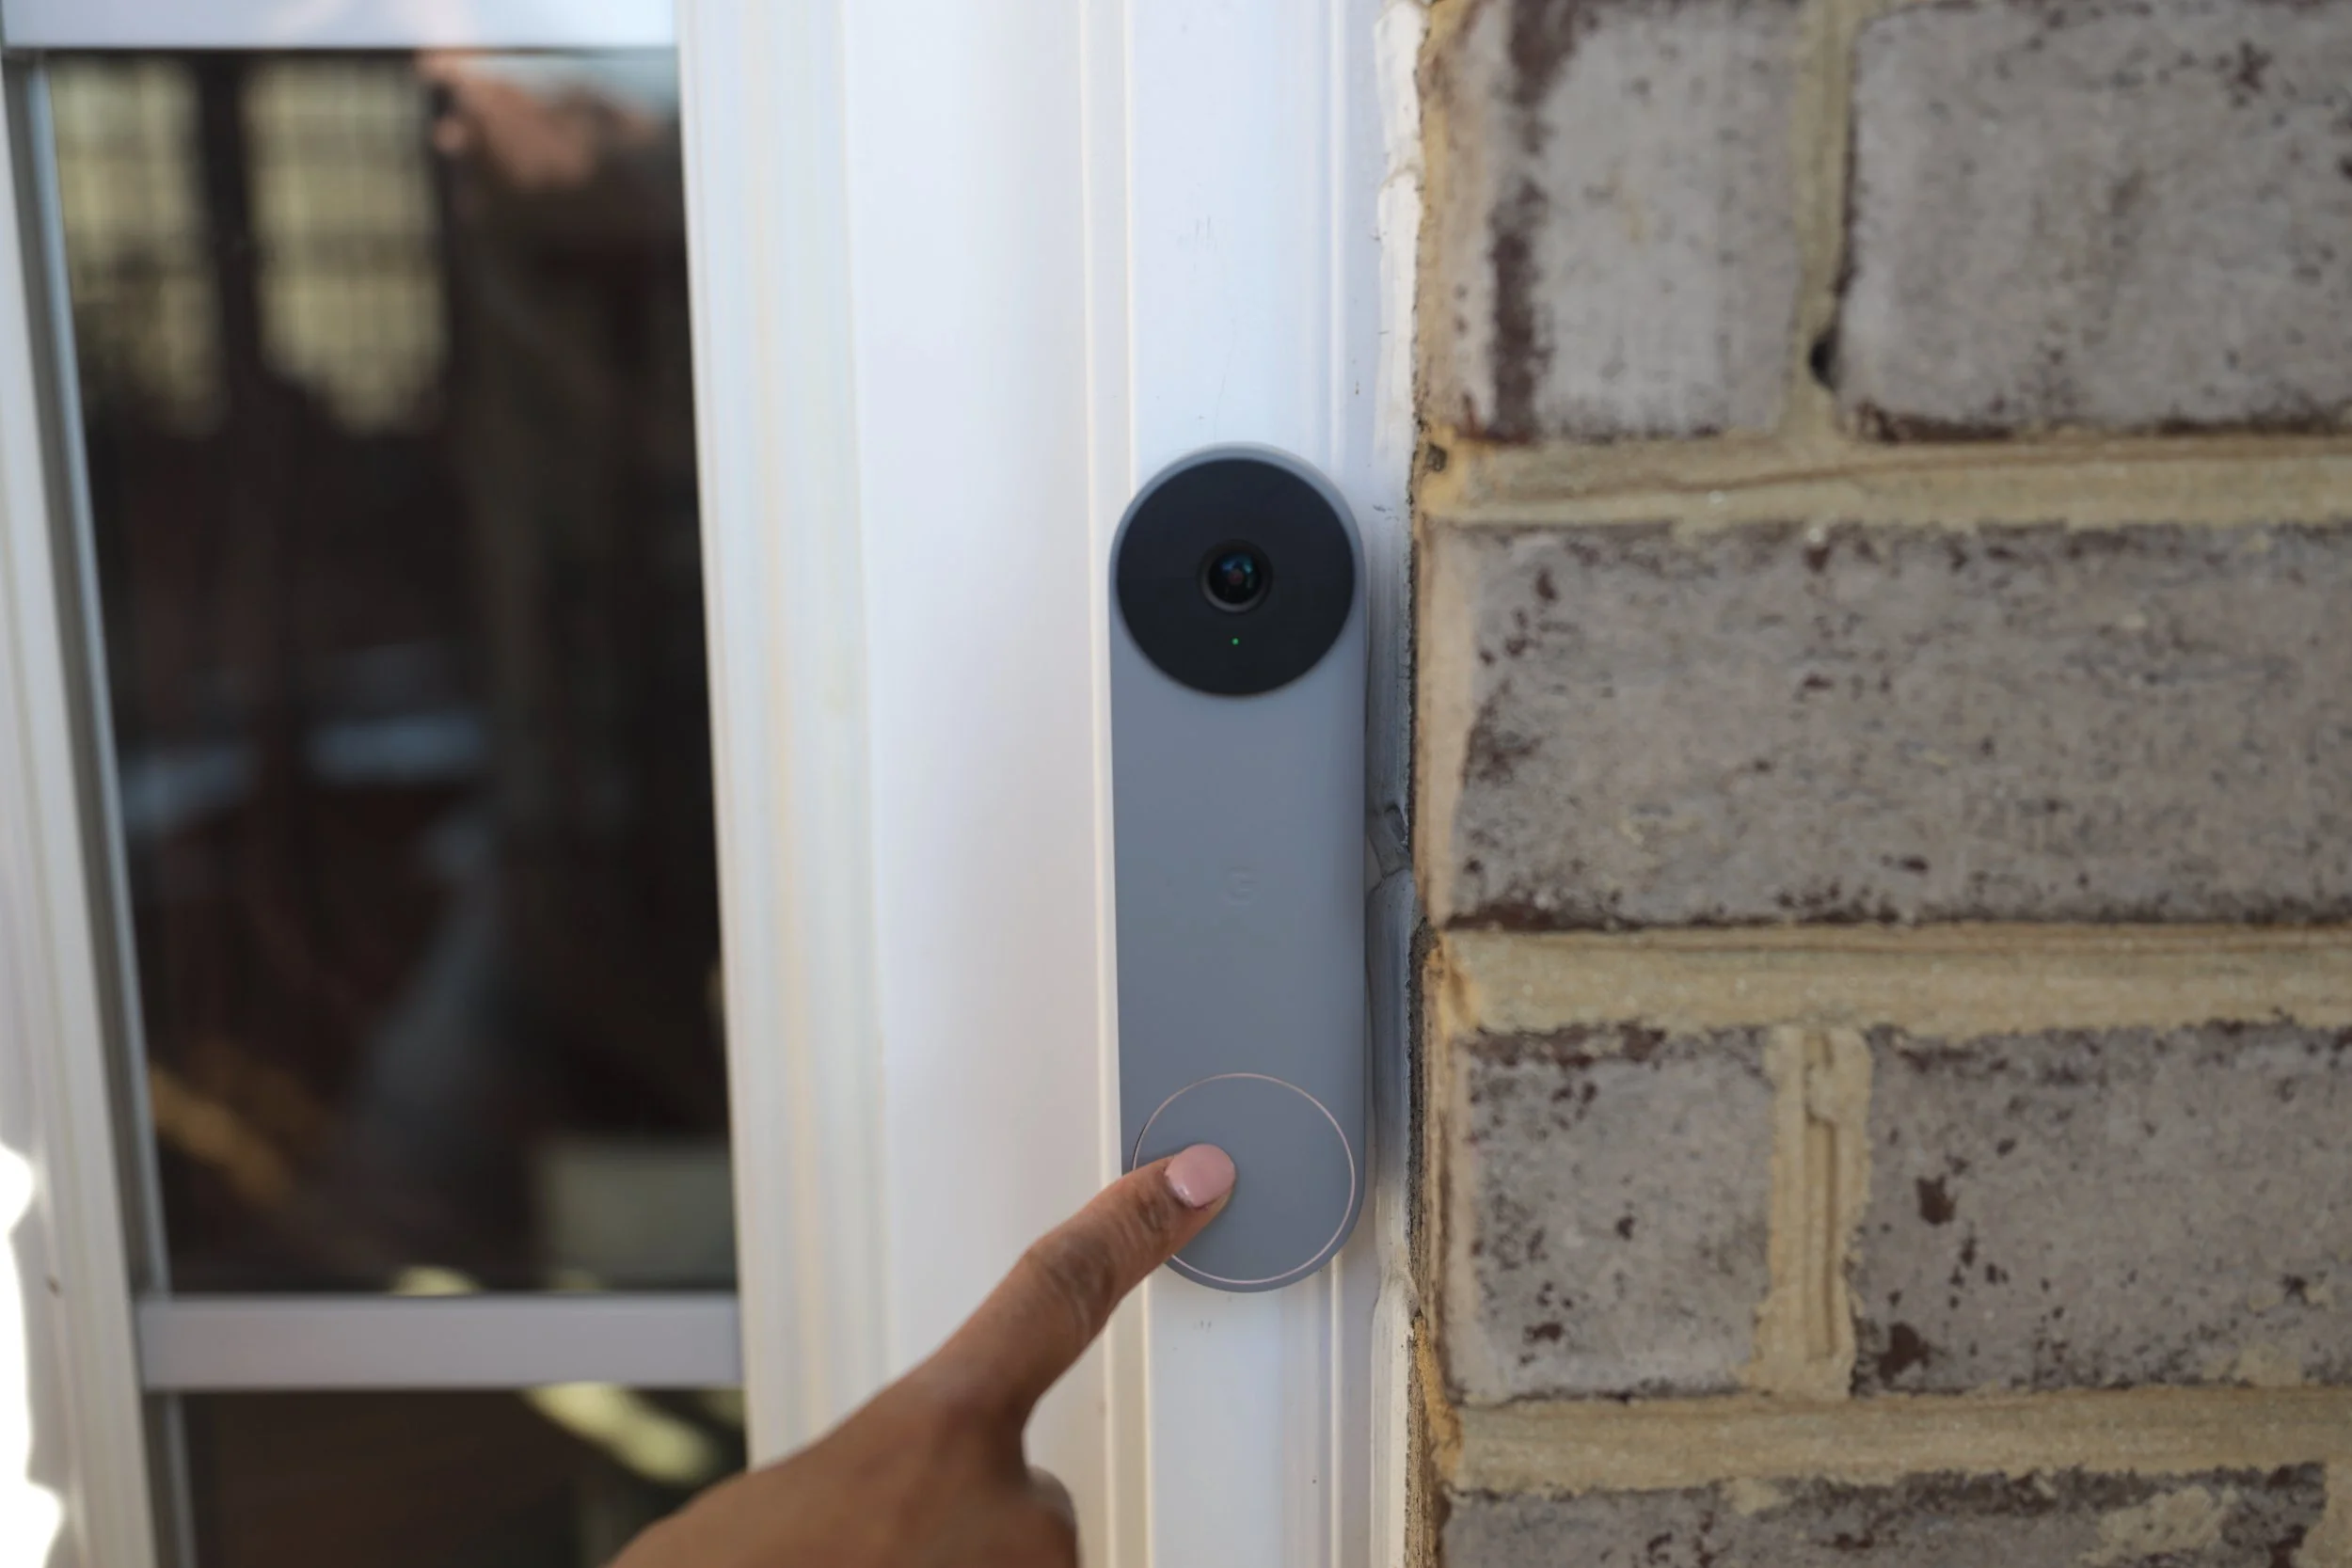
Google Nest Doorbell (Battery)

The Google Nest Doorbell (battery) is wireless and battery-powered by a built-in rechargeable battery, which means that it works with any door, whether you live in a house or an apartment. It’s available in four stylish colors, including Snow, Ivy, Linen, and Ash, which is what I selected for our door to complement the existing color scheme.

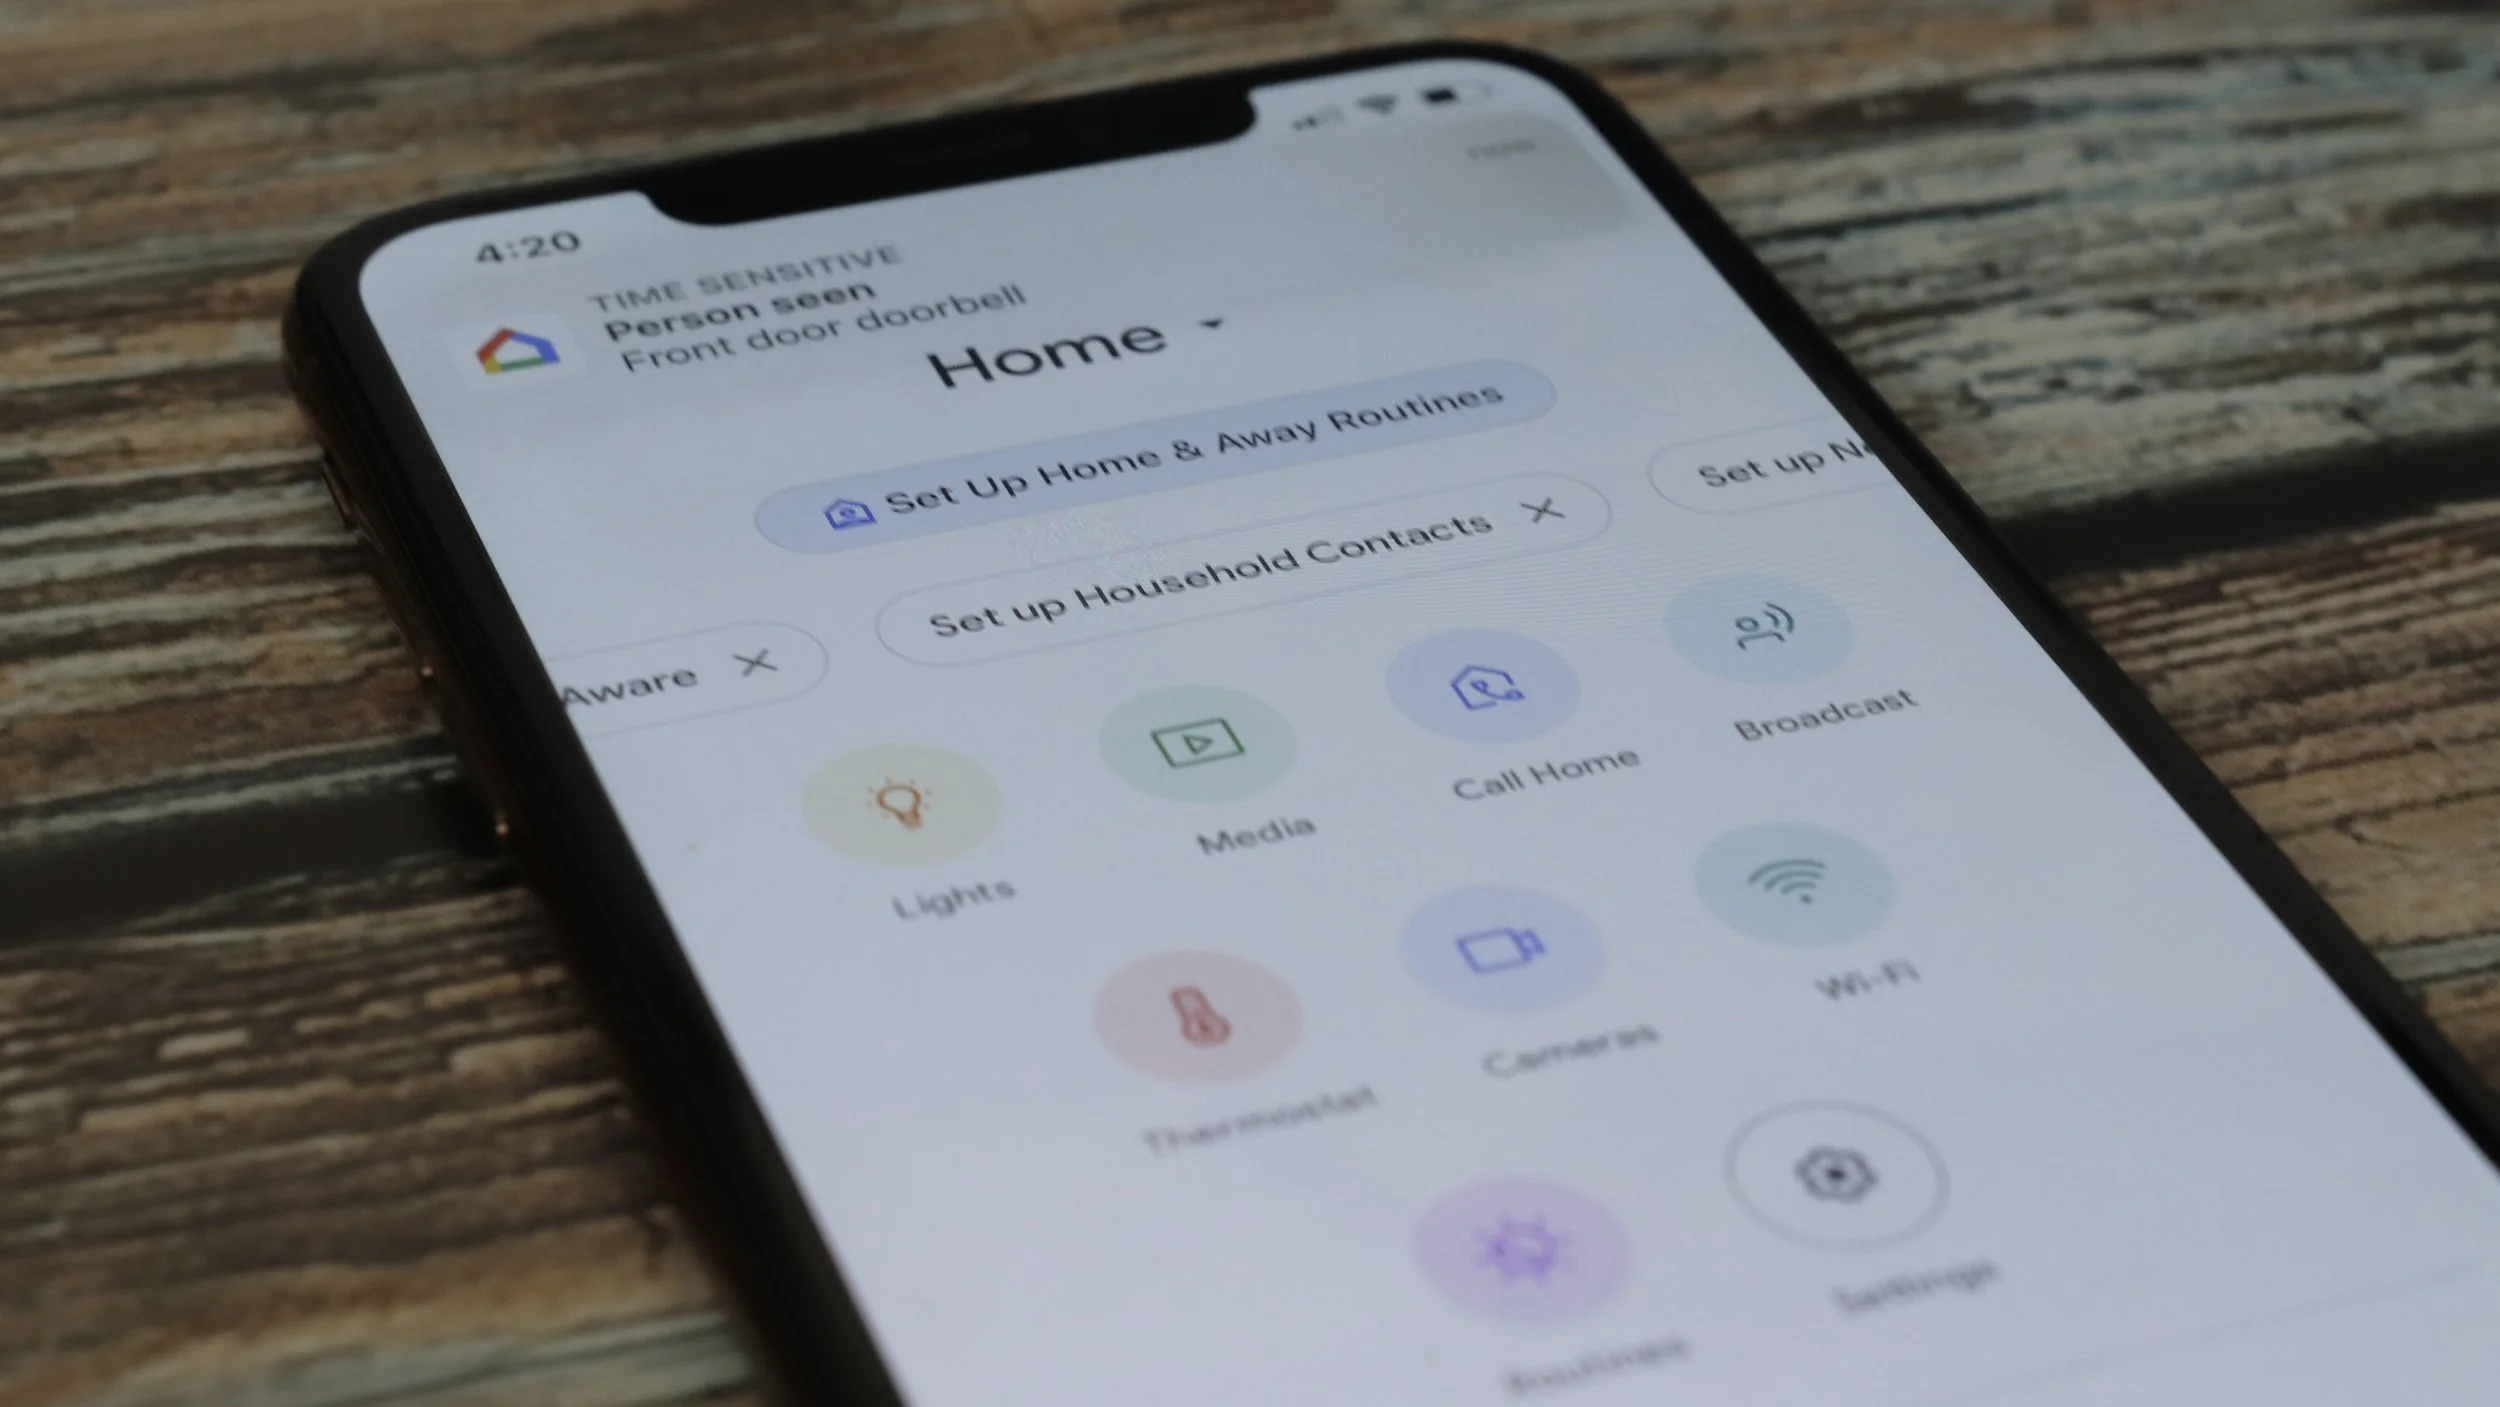
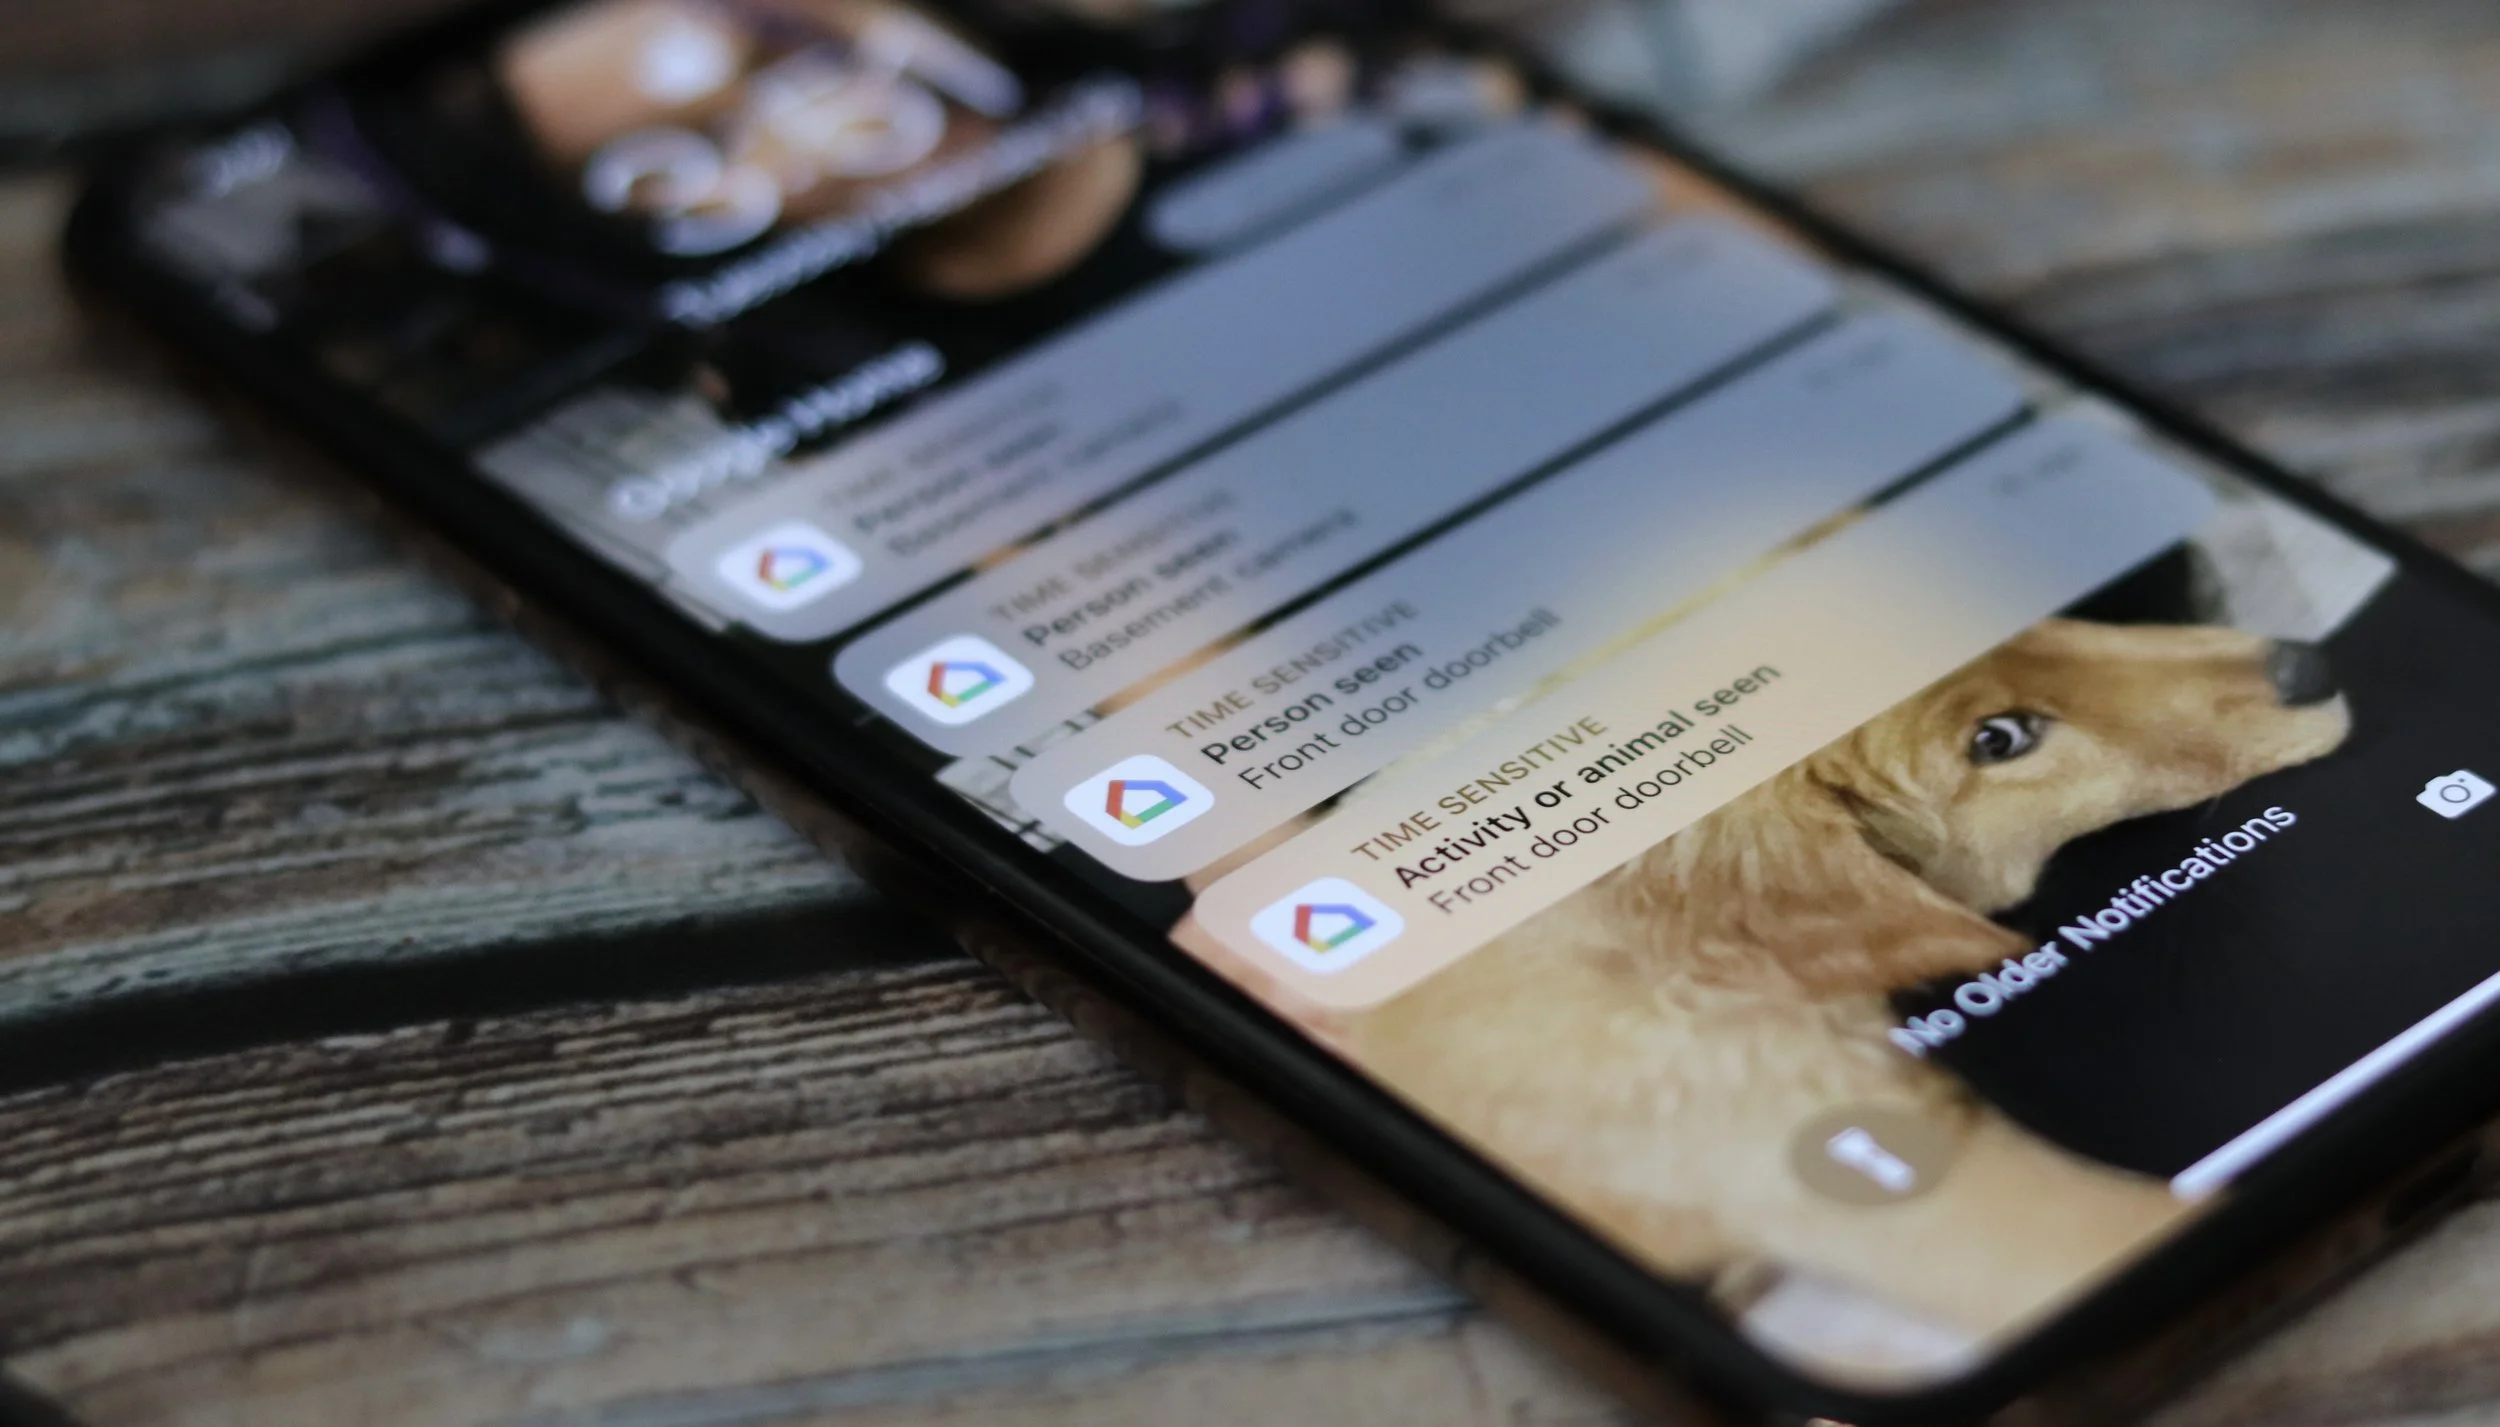
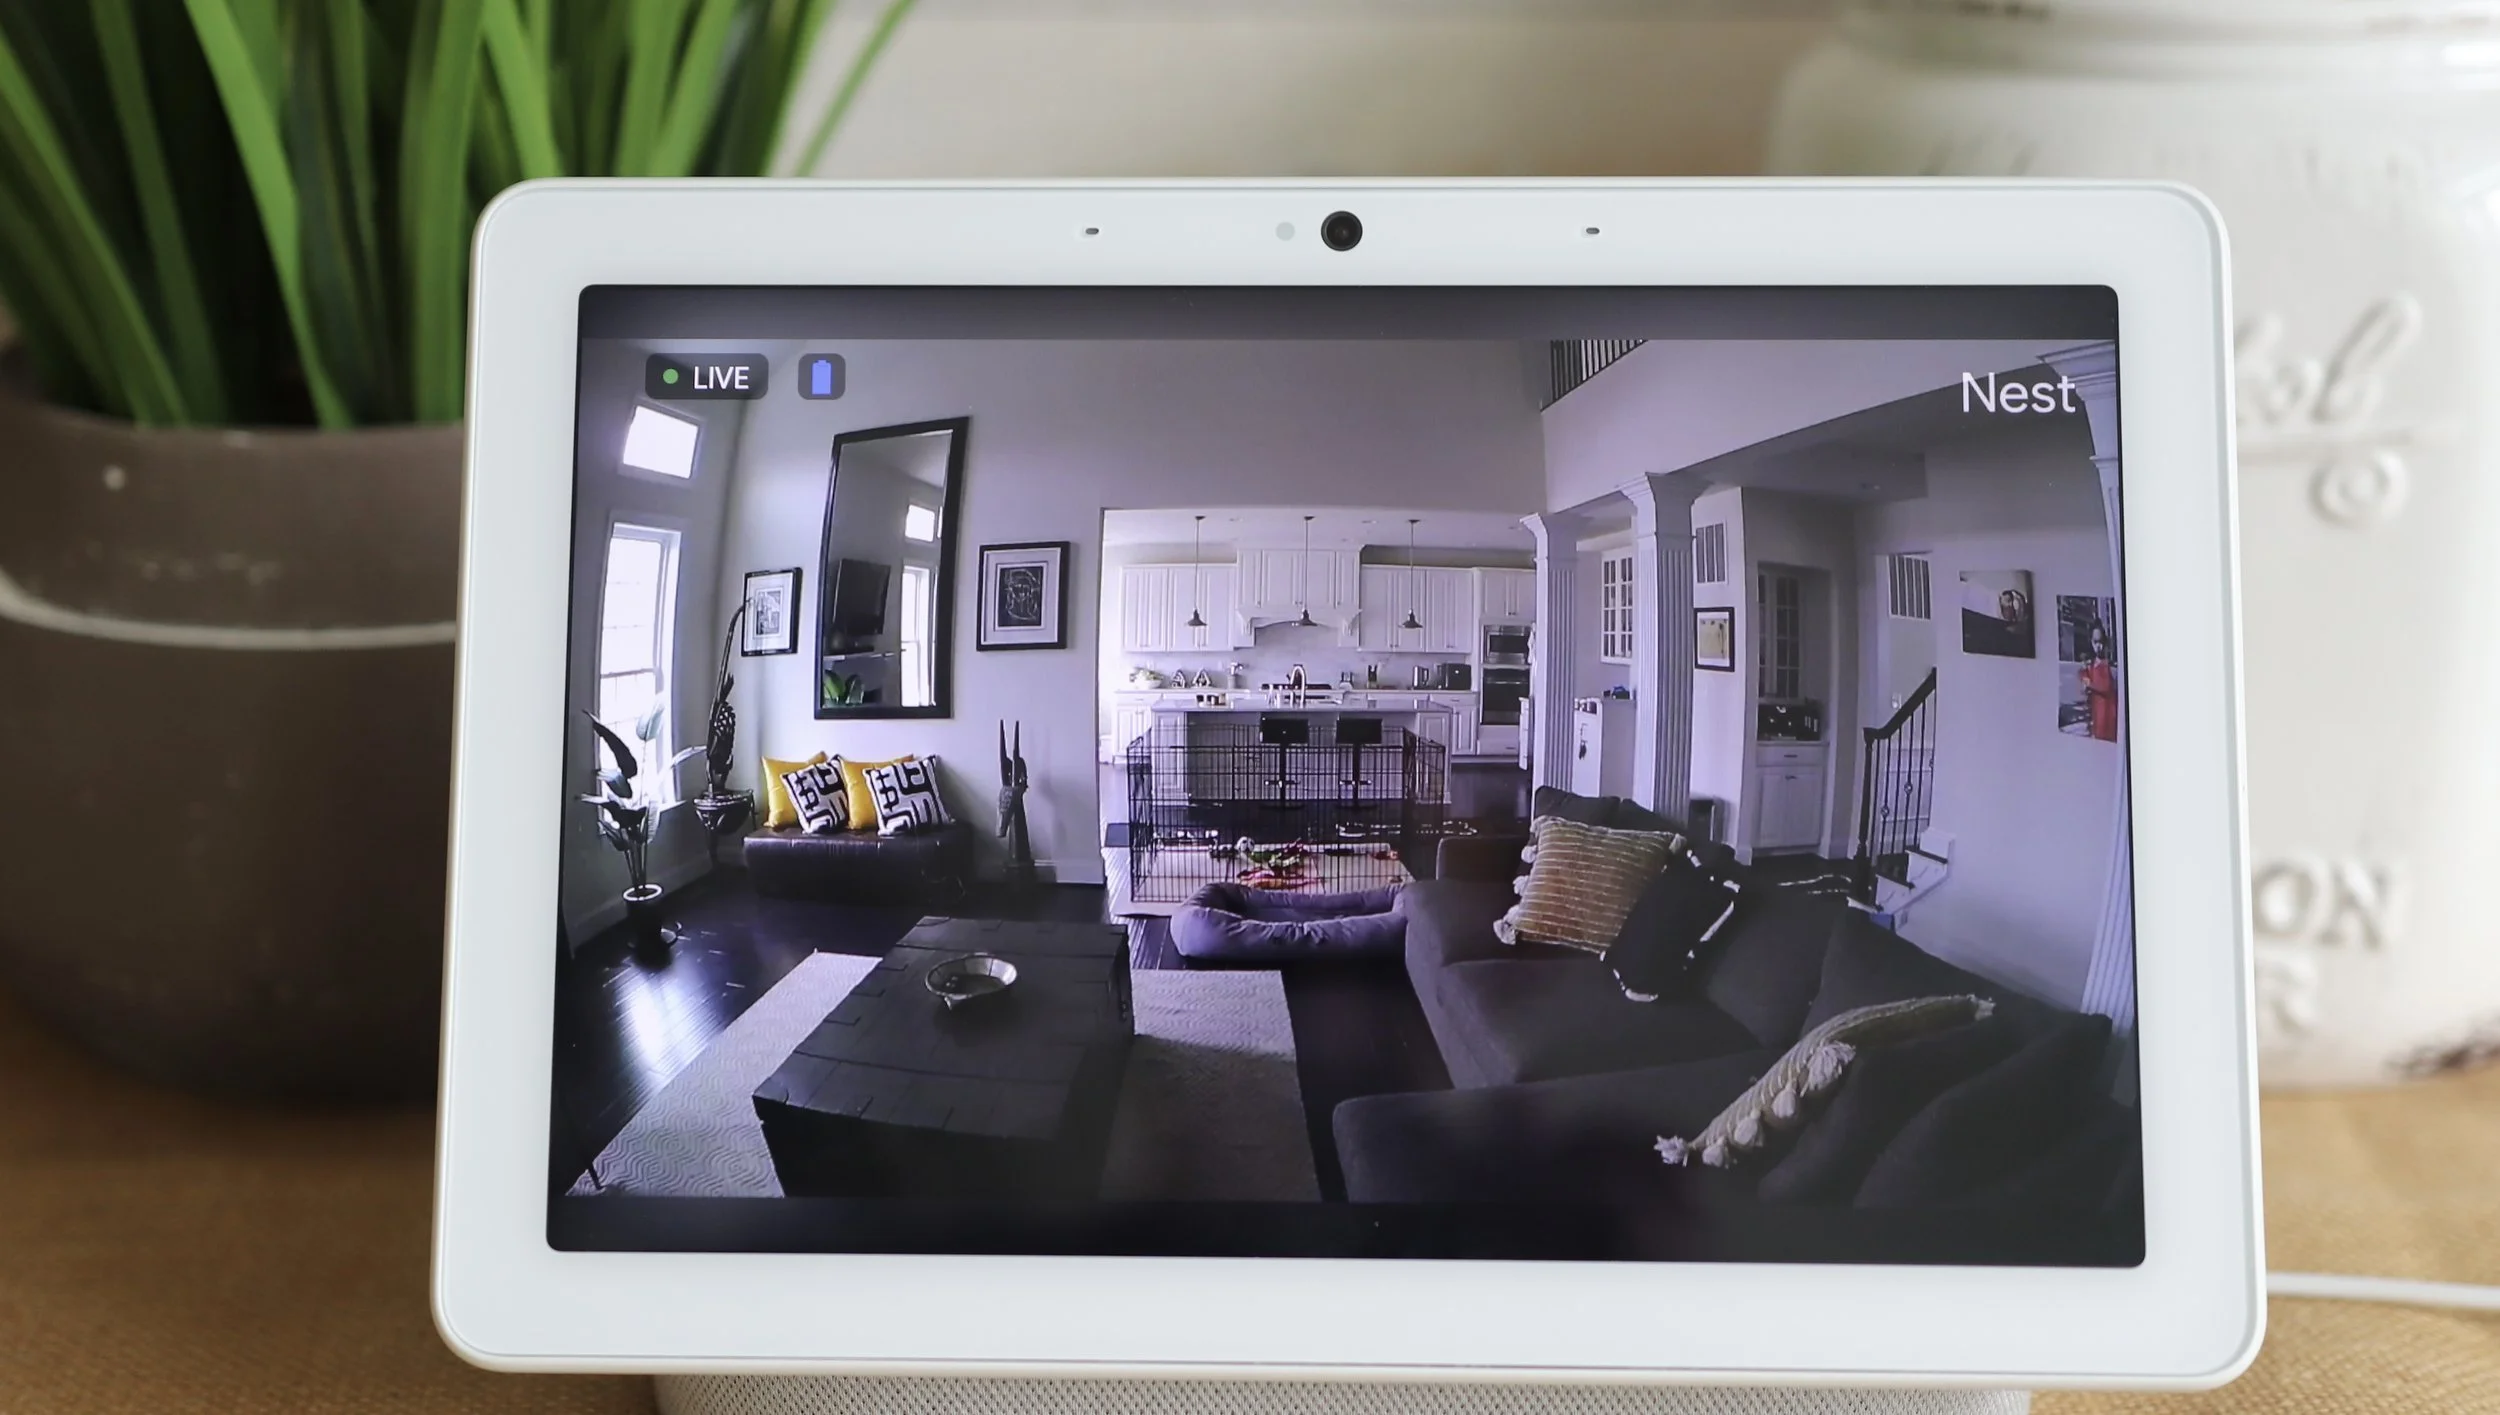
Through the Google Home app, I can access my Google Nest Doorbell (battery) camera 24/7 from anywhere and get alerts about important activity, like a visitor or a delivery.*
The Google Nest Doorbell (battery) also has built-in intelligent alerts that can tell the difference between people, animals, packages and vehicles, which is super helpful, especially when I’m in the middle of one of my many multi-tasking mom moments.*

And, if I miss something the Google Home app stores 3 hours of free event history, which I’ve found especially useful while we’re trying to keep track of Hailey’s potty breaks.**
*Some features, including mobile notifications, remote control, video streaming, and video recording, require working internet and Wi-Fi.
**The Nest Doorbell (battery) does not record 24/7 video history, even with the optional wired installation. Learn more about the differences between event video history and 24/7 video history at g.co/nest/videohistory.
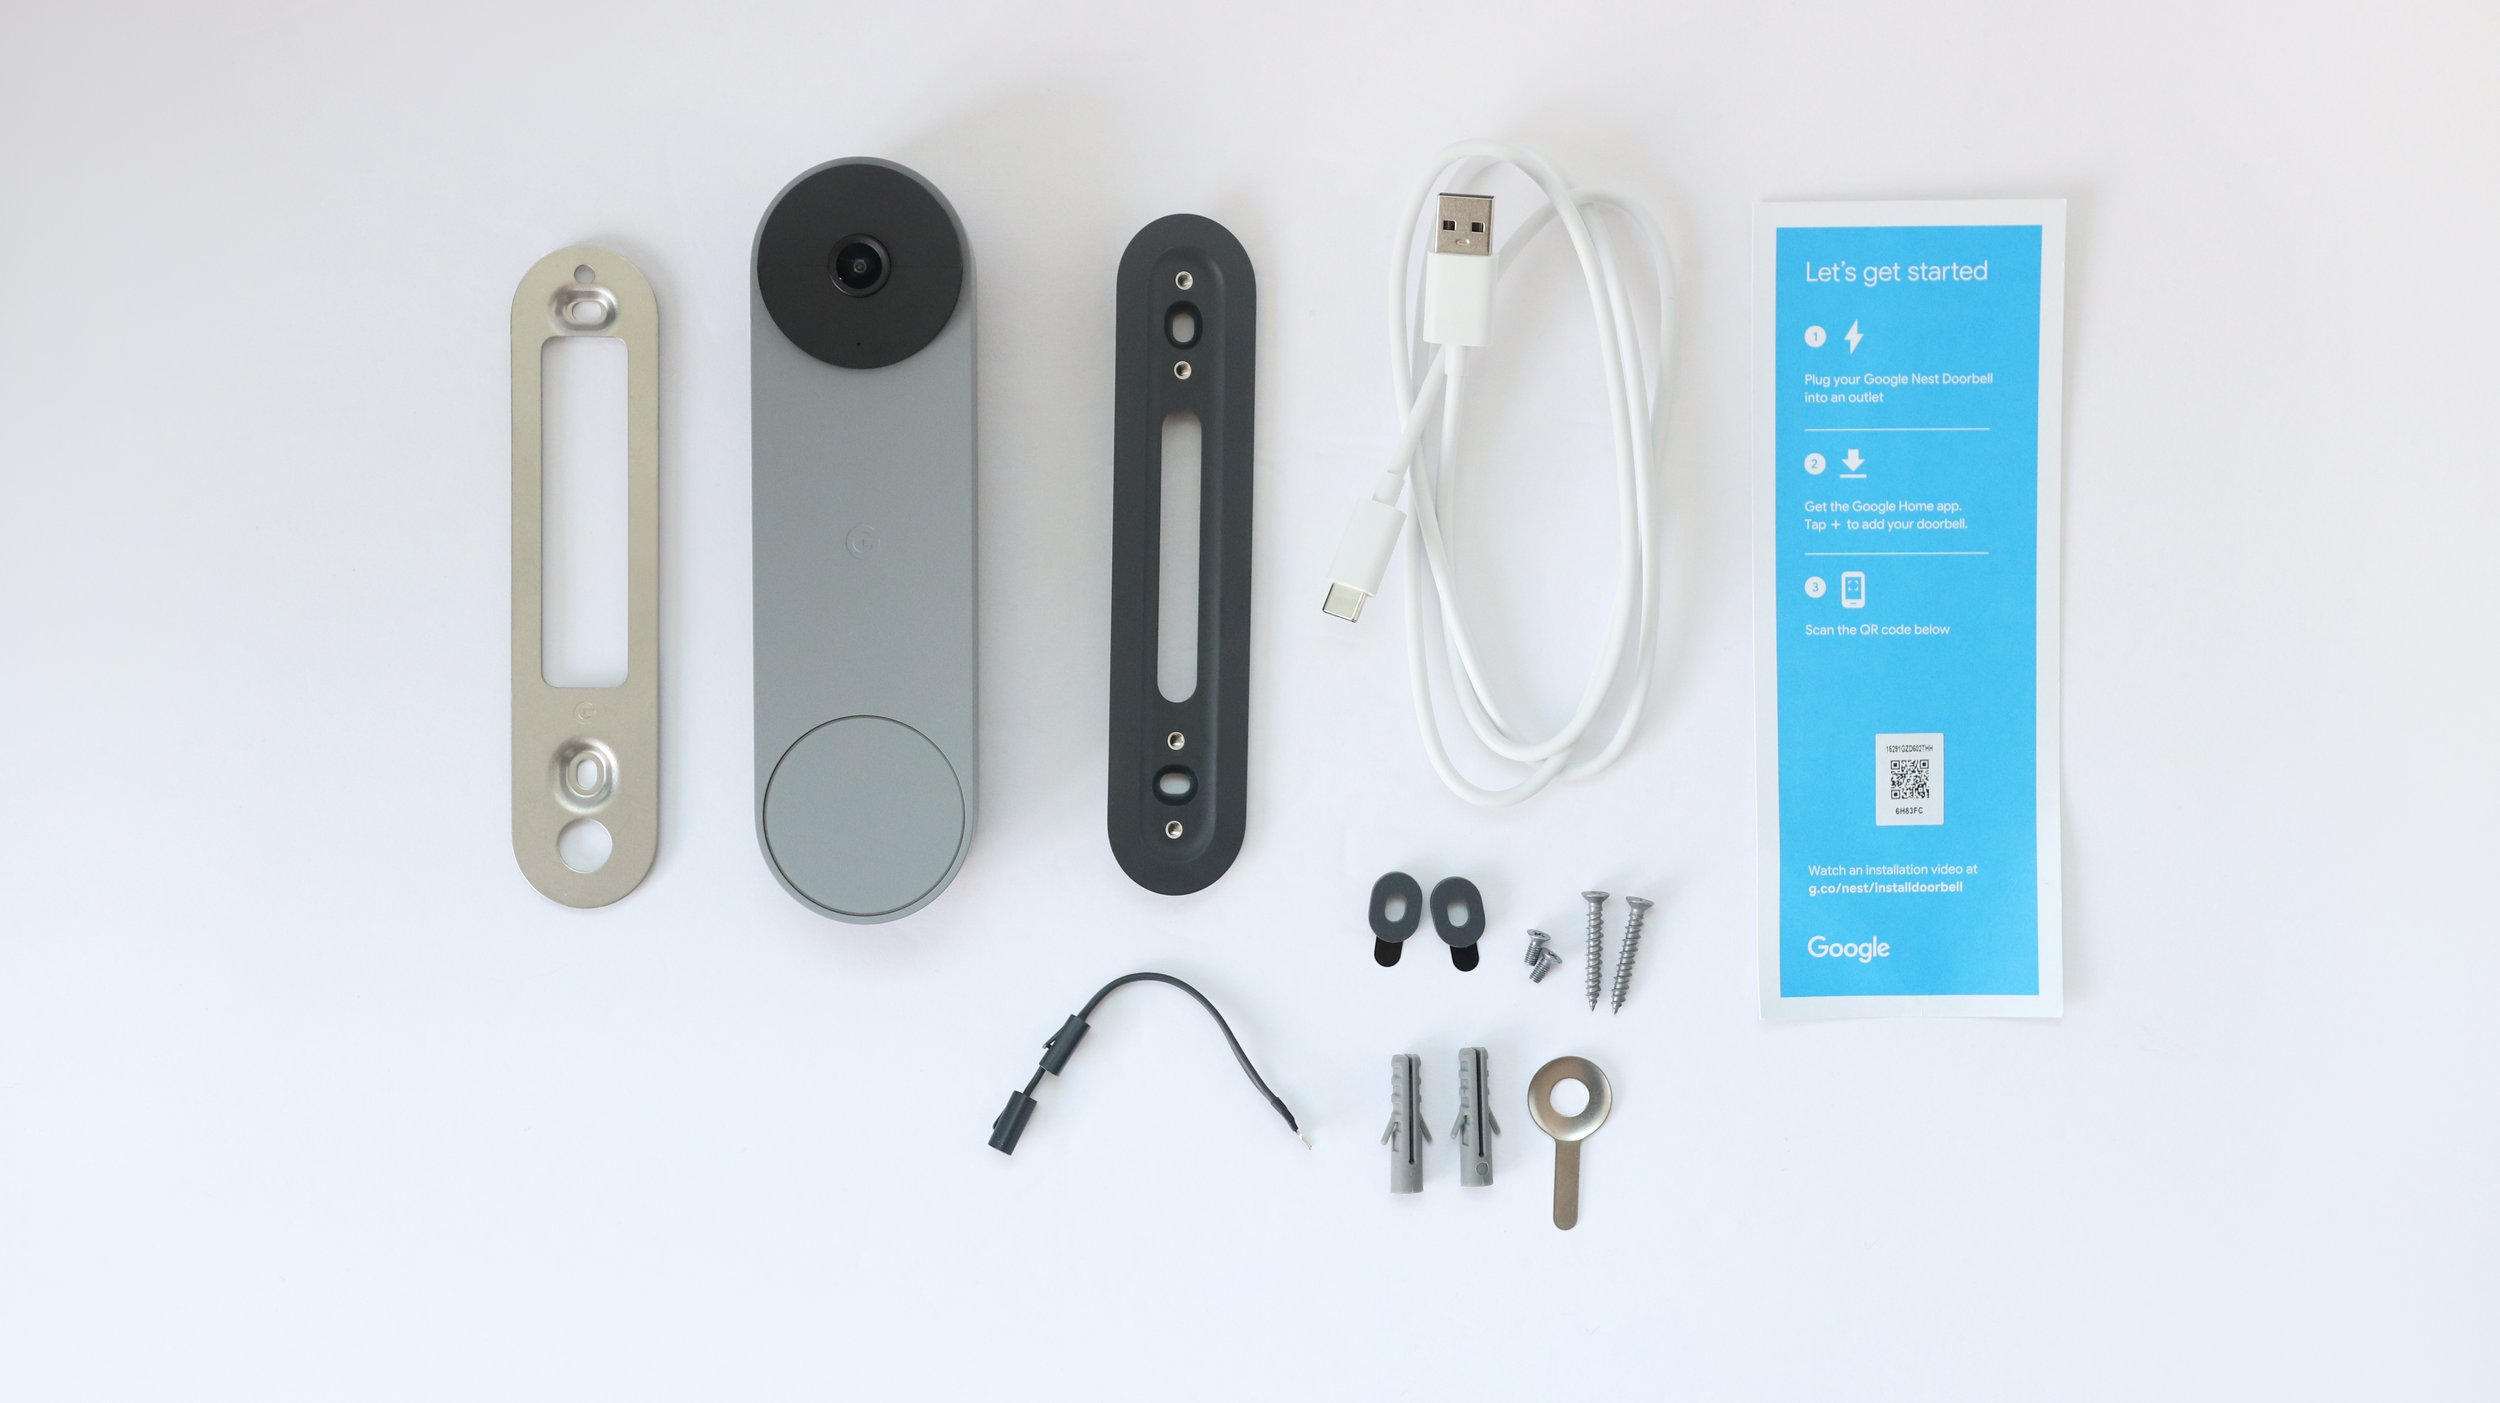
What’s Included in the Box:

1 Base plate
1 Release tool
2 Wall anchors
2 Wall screws
1 Wire connector
1 20° wedge
2 Spacers
2 Wedge screws
1 Charging cable
Quick start guide
Safety & warranty document
How to Install:
Download the Google Home app.
Charge the Nest Doorbell (battery) with the charging cable.
Open the Google Home app and scan the QR code on the back of the doorbell.
Connect the Nest Doorbell (battery) to your home Wi-Fi network and take it outside; it will light up green when it connects.
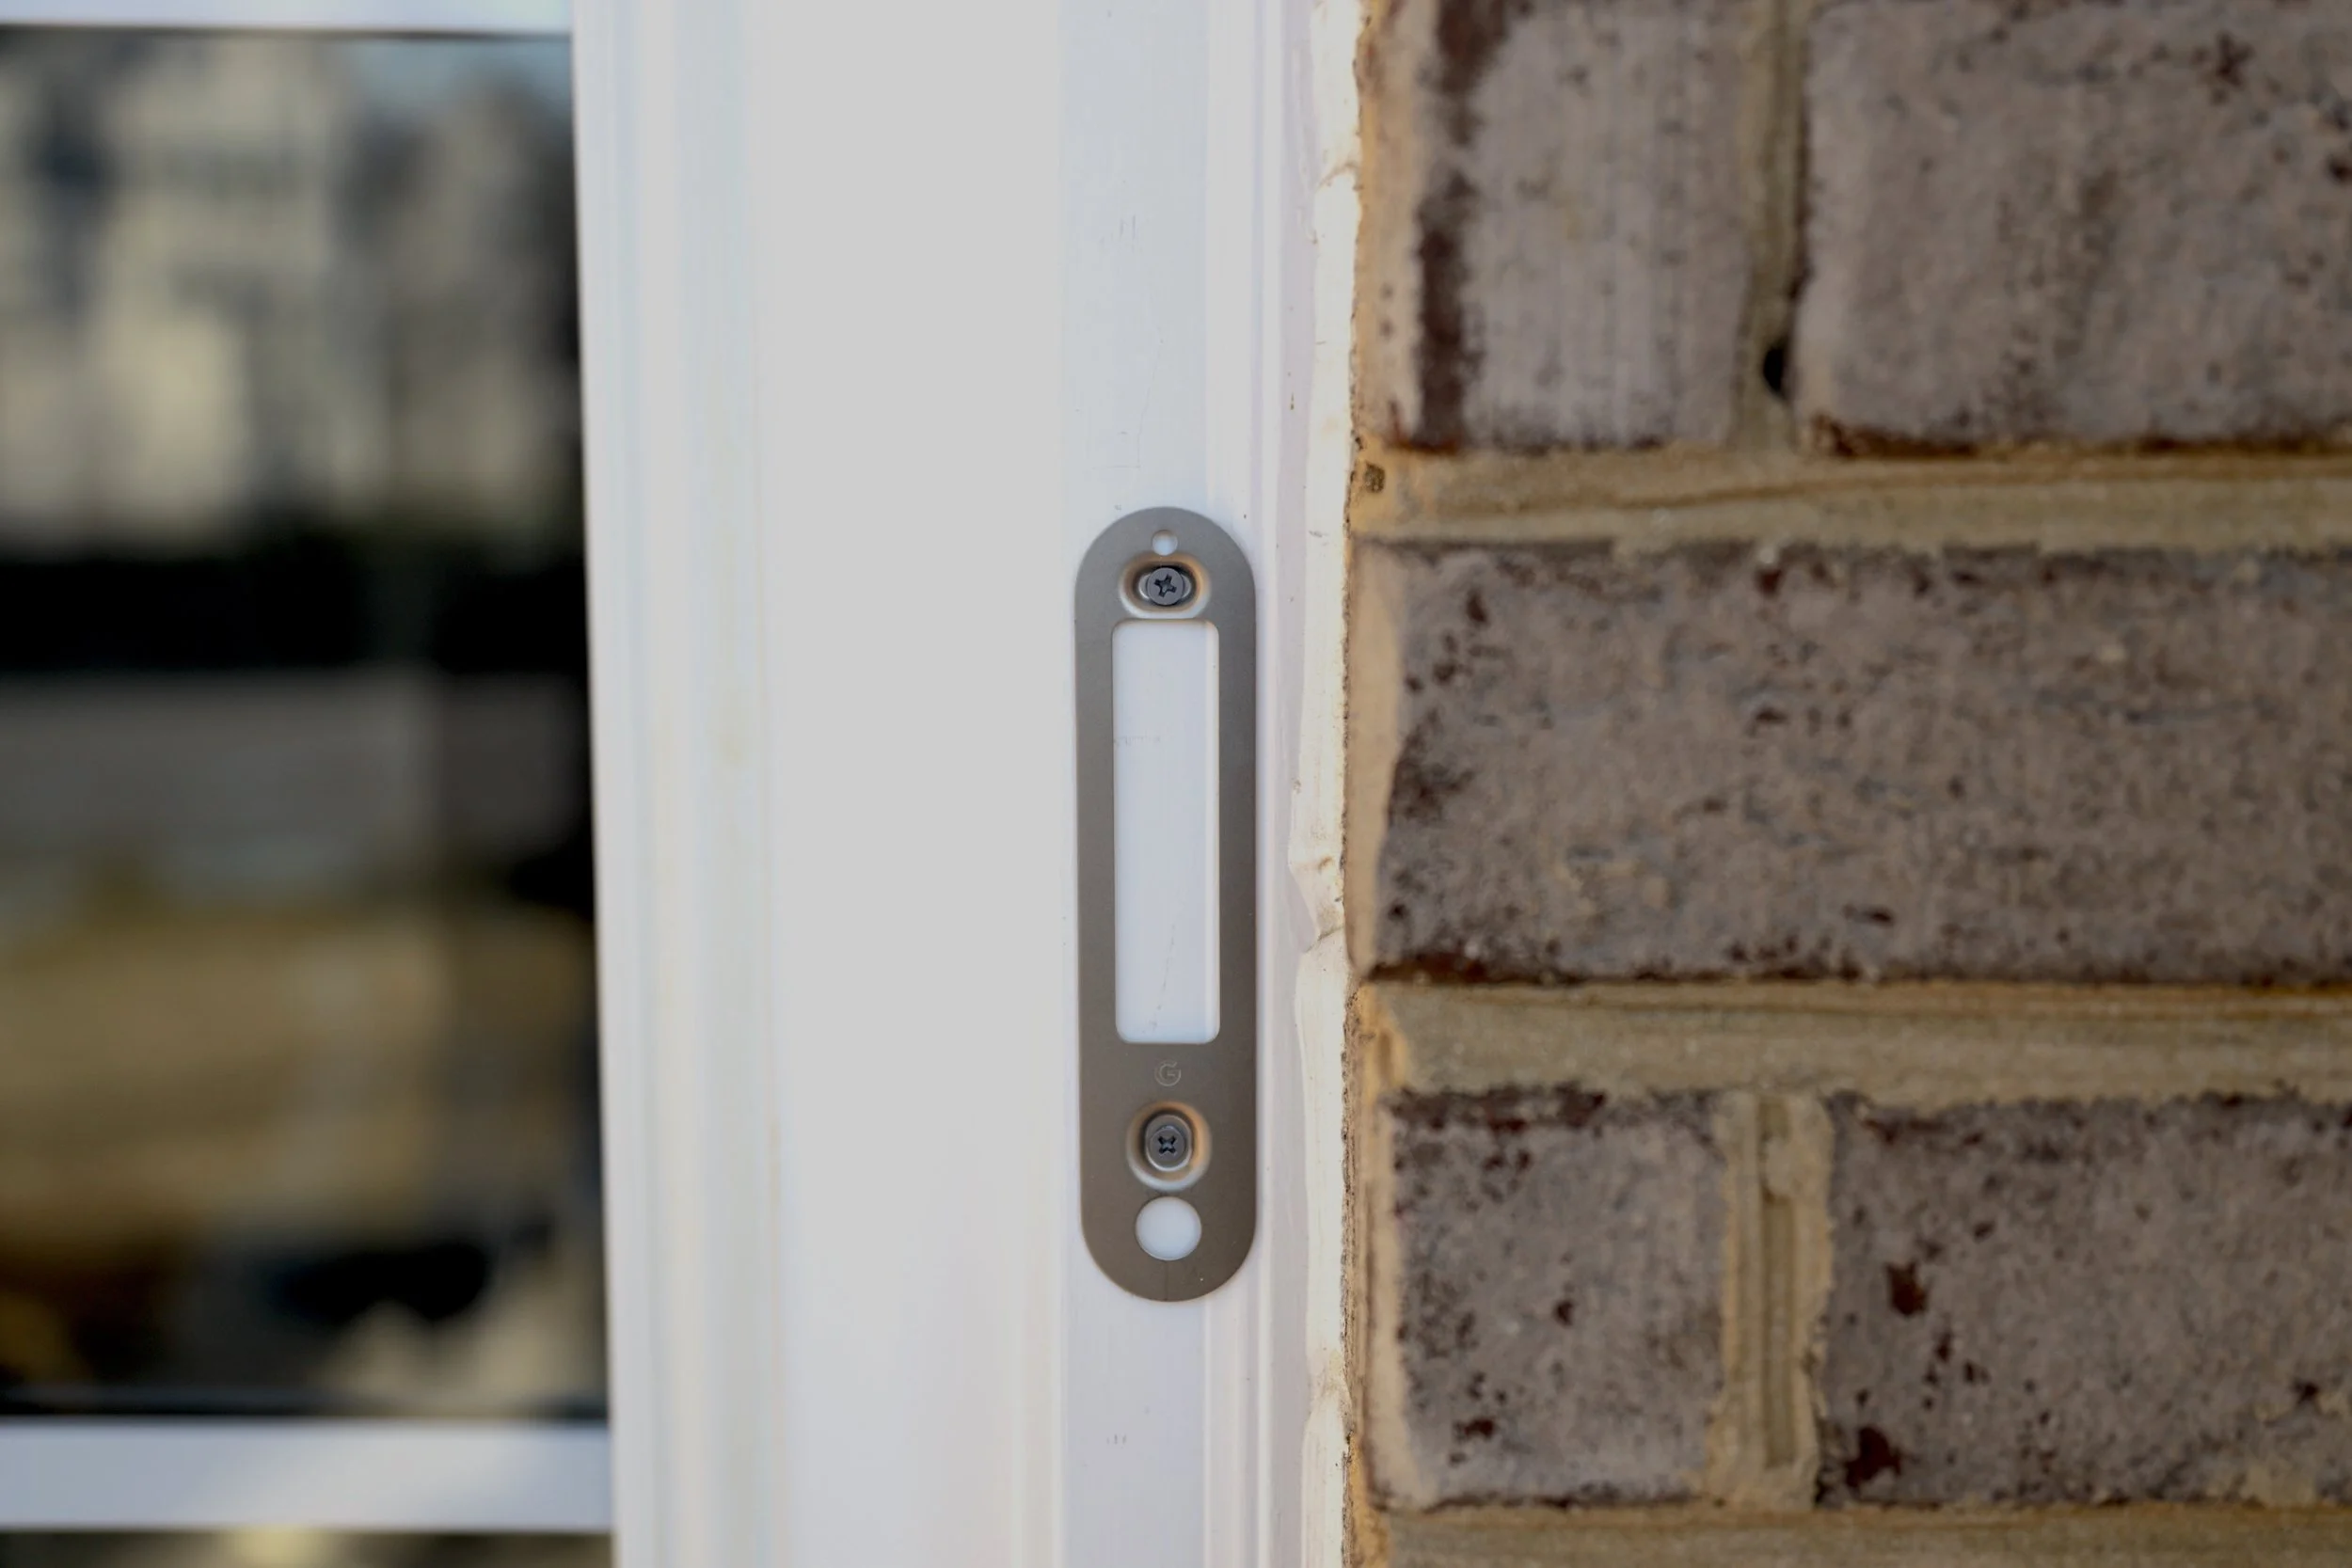
Decide where you want to install the Nest Doorbell (battery) and use a pencil to mark the holes for drilling in the next step.
Install the base plate to the wall using a drill and the screws provided.

7. Slide the Nest Doorbell (battery) into the base plate; you’ll hear a click to let you know that it’s secure.
8. Finish setting up by following the steps in the Google Home app.
Google Nest Cam (Battery)
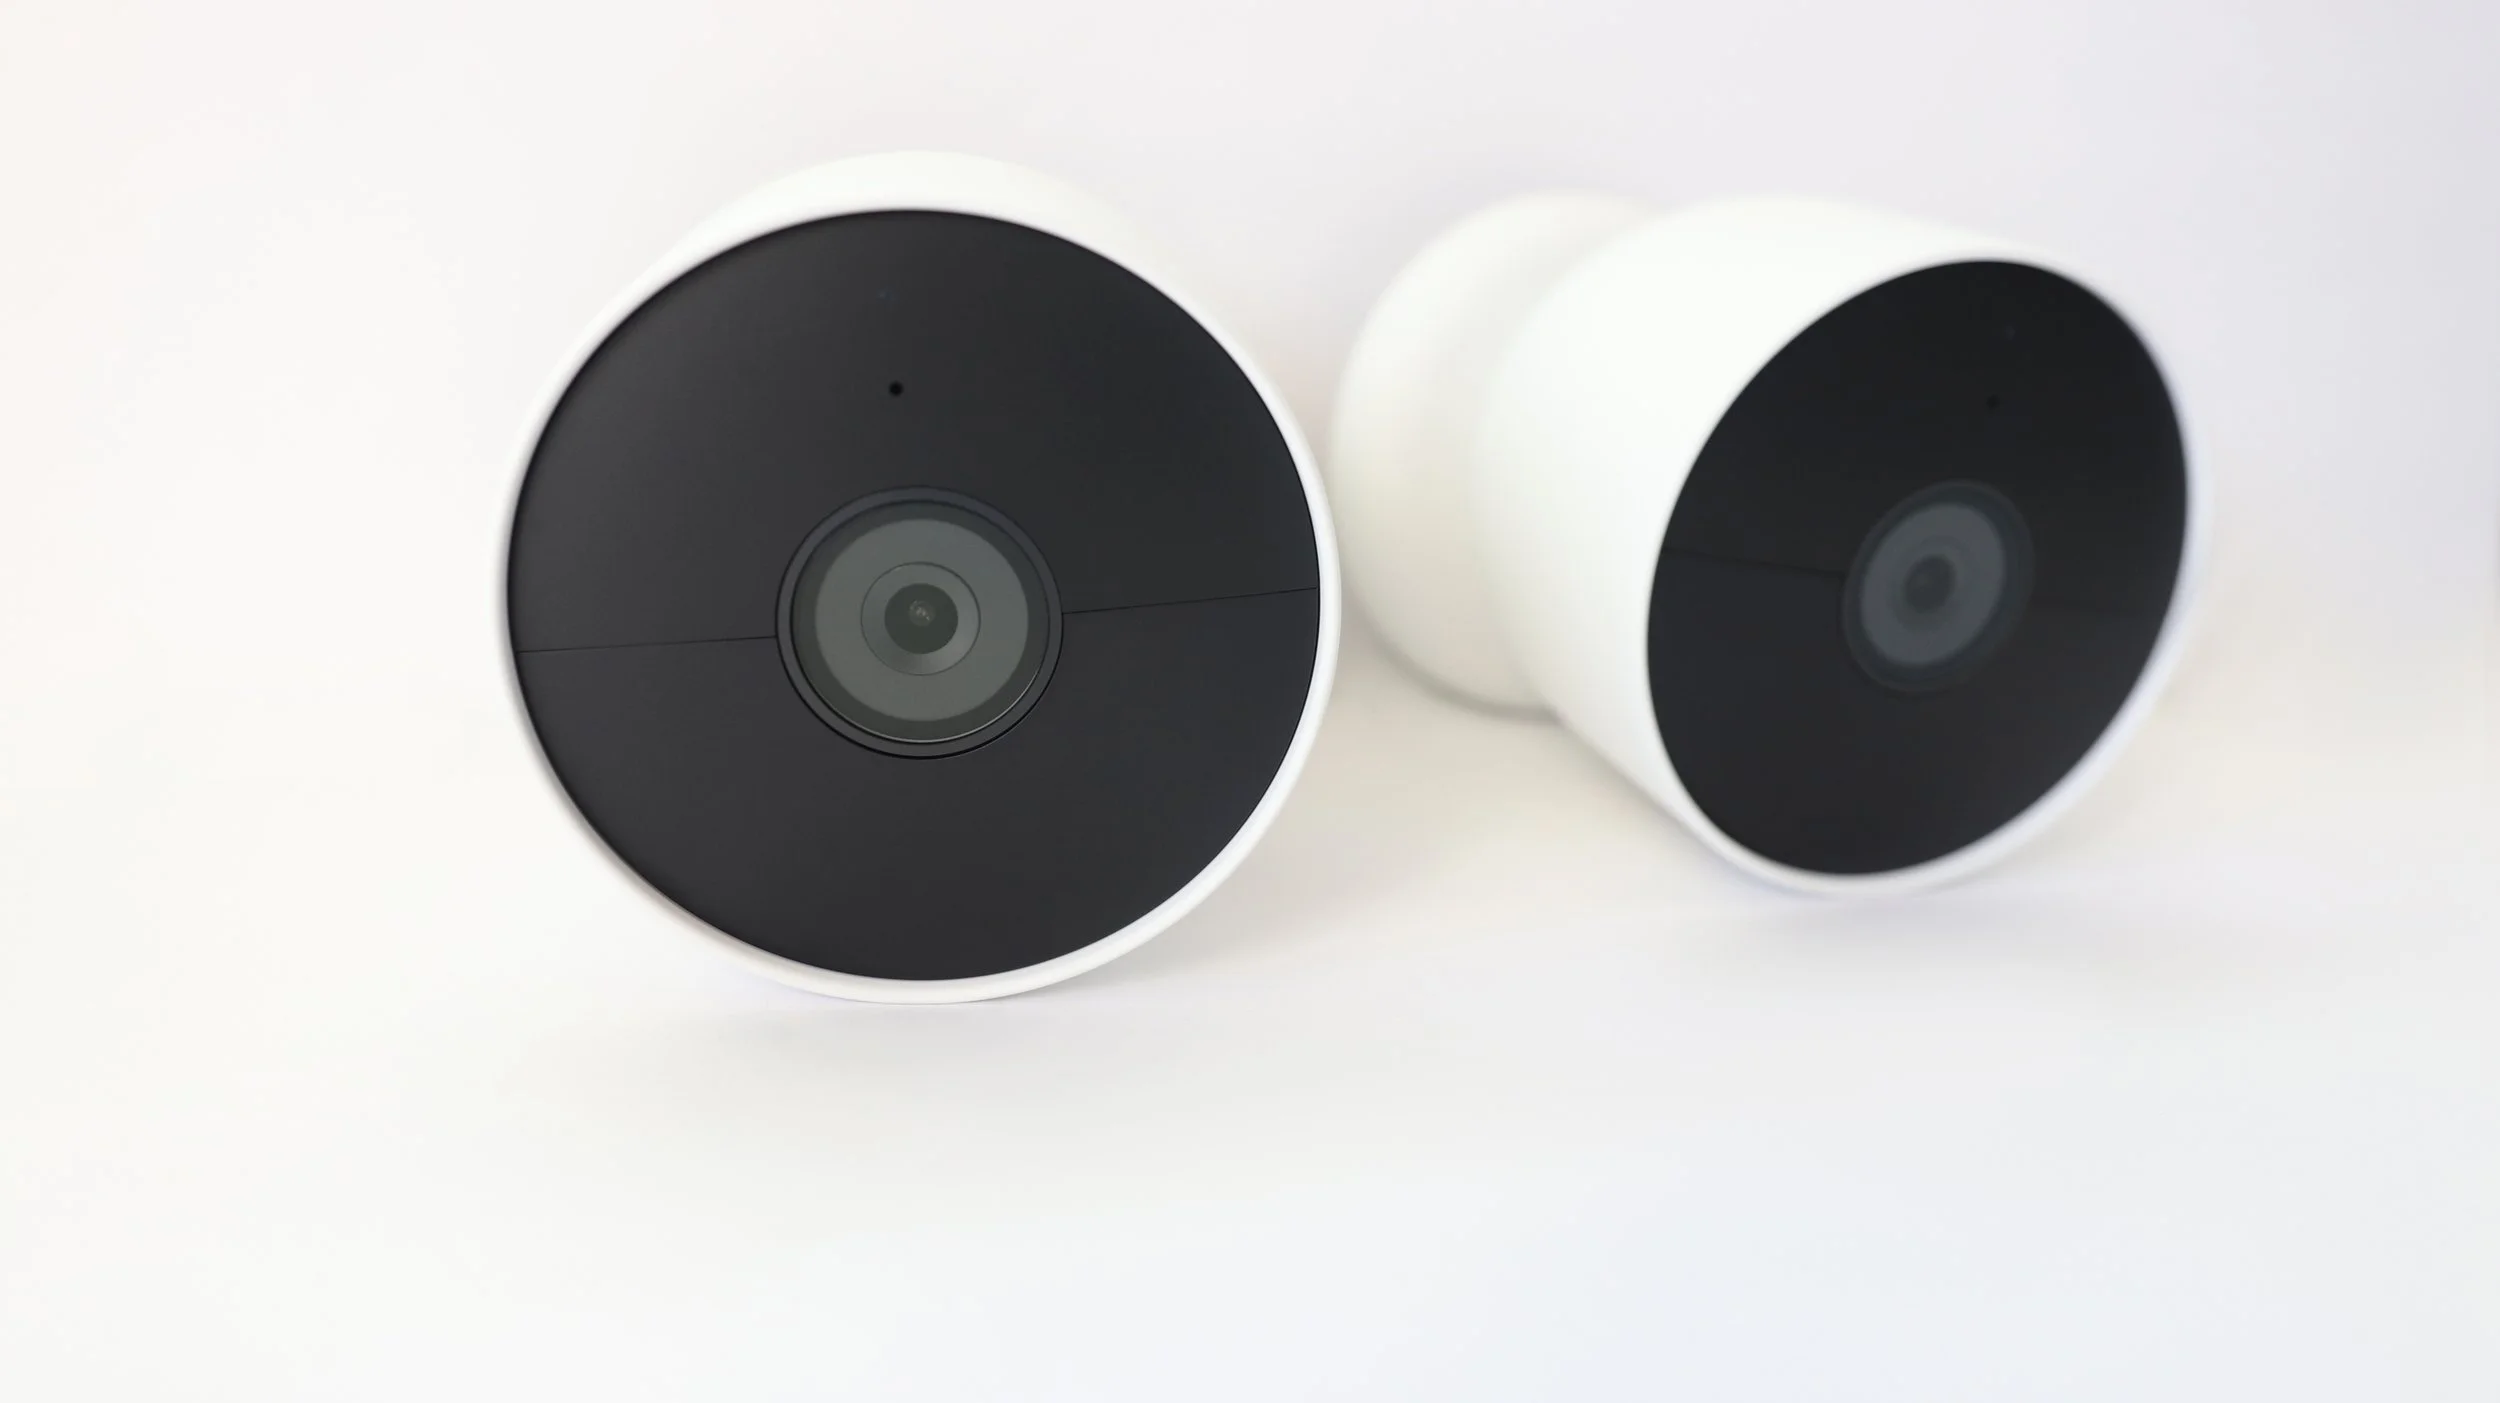
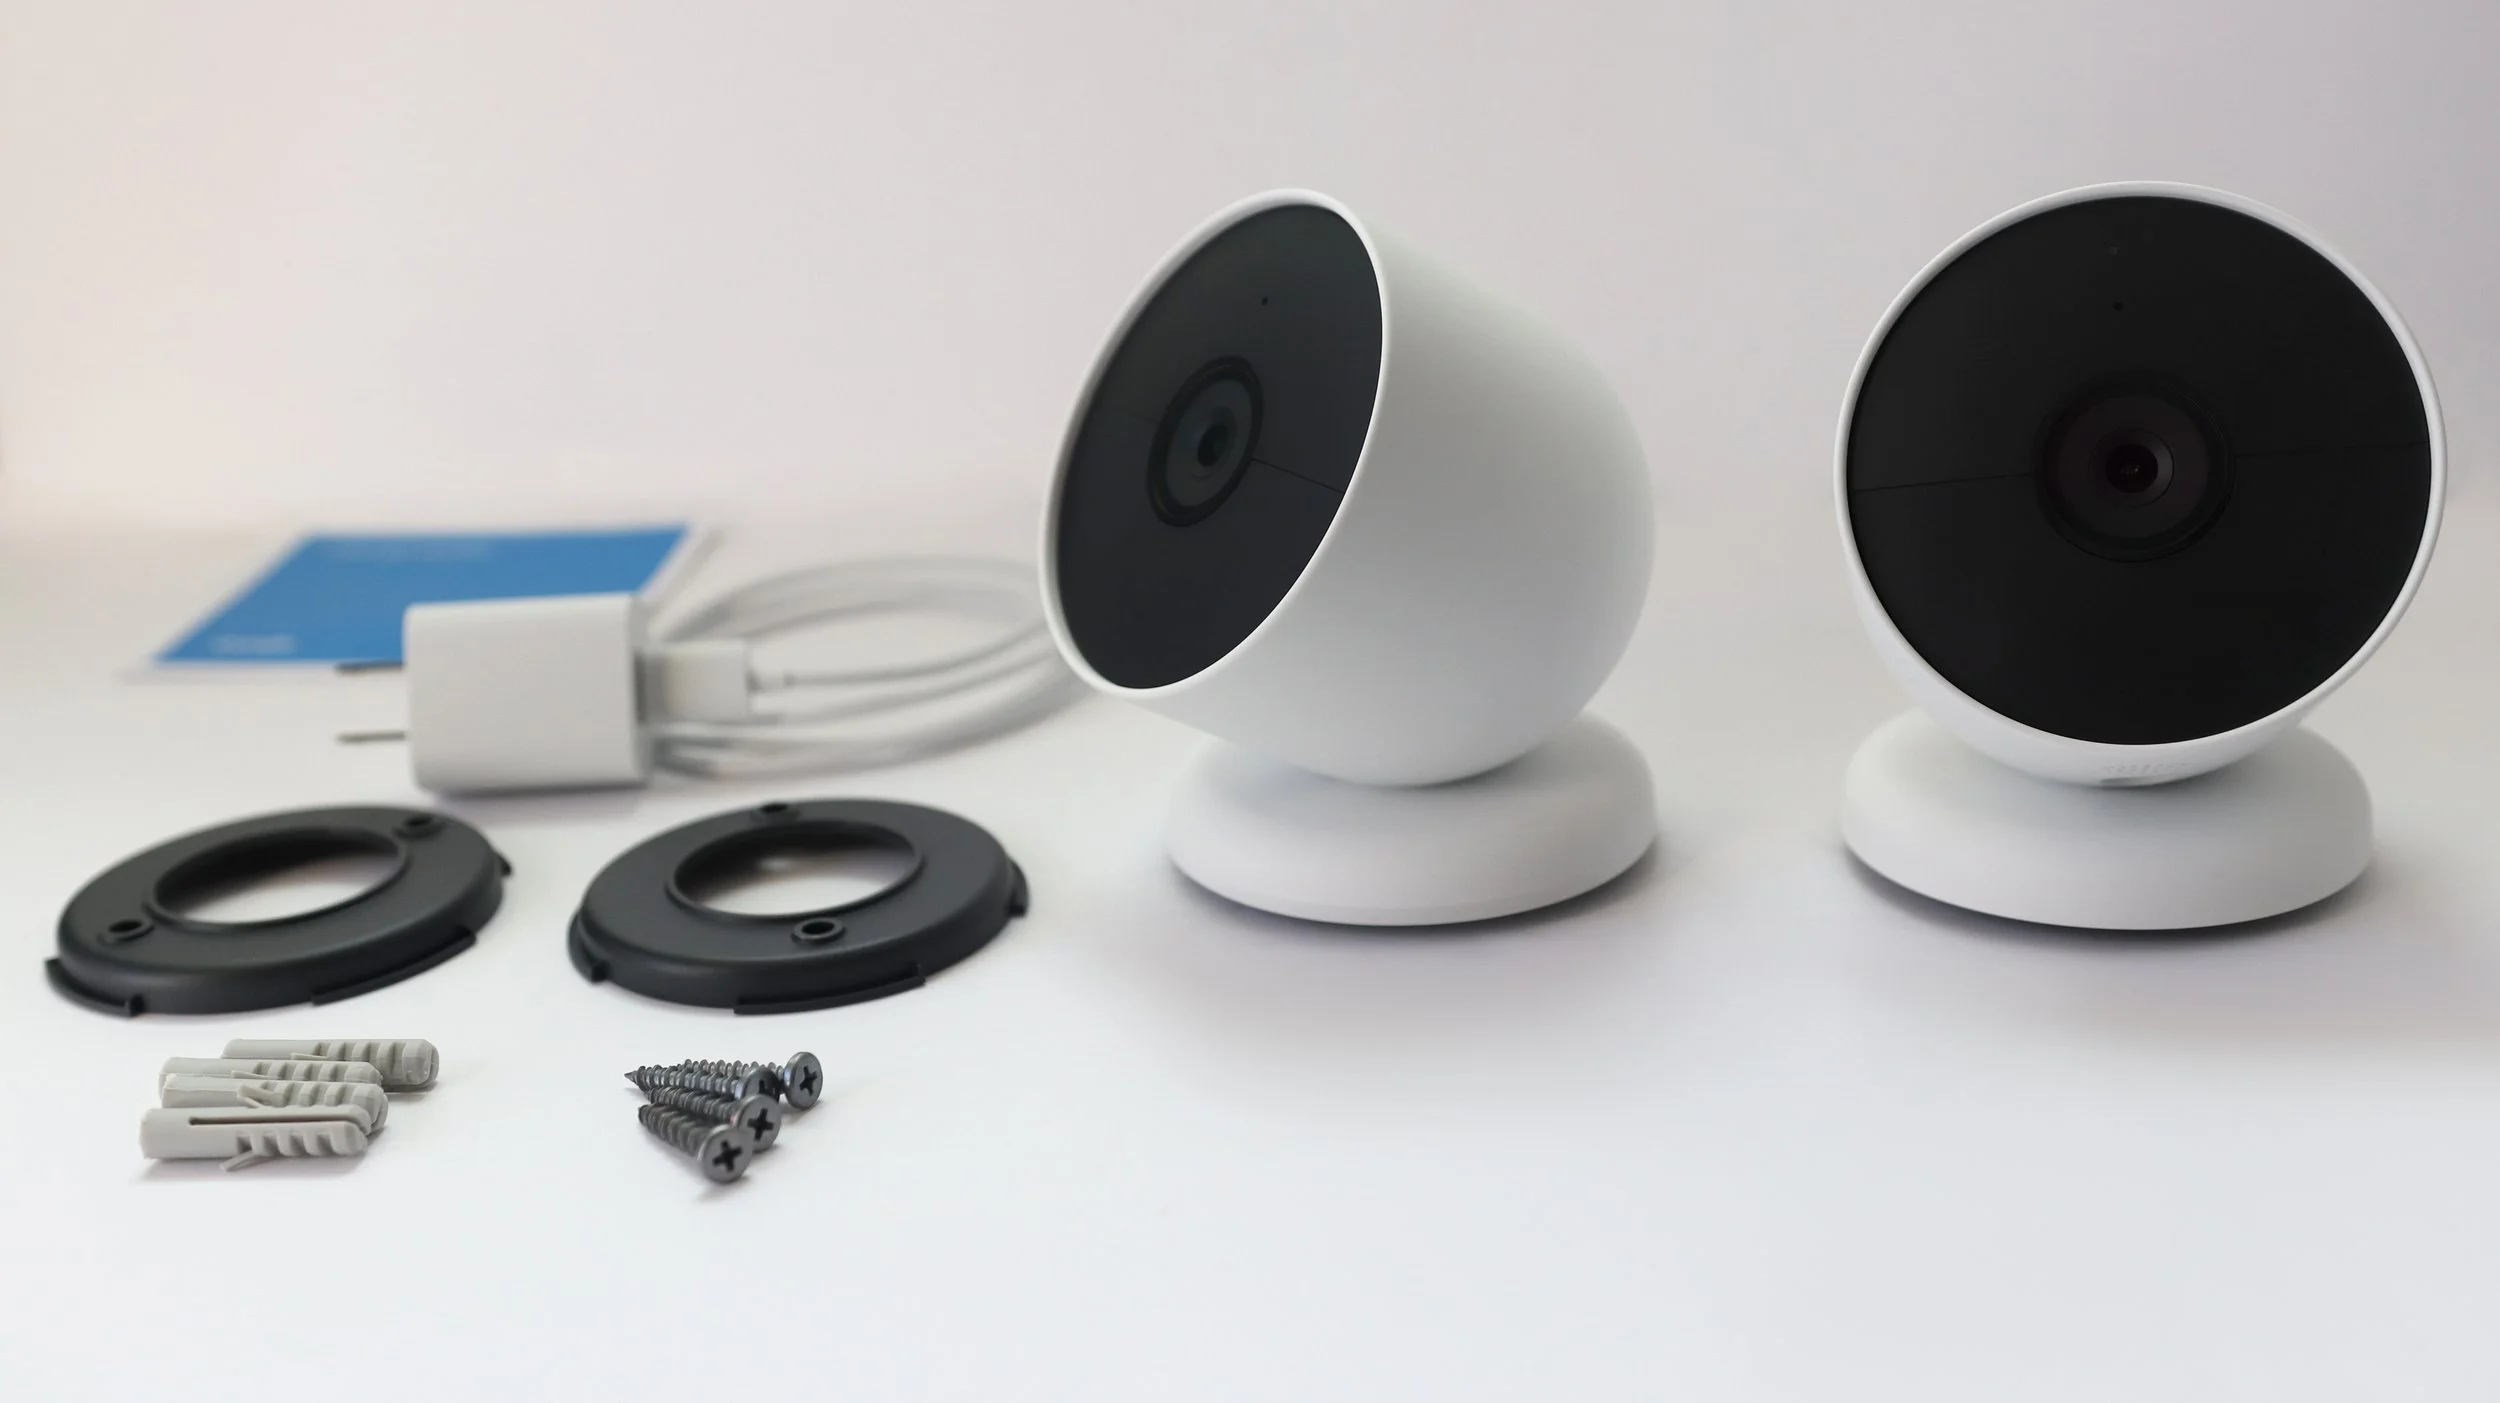
The Google Nest Cam (battery) is wireless and weather resistant, which means that you can put it outdoors or indoors, rain or shine, almost anywhere you need coverage. Since I got the 2-pack, I decided to put one outside above my garage and inside in our family room.


With built-in intelligent alerts, the Nest Cam (battery) sends me an alert when the camera spots movement, a person or a vehicle.* As with the Nest Doorbell (battery), I can check in on things 24/7 from anywhere with the Google Home app, or go back in time to see what happened with 3 hours of free event history.
And, if there’s a Wi-Fi or power outage, the security camera will store up to an hour of recorded events so that I can see what I missed.** This actually happens more often than I’d like when we have severe thunderstorms during the hot and humid summers in the DC area, so this feature definitely ranked highly for me.
Disclaimers:
*Some features, including mobile notifications, remote control, video streaming, and video recording, require working internet and Wi-Fi. **Learn more at g.co/nest/cam-mem.
What’s Included in the Box:

2 Magnetic plates
2 Wall plates
4 Wall anchors
4 Wall screws
1 Charging cable
1 Power adapter
Quick start guide
Safety & warranty document
How to Install:
Download the Google Home app.
Charge the Nest Cam (battery) by plugging the charging cable into the power adapter on the camera and into an outlet; the light will turn solid white once it’s charged.
Add the Nest Cam (battery)to the Google Home app by scanning the device’s QR Code.
Connect the Nest Cam (battery)to your home Wi-Fi network and take it to the place where you want to install it.
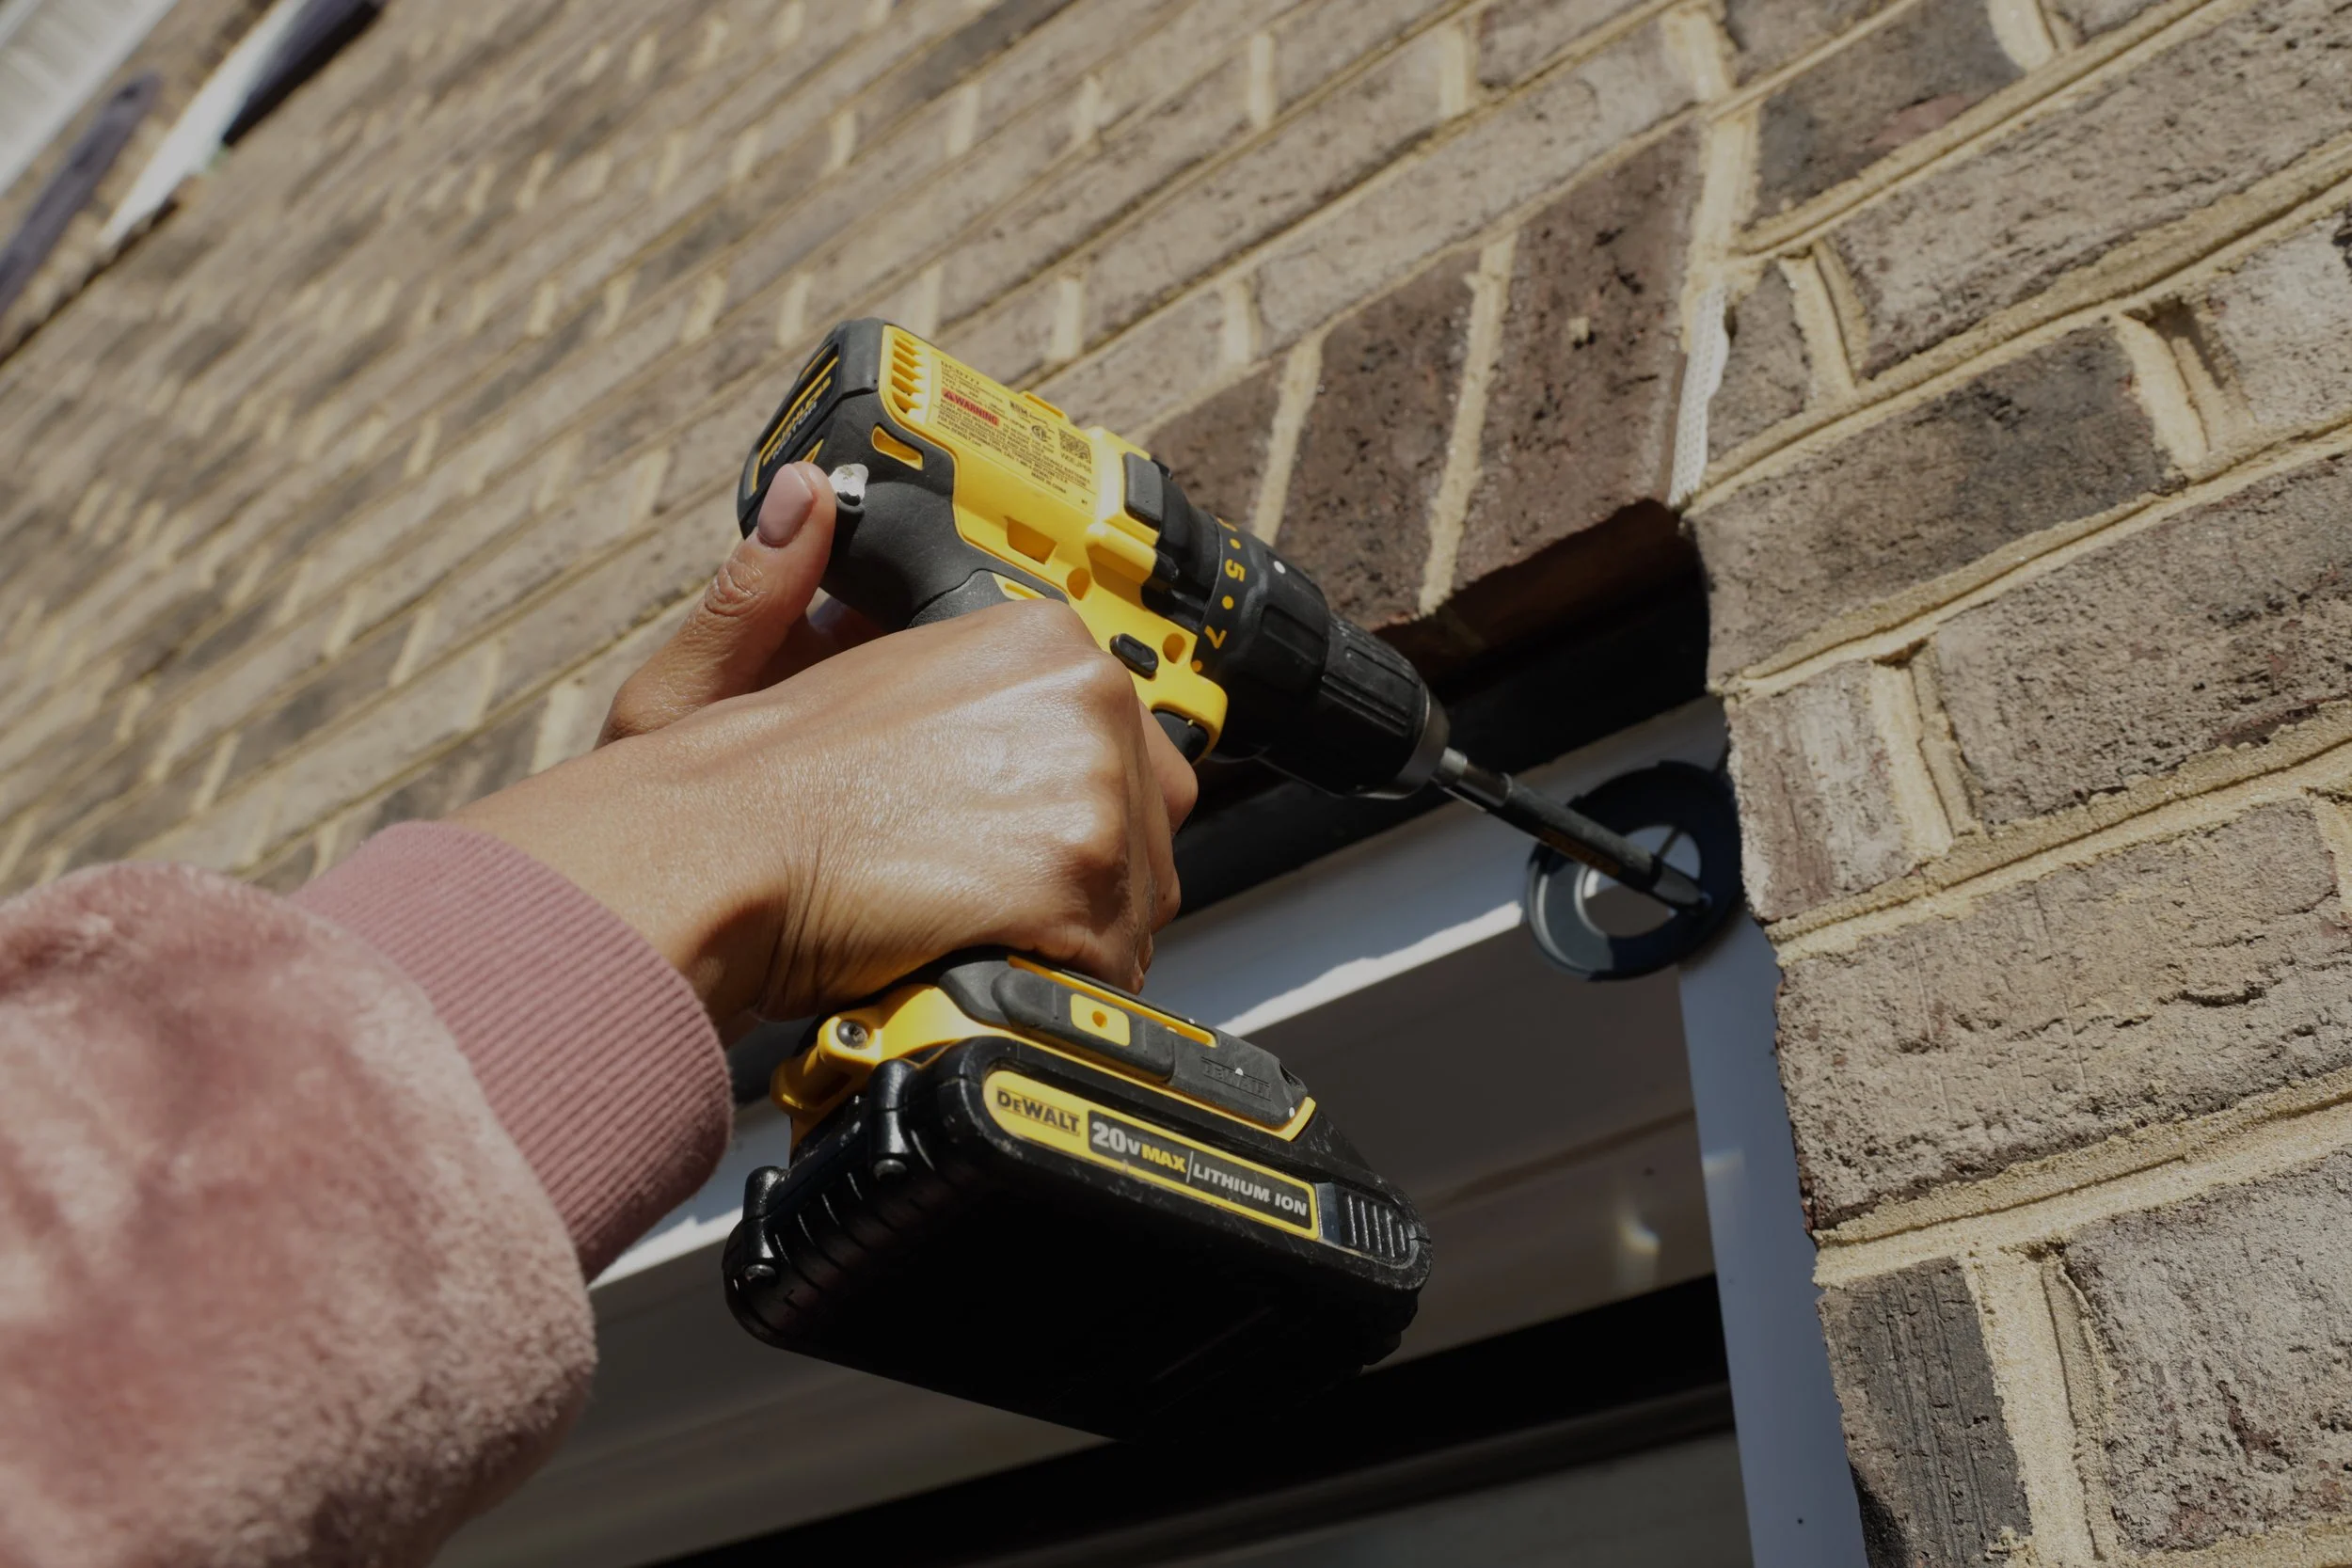
If you want to mount the Nest Cam (battery)to a wall, install the wall plate with a drill and the screws provided; it should be about 6-6.5 feet above the ground to get the best view.
6. Twist the magnetic plate clockwise over the wall plate to secure it.
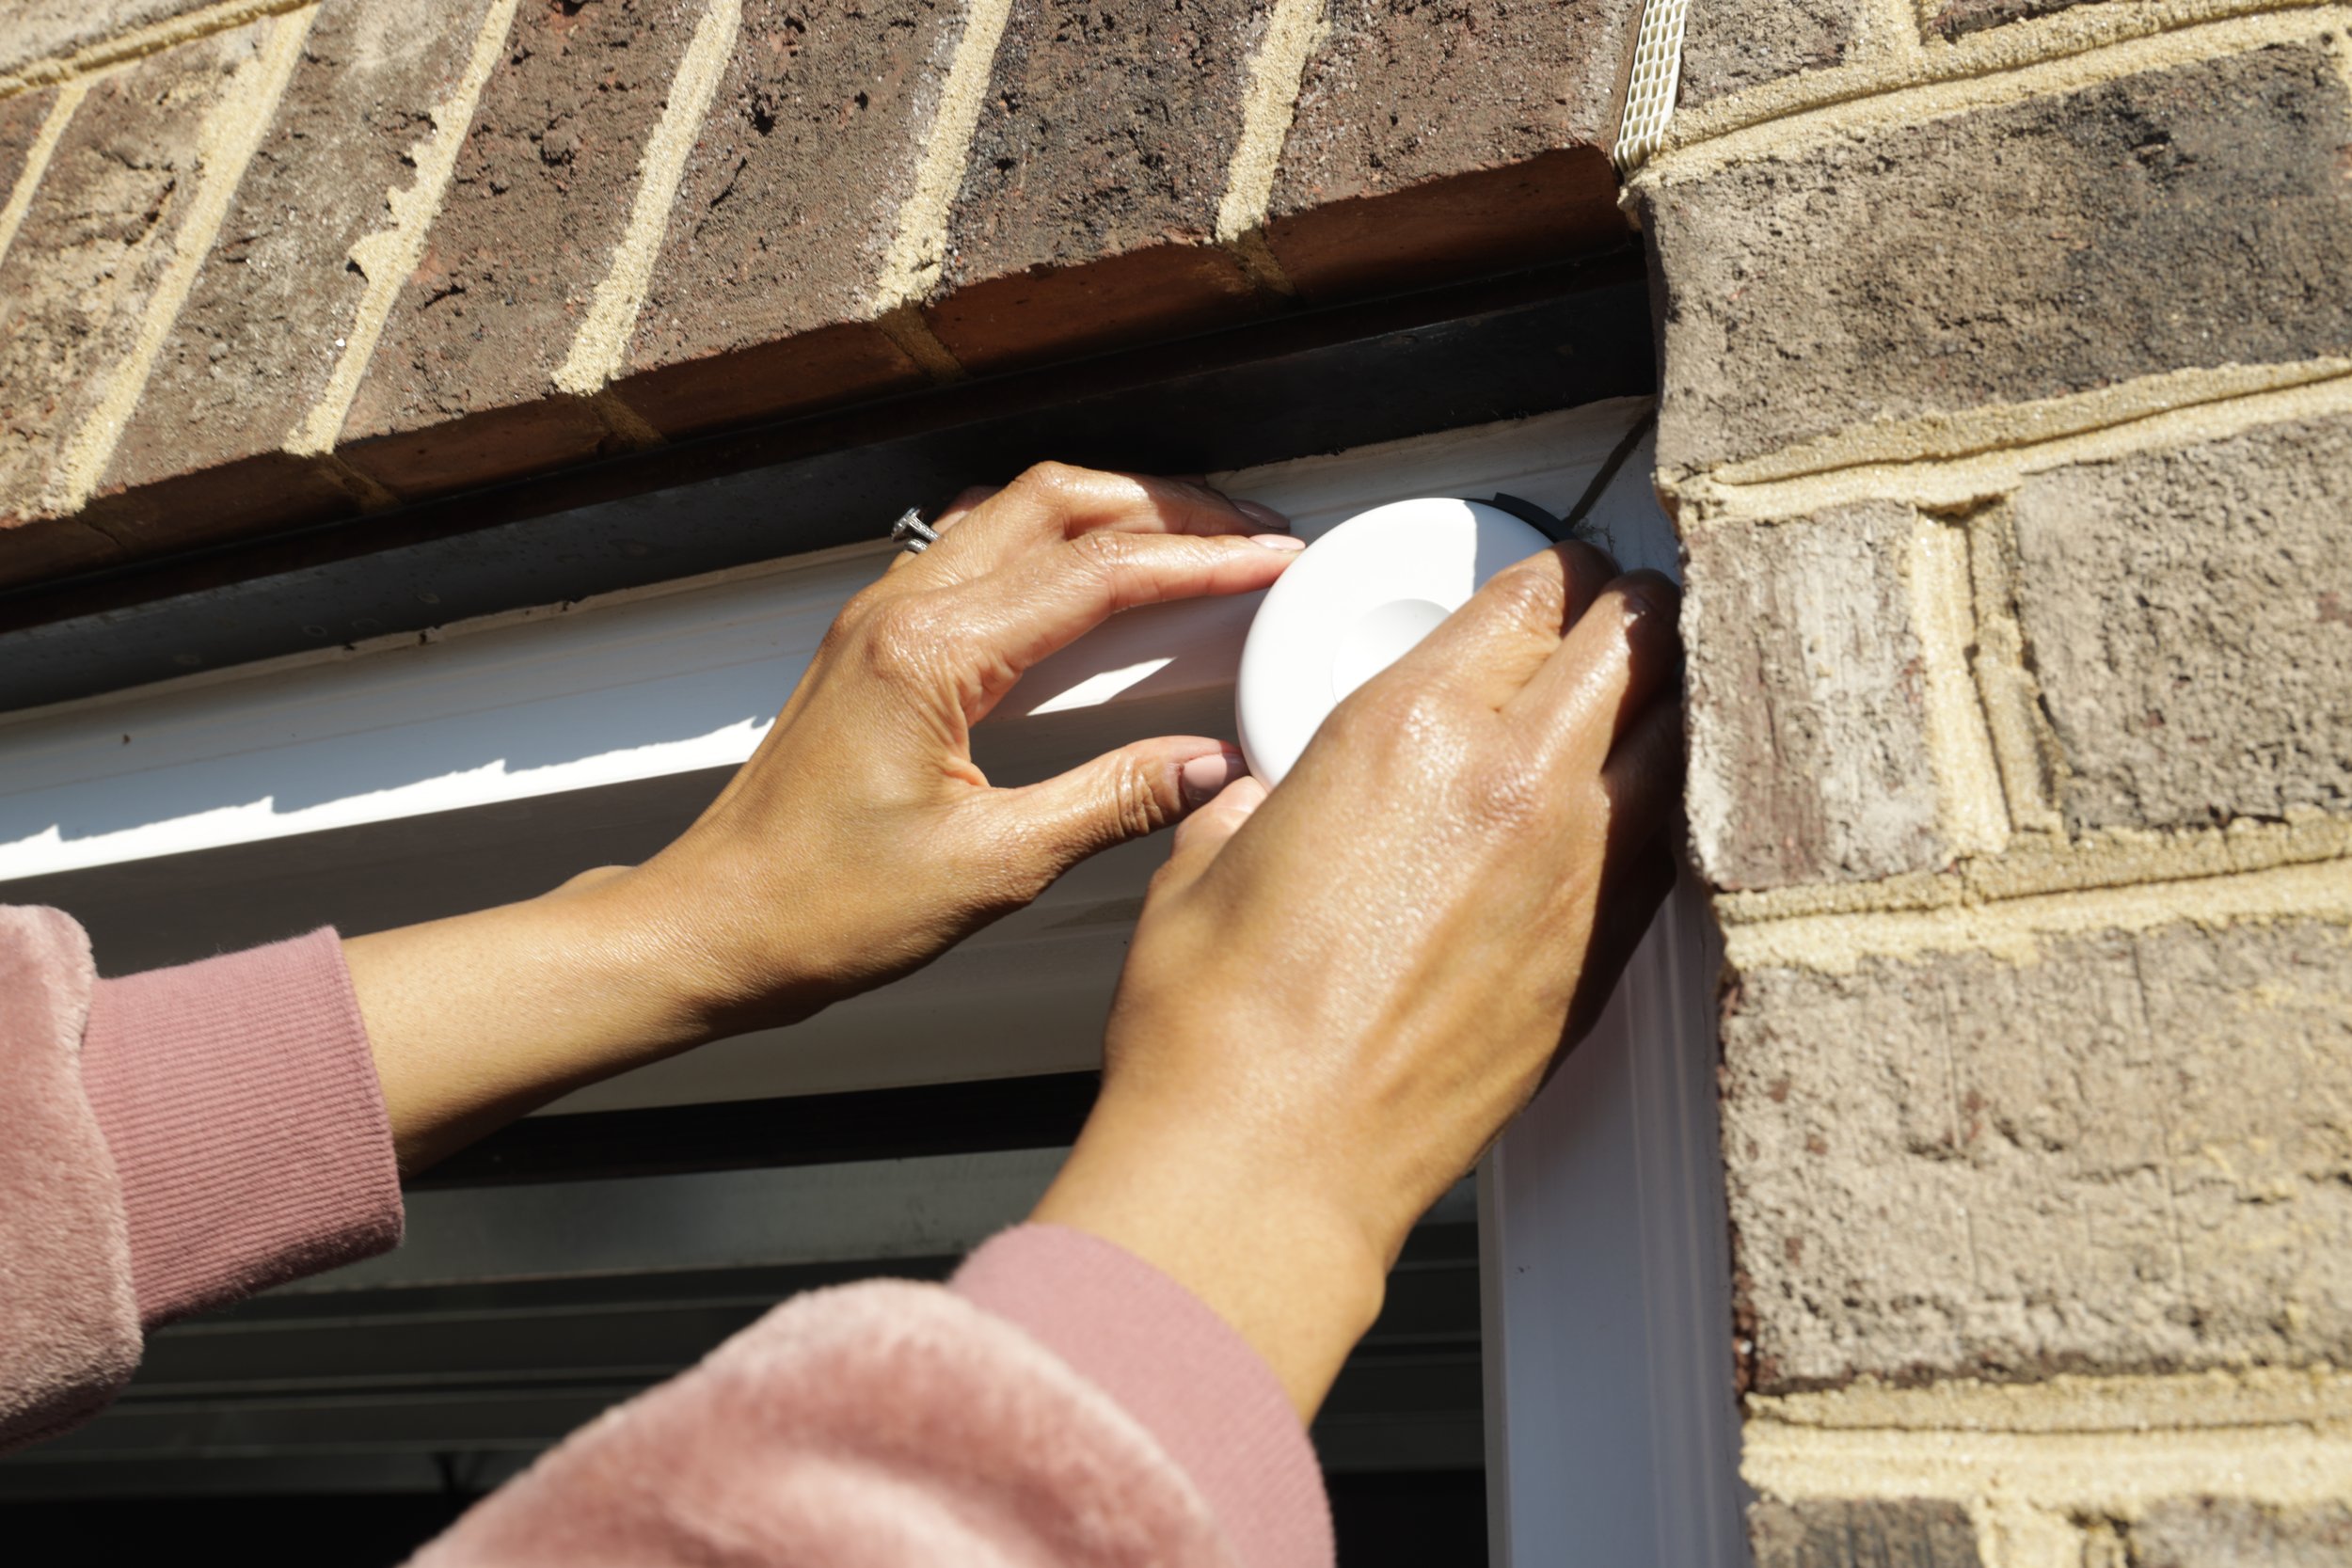
7. Attach the camera to the magnetic mount. Align the camera so that the status light is at the top and the speaker is on the bottom.
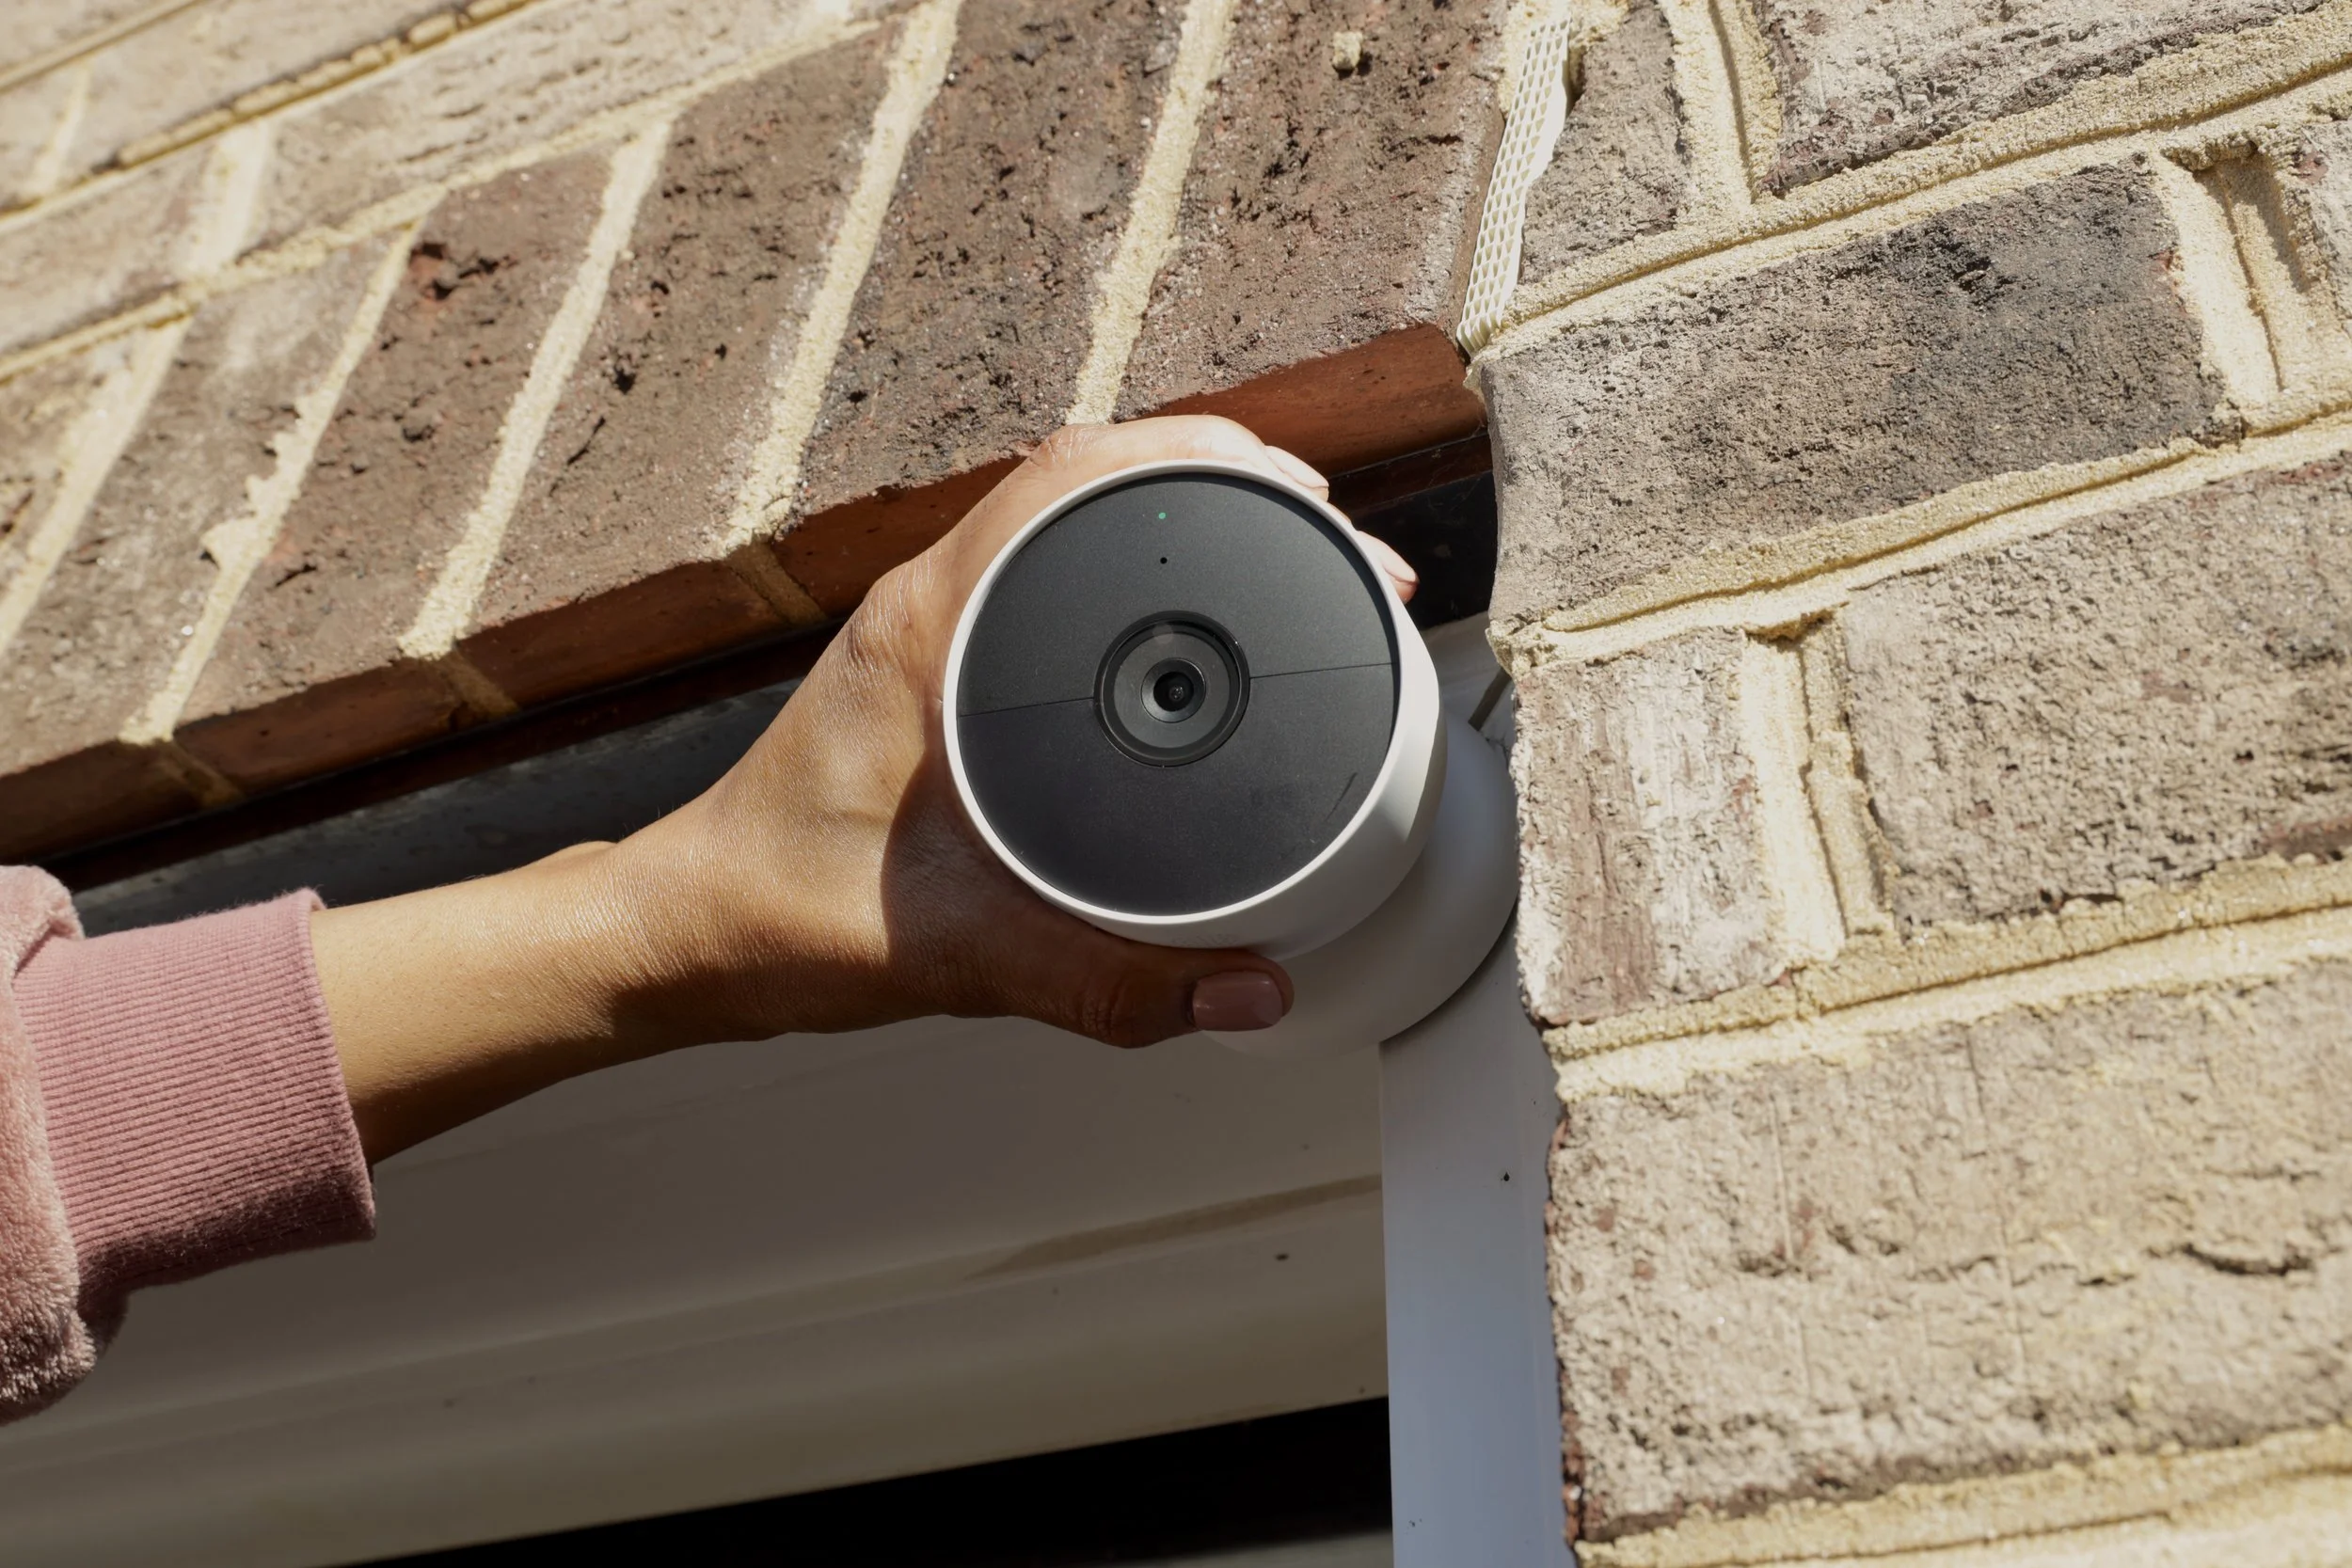
Note: If you want to mount the Nest Cam (battery) to a metal surface like I did below, simply place the magnetic plate on the surface and attach the camera to the plate.


8. Finish setting up the Nest Cam (battery) by following the steps in the Google Home app.

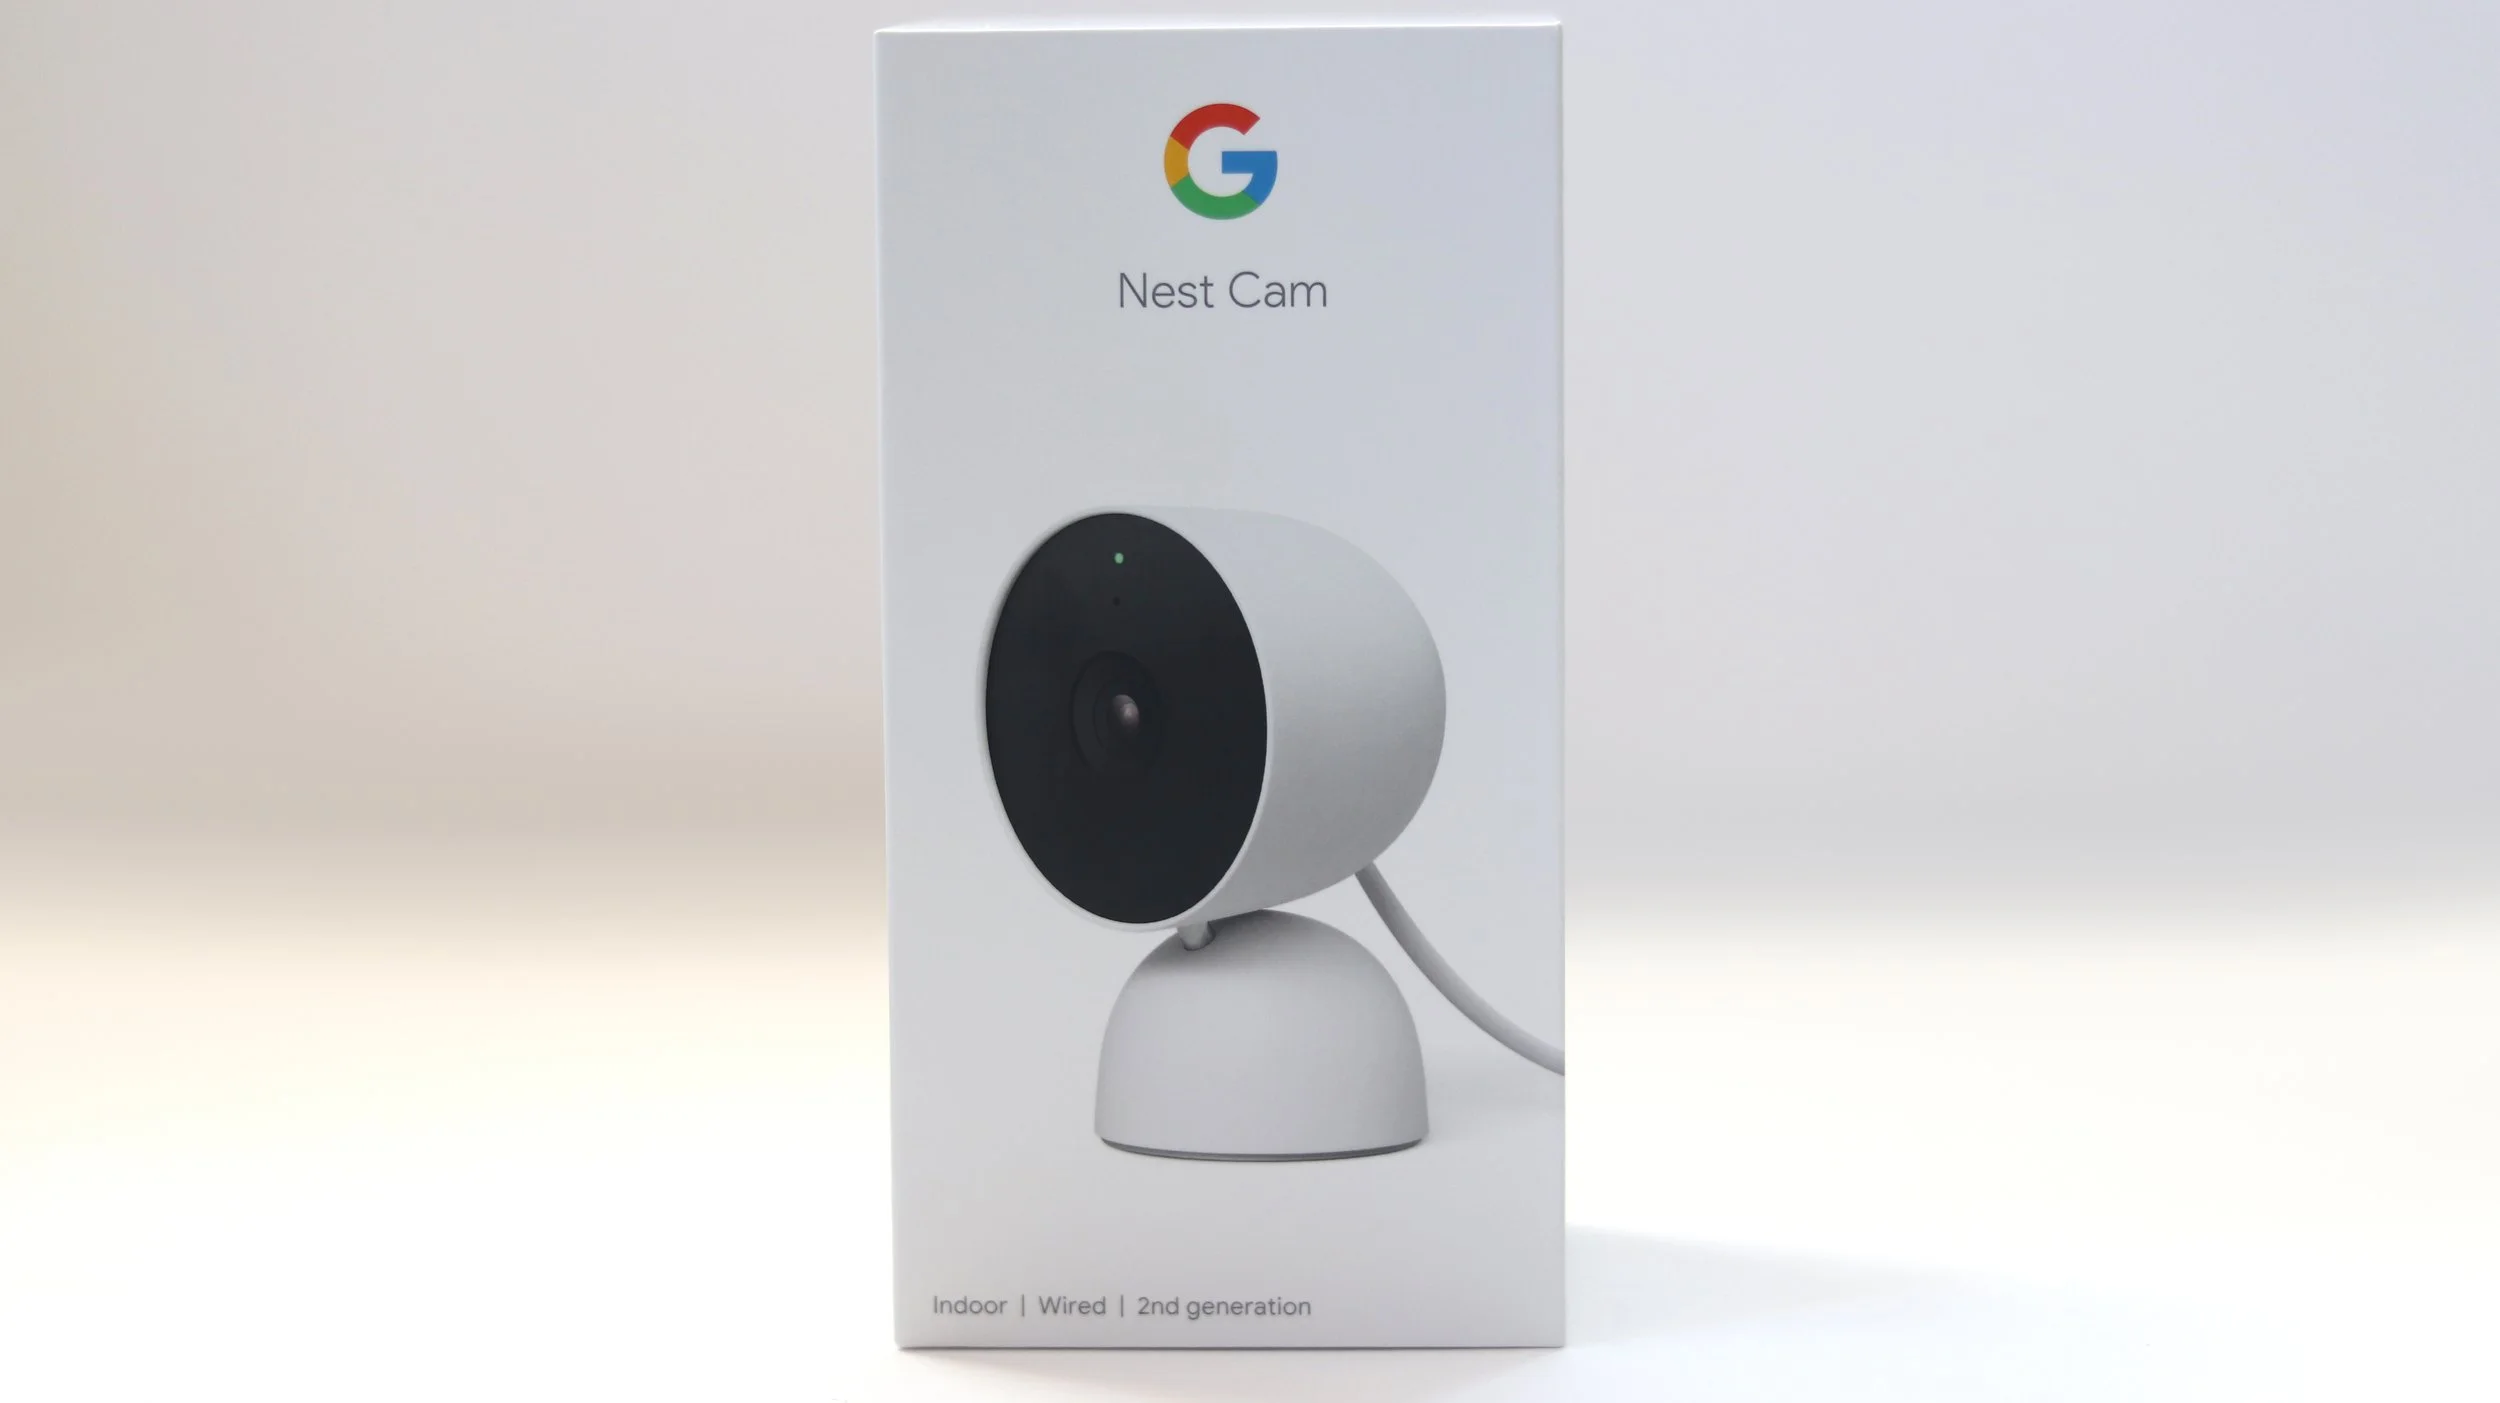
Google Nest Cam Indoor (Wired)
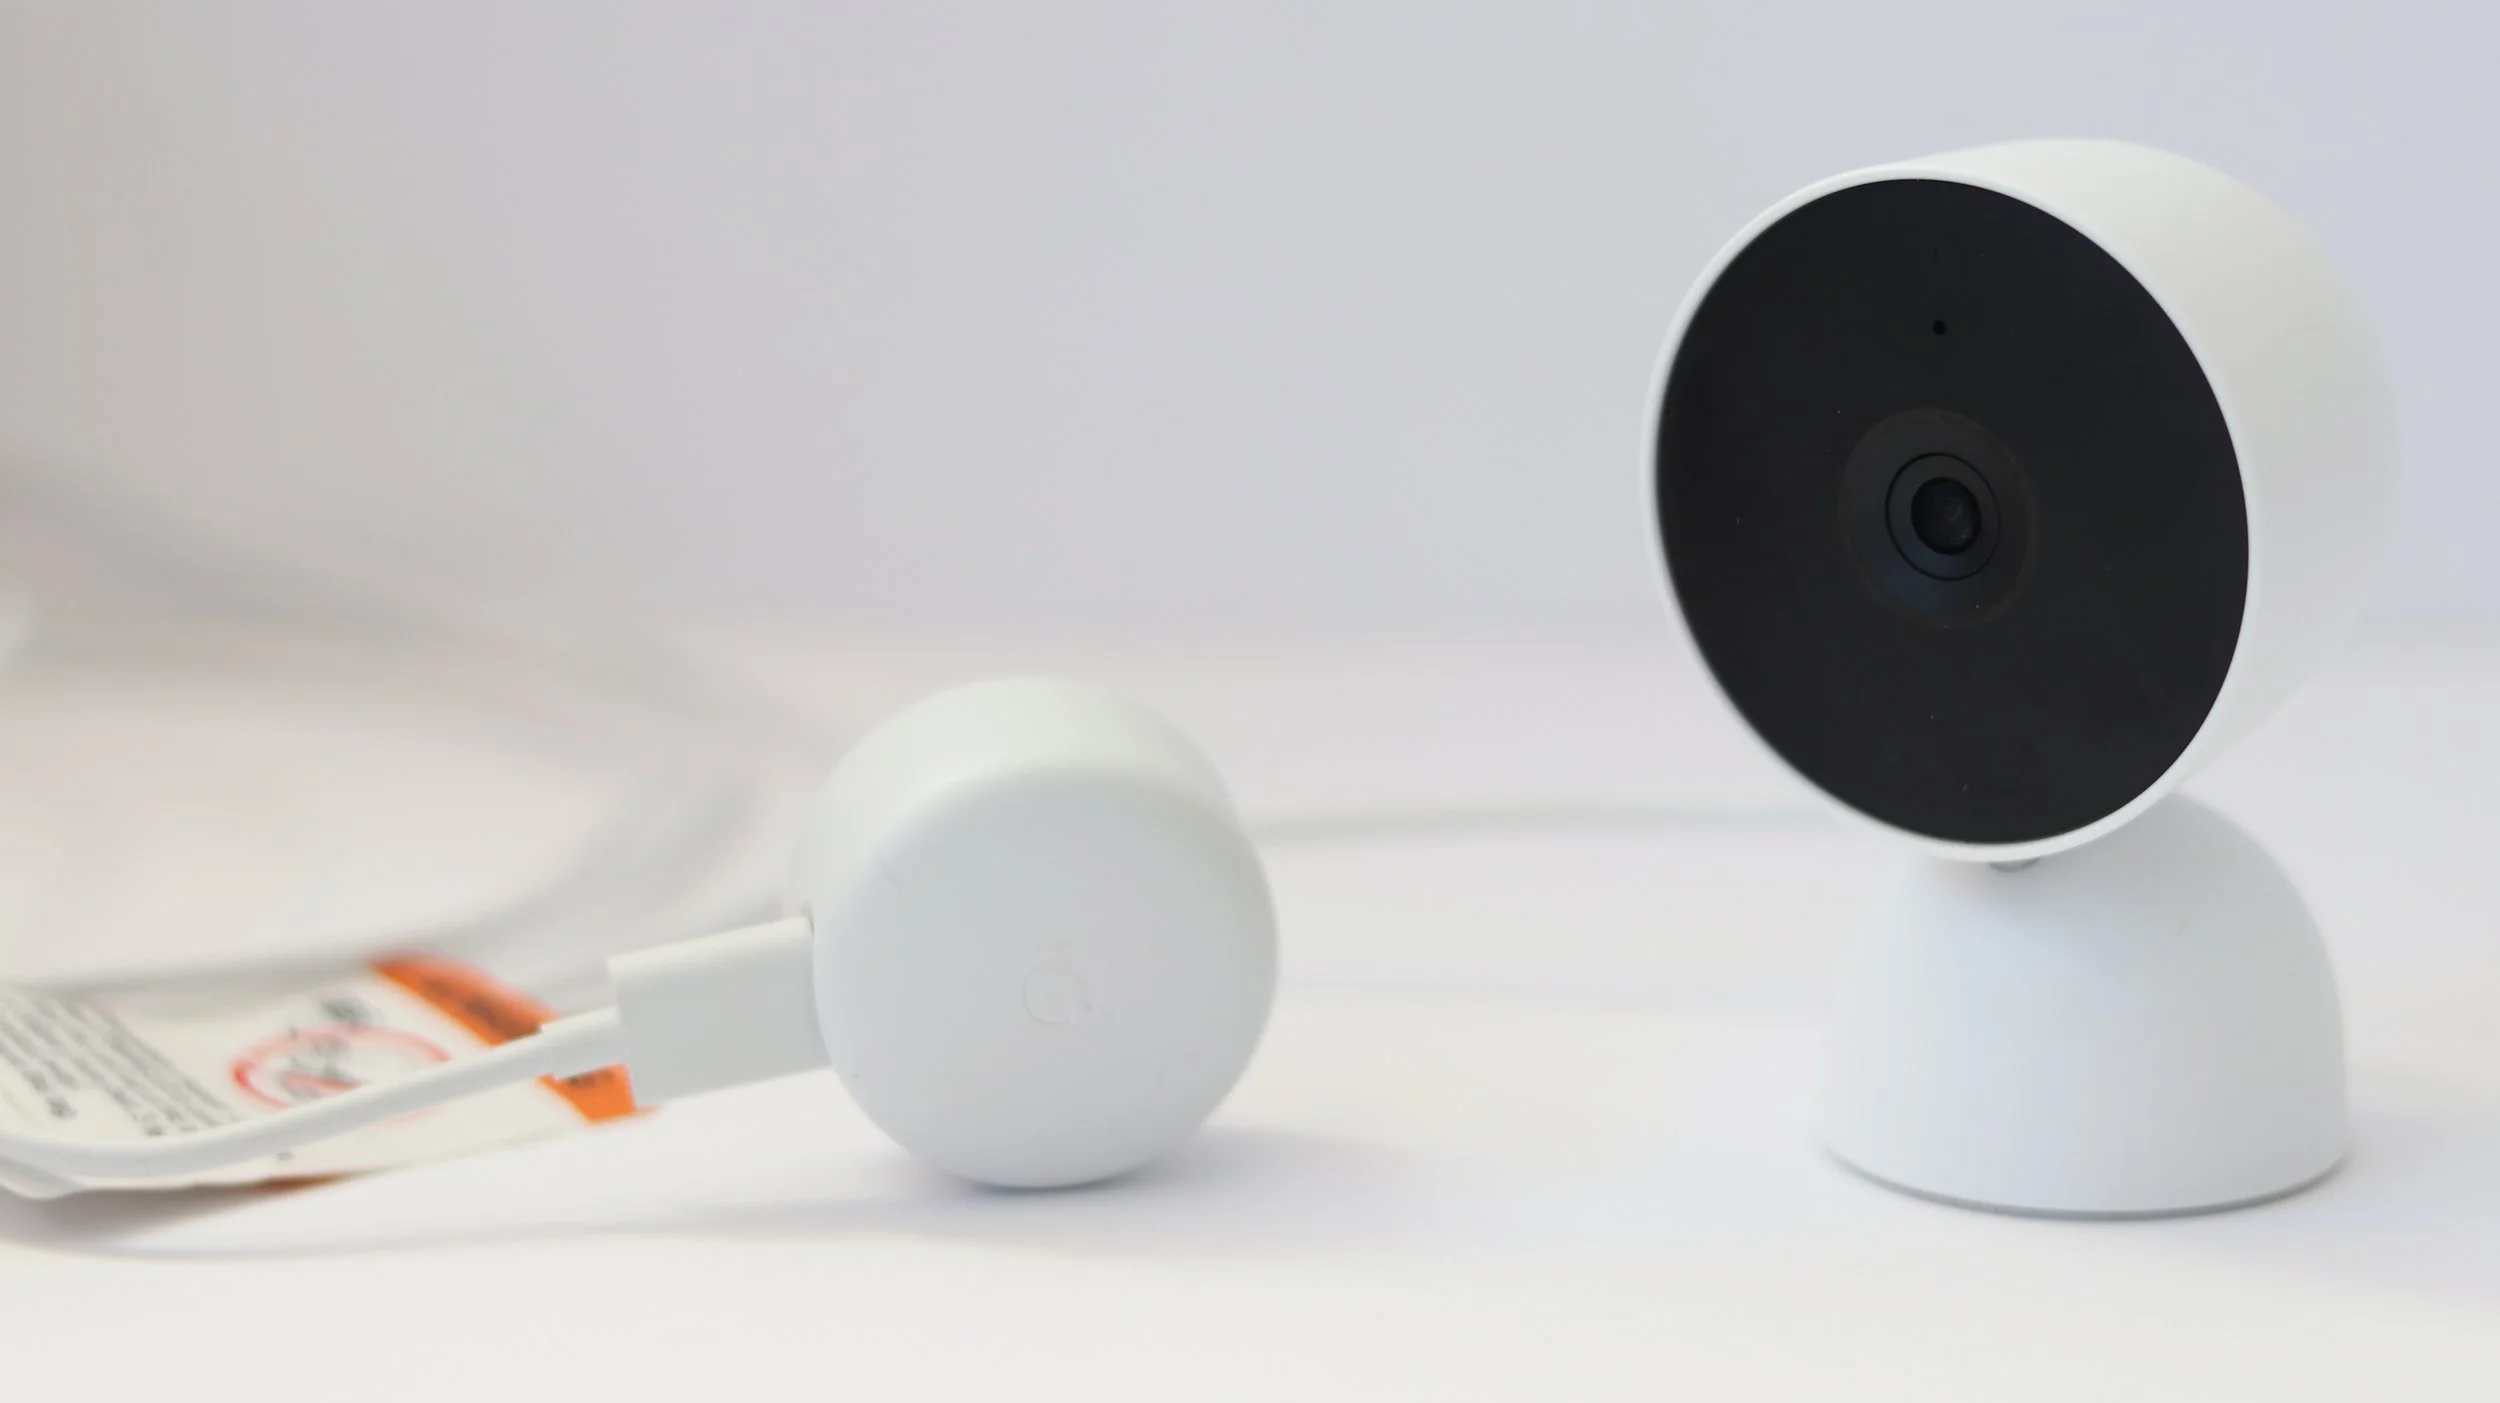
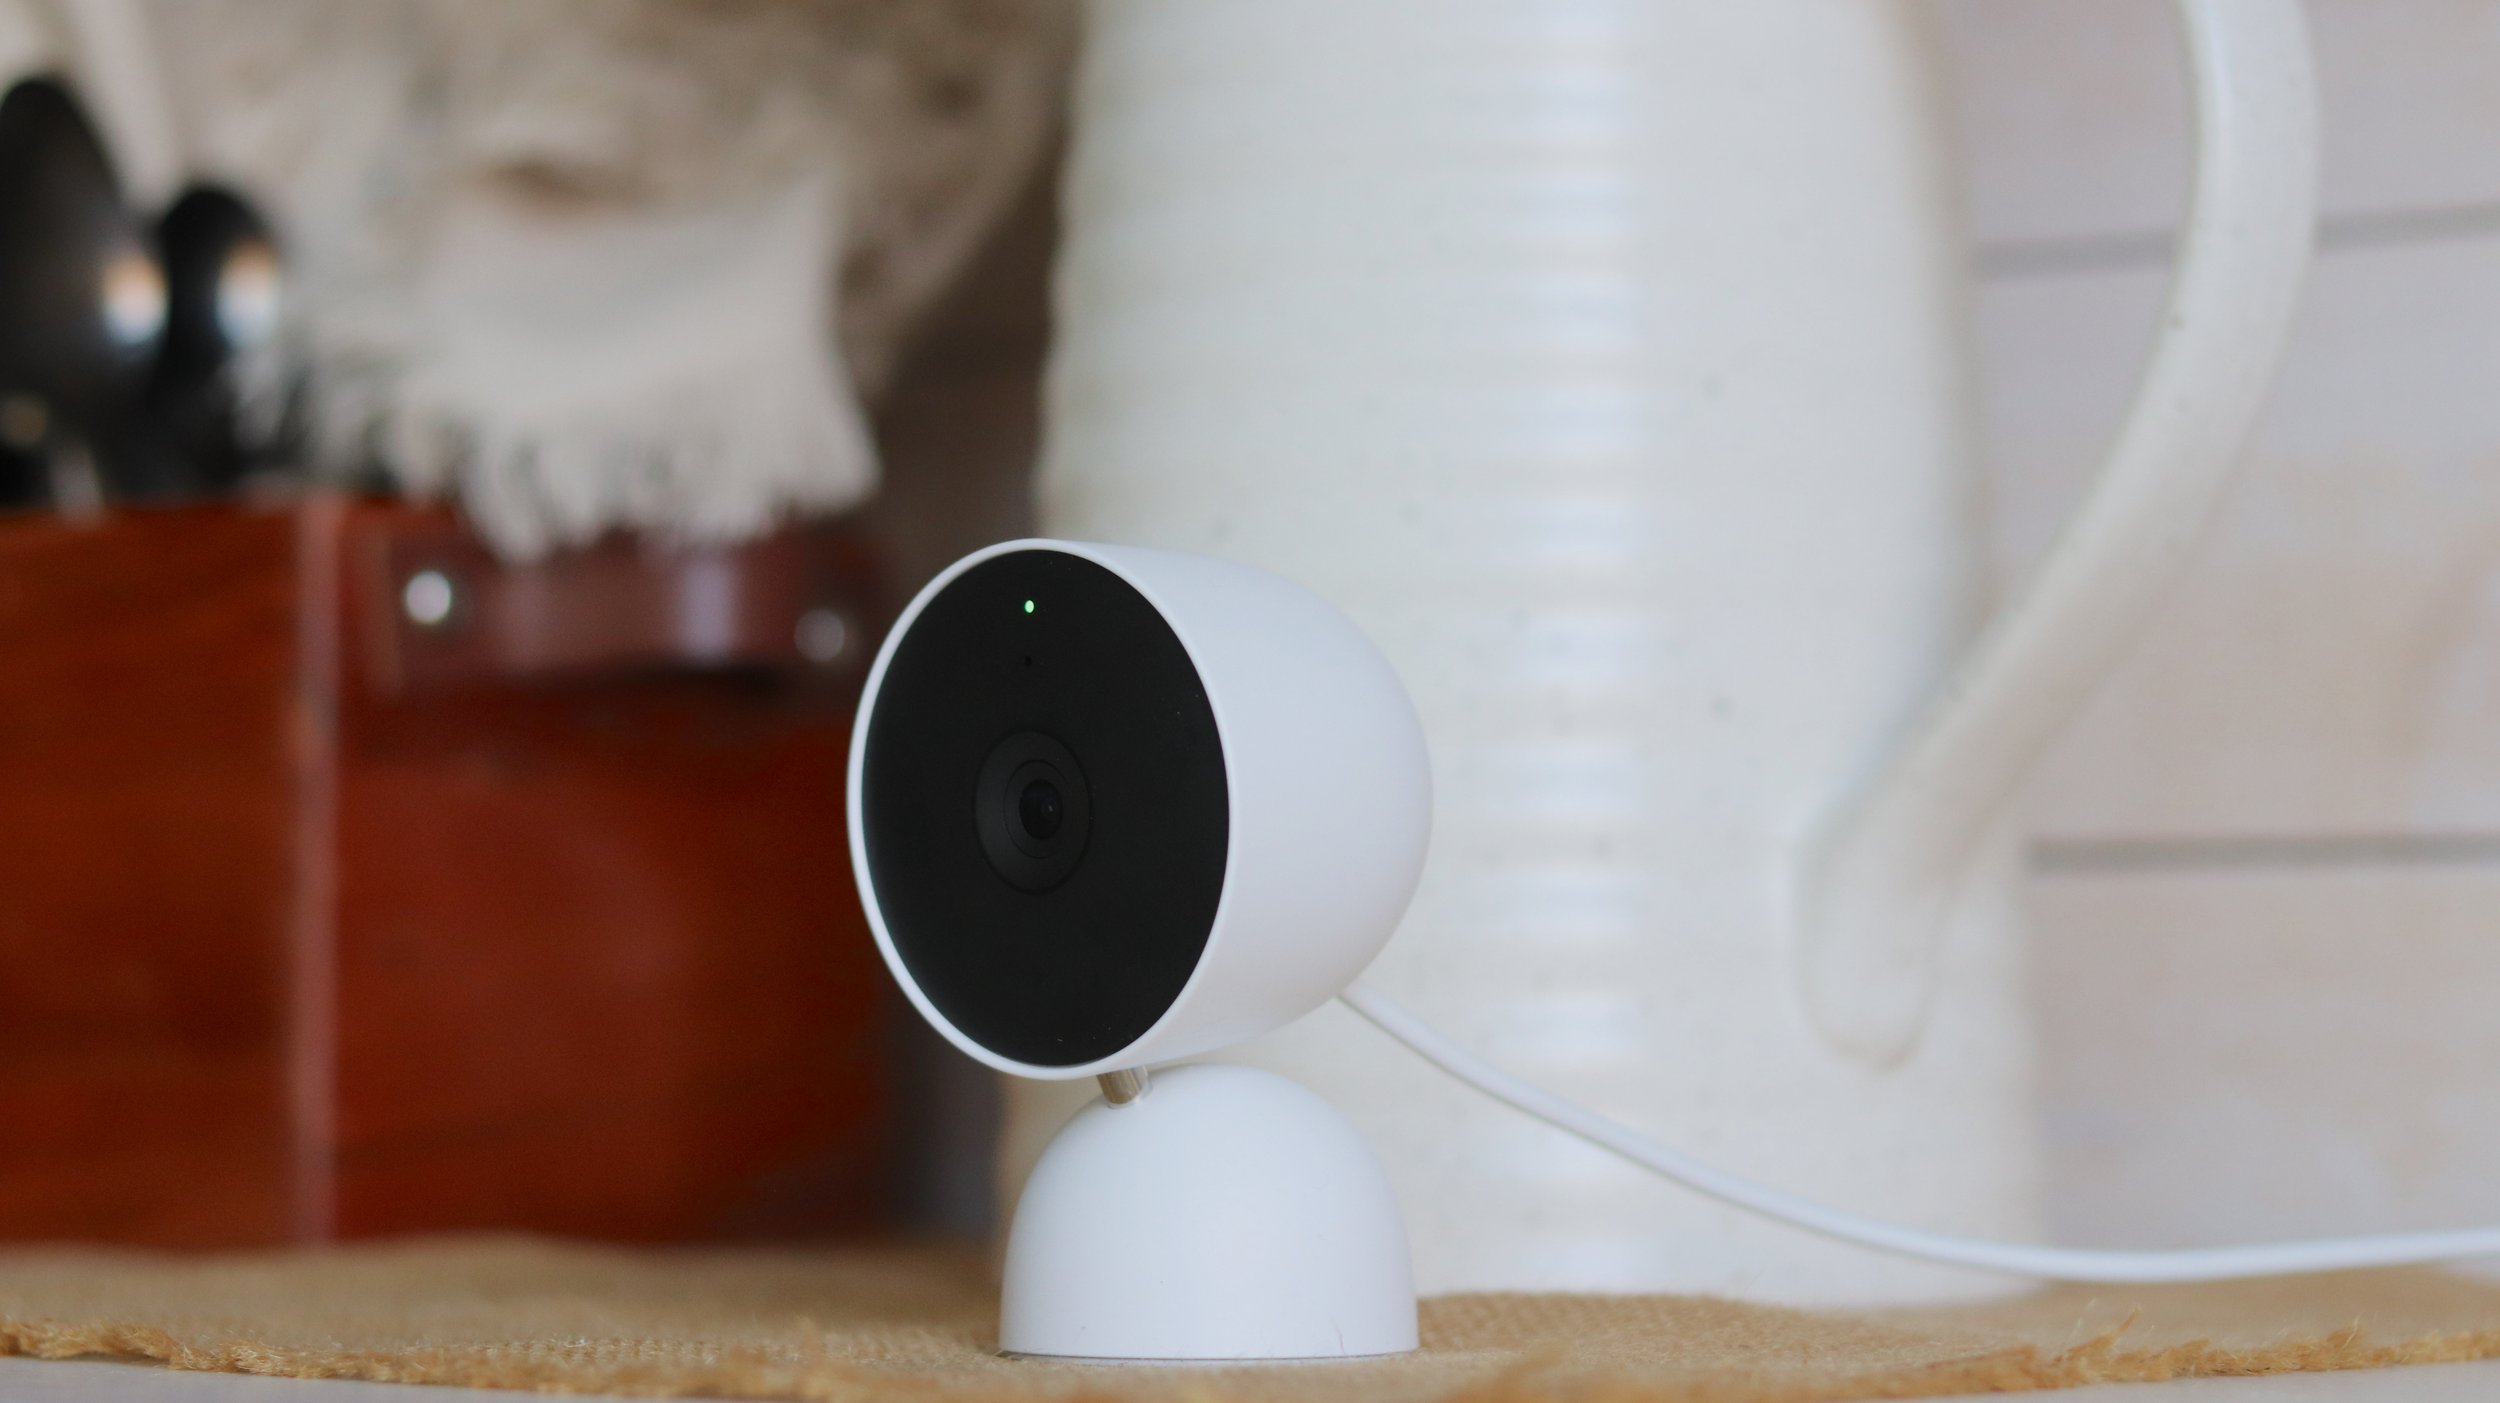
The stylish, sleek design of the Google Nest Cam Indoor (wired) fit perfectly with the decor at our home. I used the built-in stand, but whether you use that, the wall mount or the hinge, you always get the perfect angle, no matter where you put the Nest Cam Indoor (wired).
With built-in intelligence that knows the difference between a person and a pet, the Nest Cam Indoor (wired) sends me alerts in the Google Home app when there’s relevant activity.* Not only can I check up on things 24/7 in the Google Home app with live 1080p HD video*, but HDR and night vision give me a clear image even in bright sunlight and low light.
And, as with the Nest Doorbell (battery) and Nest Cam (battery), I can go back in time to see what happened in the Google Home app with 3 hours of free event history included.**
Disclaimers:
*Some features, including mobile notifications, remote control, video streaming, and video recording, require working internet and Wi-Fi.
**Up to 3 hours recording. Learn more at g.co/nest/3hours.
What’s Included in the Box:
1 power adapter
Wall screws
Wall anchors
Quick start guide
Safety & warranty document

How to Install:
Download the Google Home app.
Add the Nest Cam Indoor (wired) to the Google Home app by scanning the device’s QR Code.
Plug the camera in an outlet close to where you’d like to use your Nest Cam Indoor (wired).

4. The status light will turn white when the Nest Cam Indoor (wired) is connected to power; when the status light turns blue, the device is ready for set up.
5. Finish setting up the Nest Cam Indoor (wired) by following the steps in the Google Home app.
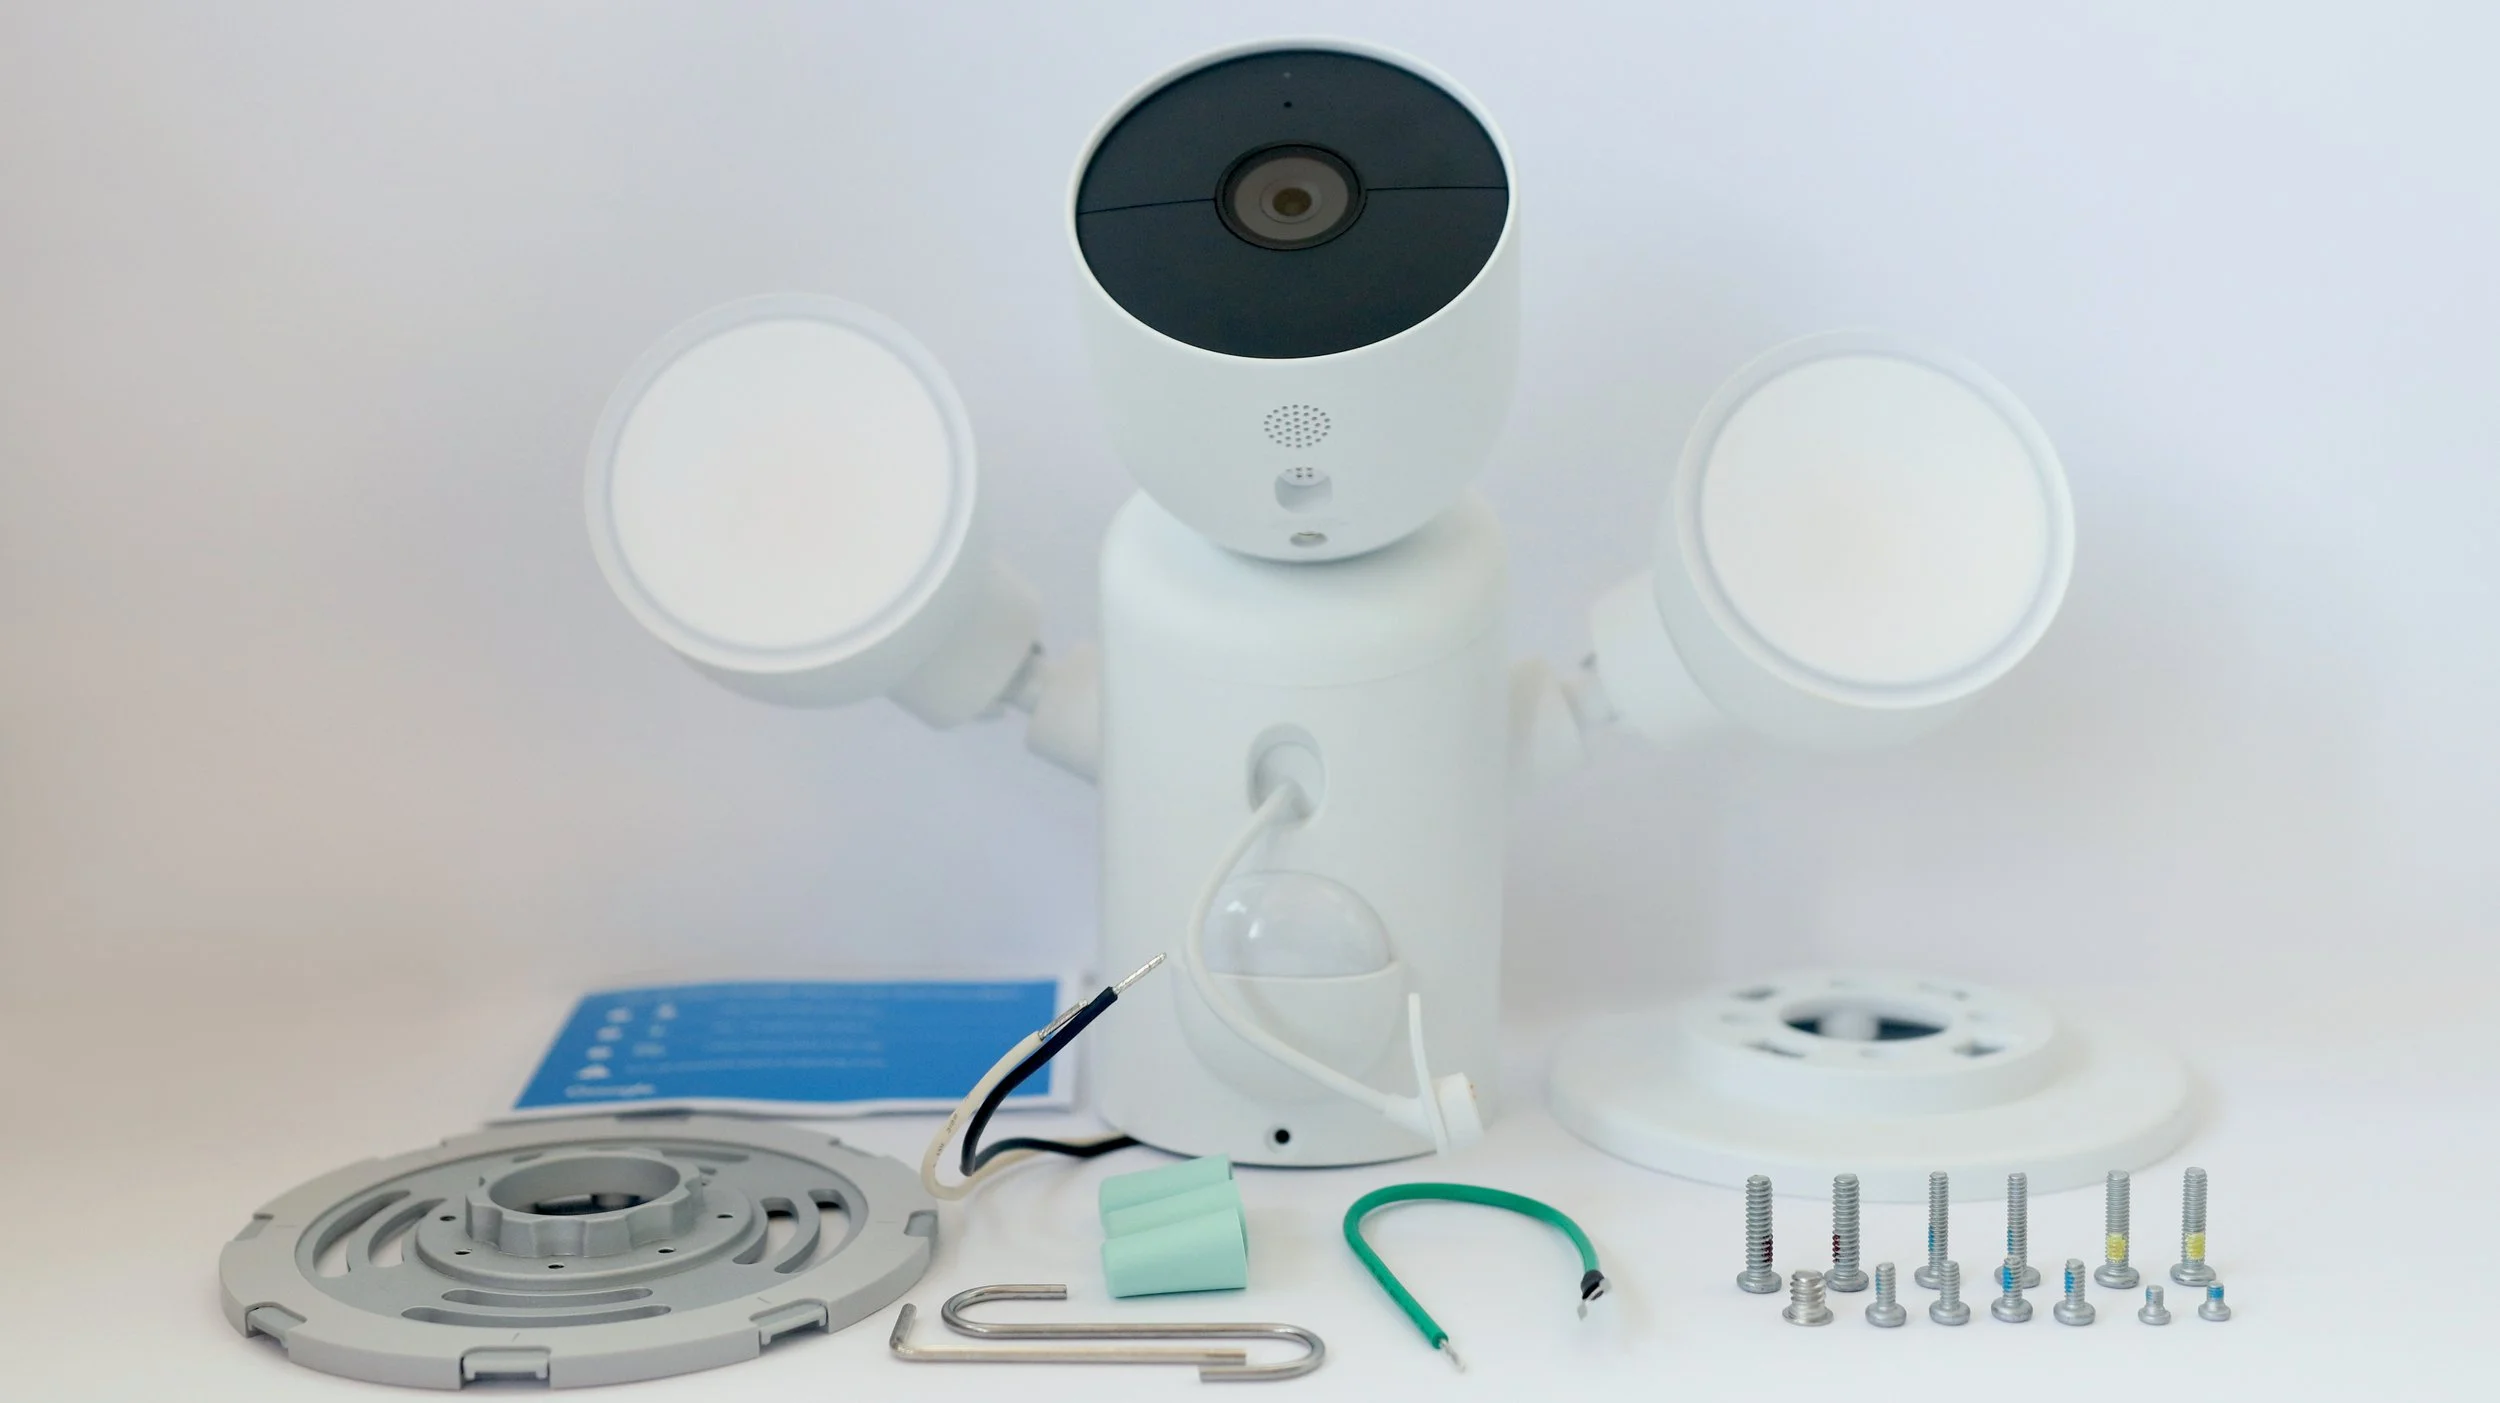
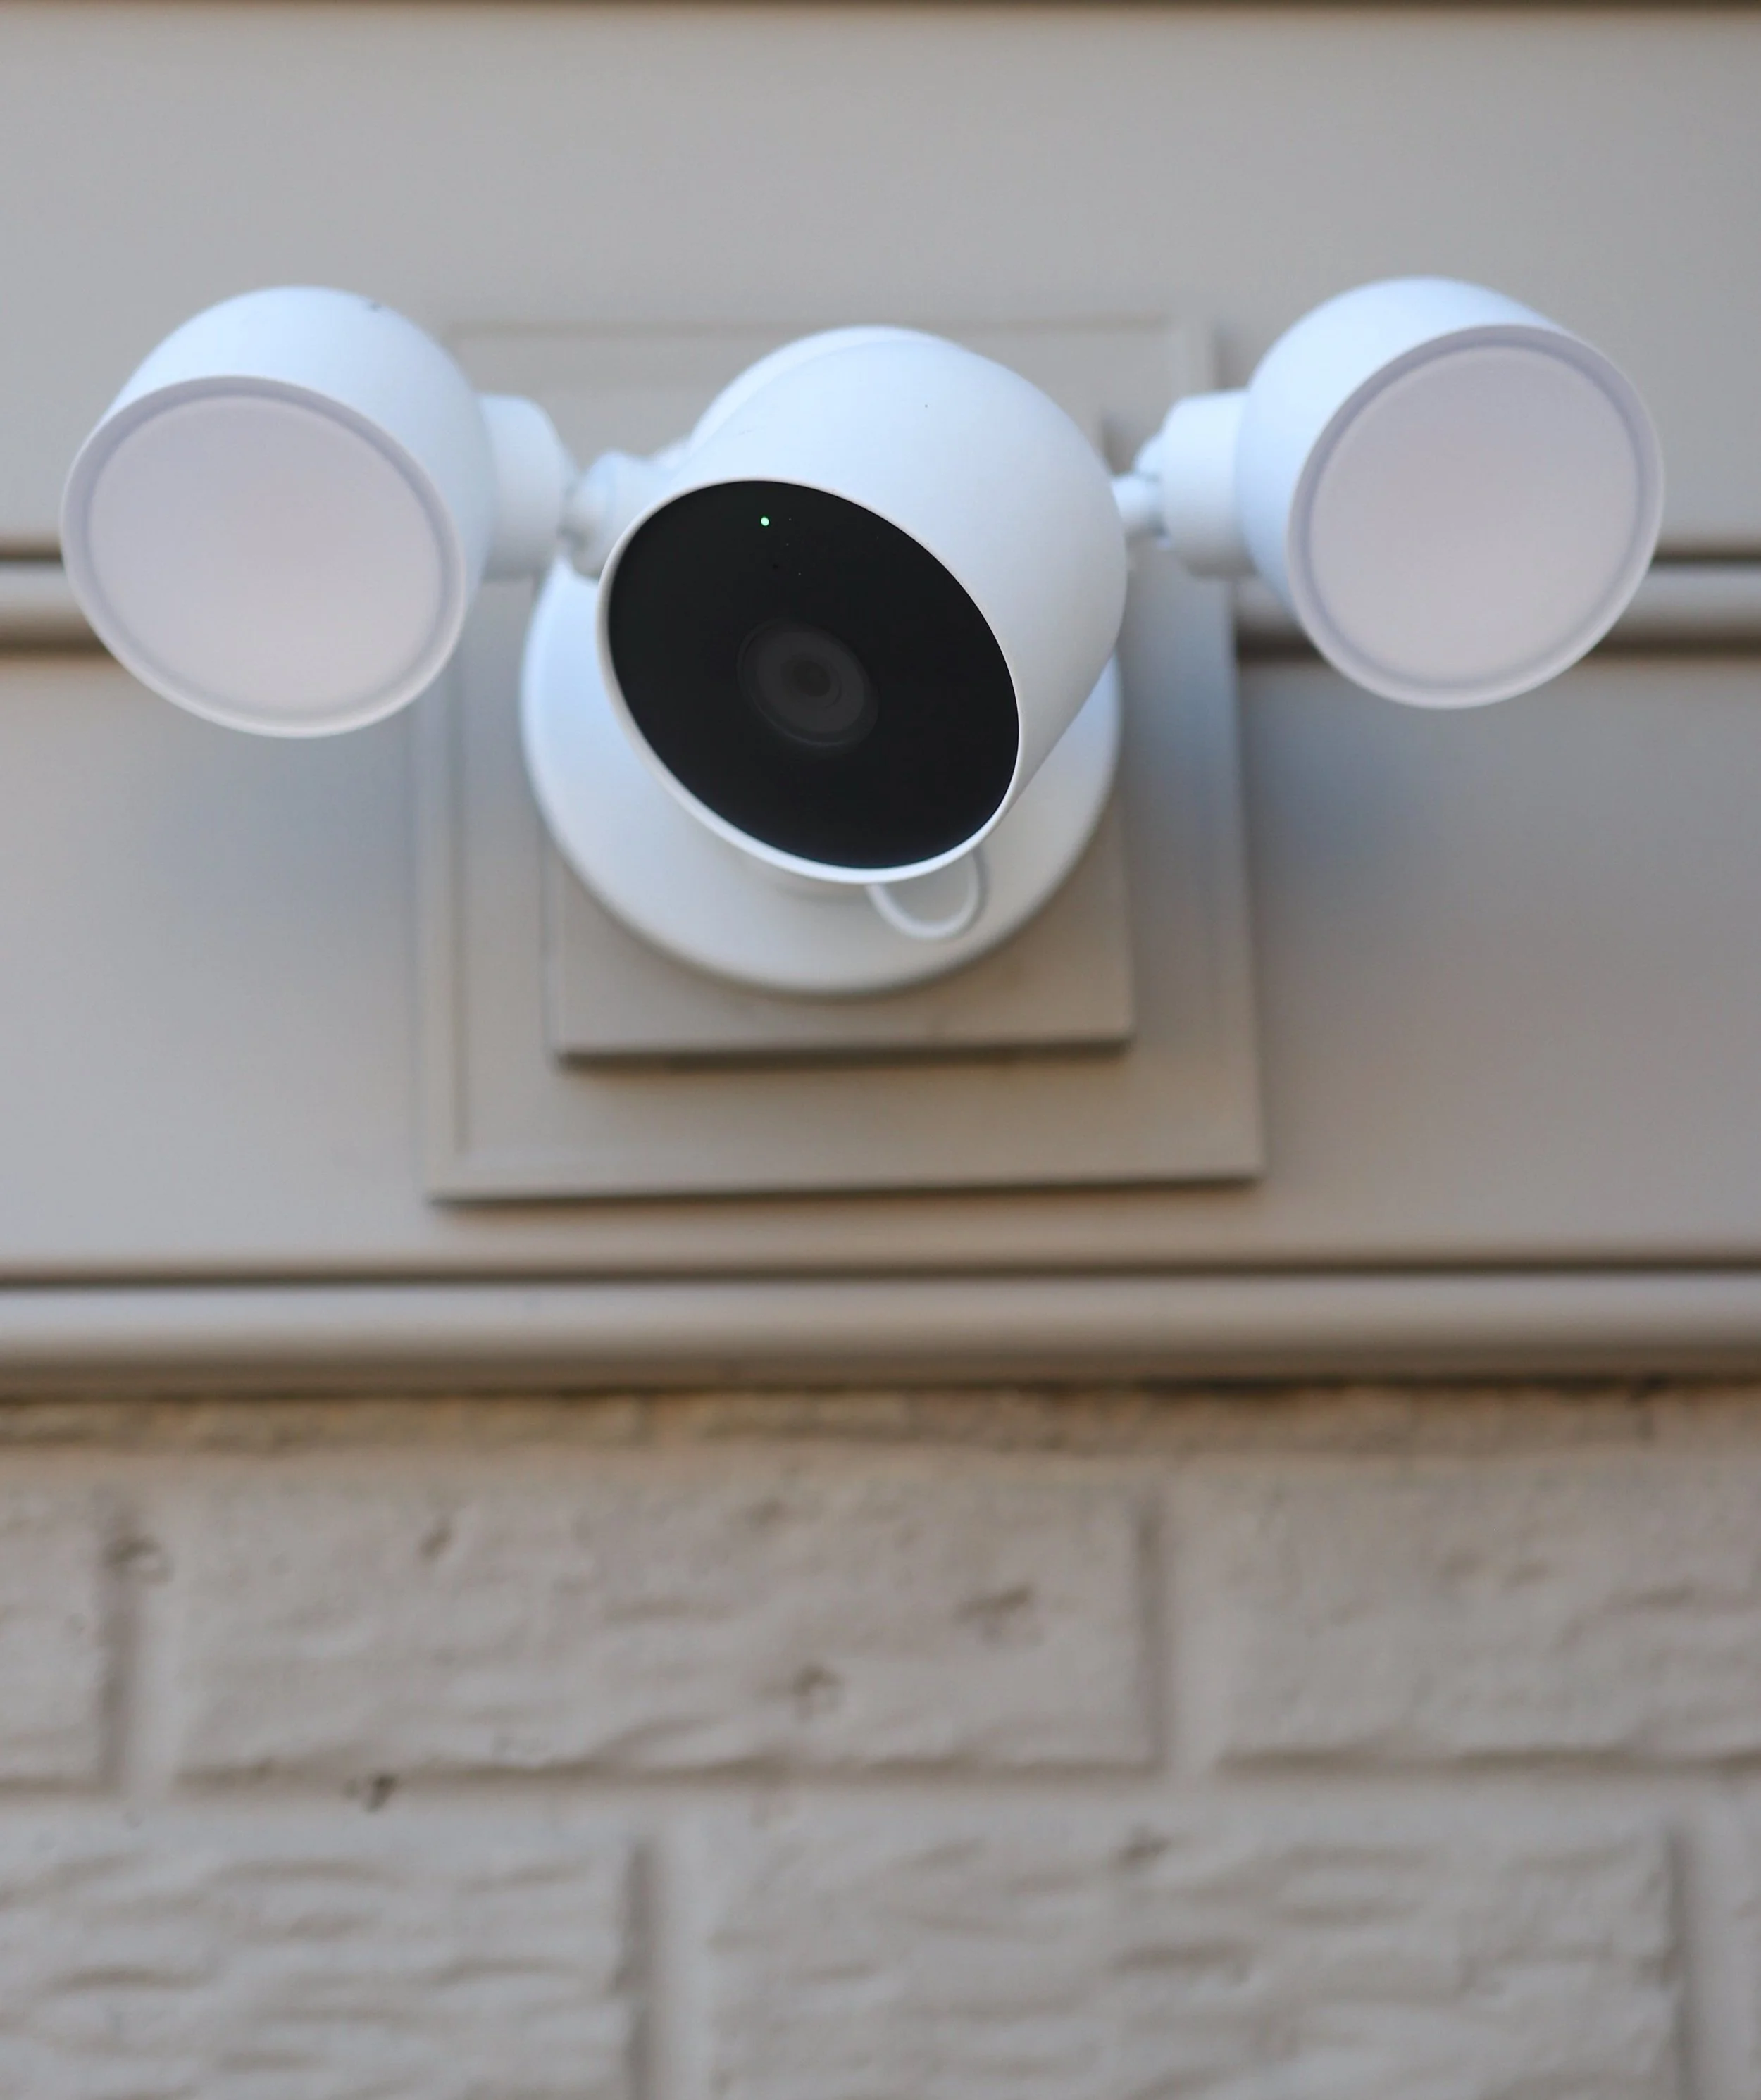
Google Nest Camera with Floodlight

We barely ever opened our basement door before Hailey arrived, but now that she’s here, we use it all the time. With custom alerts and bright lights, I feel so much safer now knowing that the Google Nest Cam with Floodlight is there to light the way for us or draw attention to unexpected visitors.
The Nest Cam with Floodlight has built-in intelligence for better detection, so it knows the difference between people, animals, and vehicles, which allows it to send alerts that matter to me.*
With the Google Home app, I can see what’s happening outside my door 24/7 in crisp 1080p HDR video. Plus, I can easily adjust brightness, sensitivity, and how long the light stays on. And, as with the other Google Nest home security cameras, I can look back with ease to see what I missed in the Google Home app with 3 hours of free event history included.**
Disclaimers:
*Some features, including mobile notifications, remote control, video streaming, and video recording, require working internet and Wi-Fi.
**Up to 3 hours recording. Learn more at g.co/nest/3hours.
What’s Included in the Box:

Mounting plate with grounding screw
Mounting plate cover
3 sets of 2 junction box screws
4 mounting plate screws
Wire connectors
Grounding wire
Anti-theft screws
S hook
Hex key
Quick start guide
Safety & warranty document
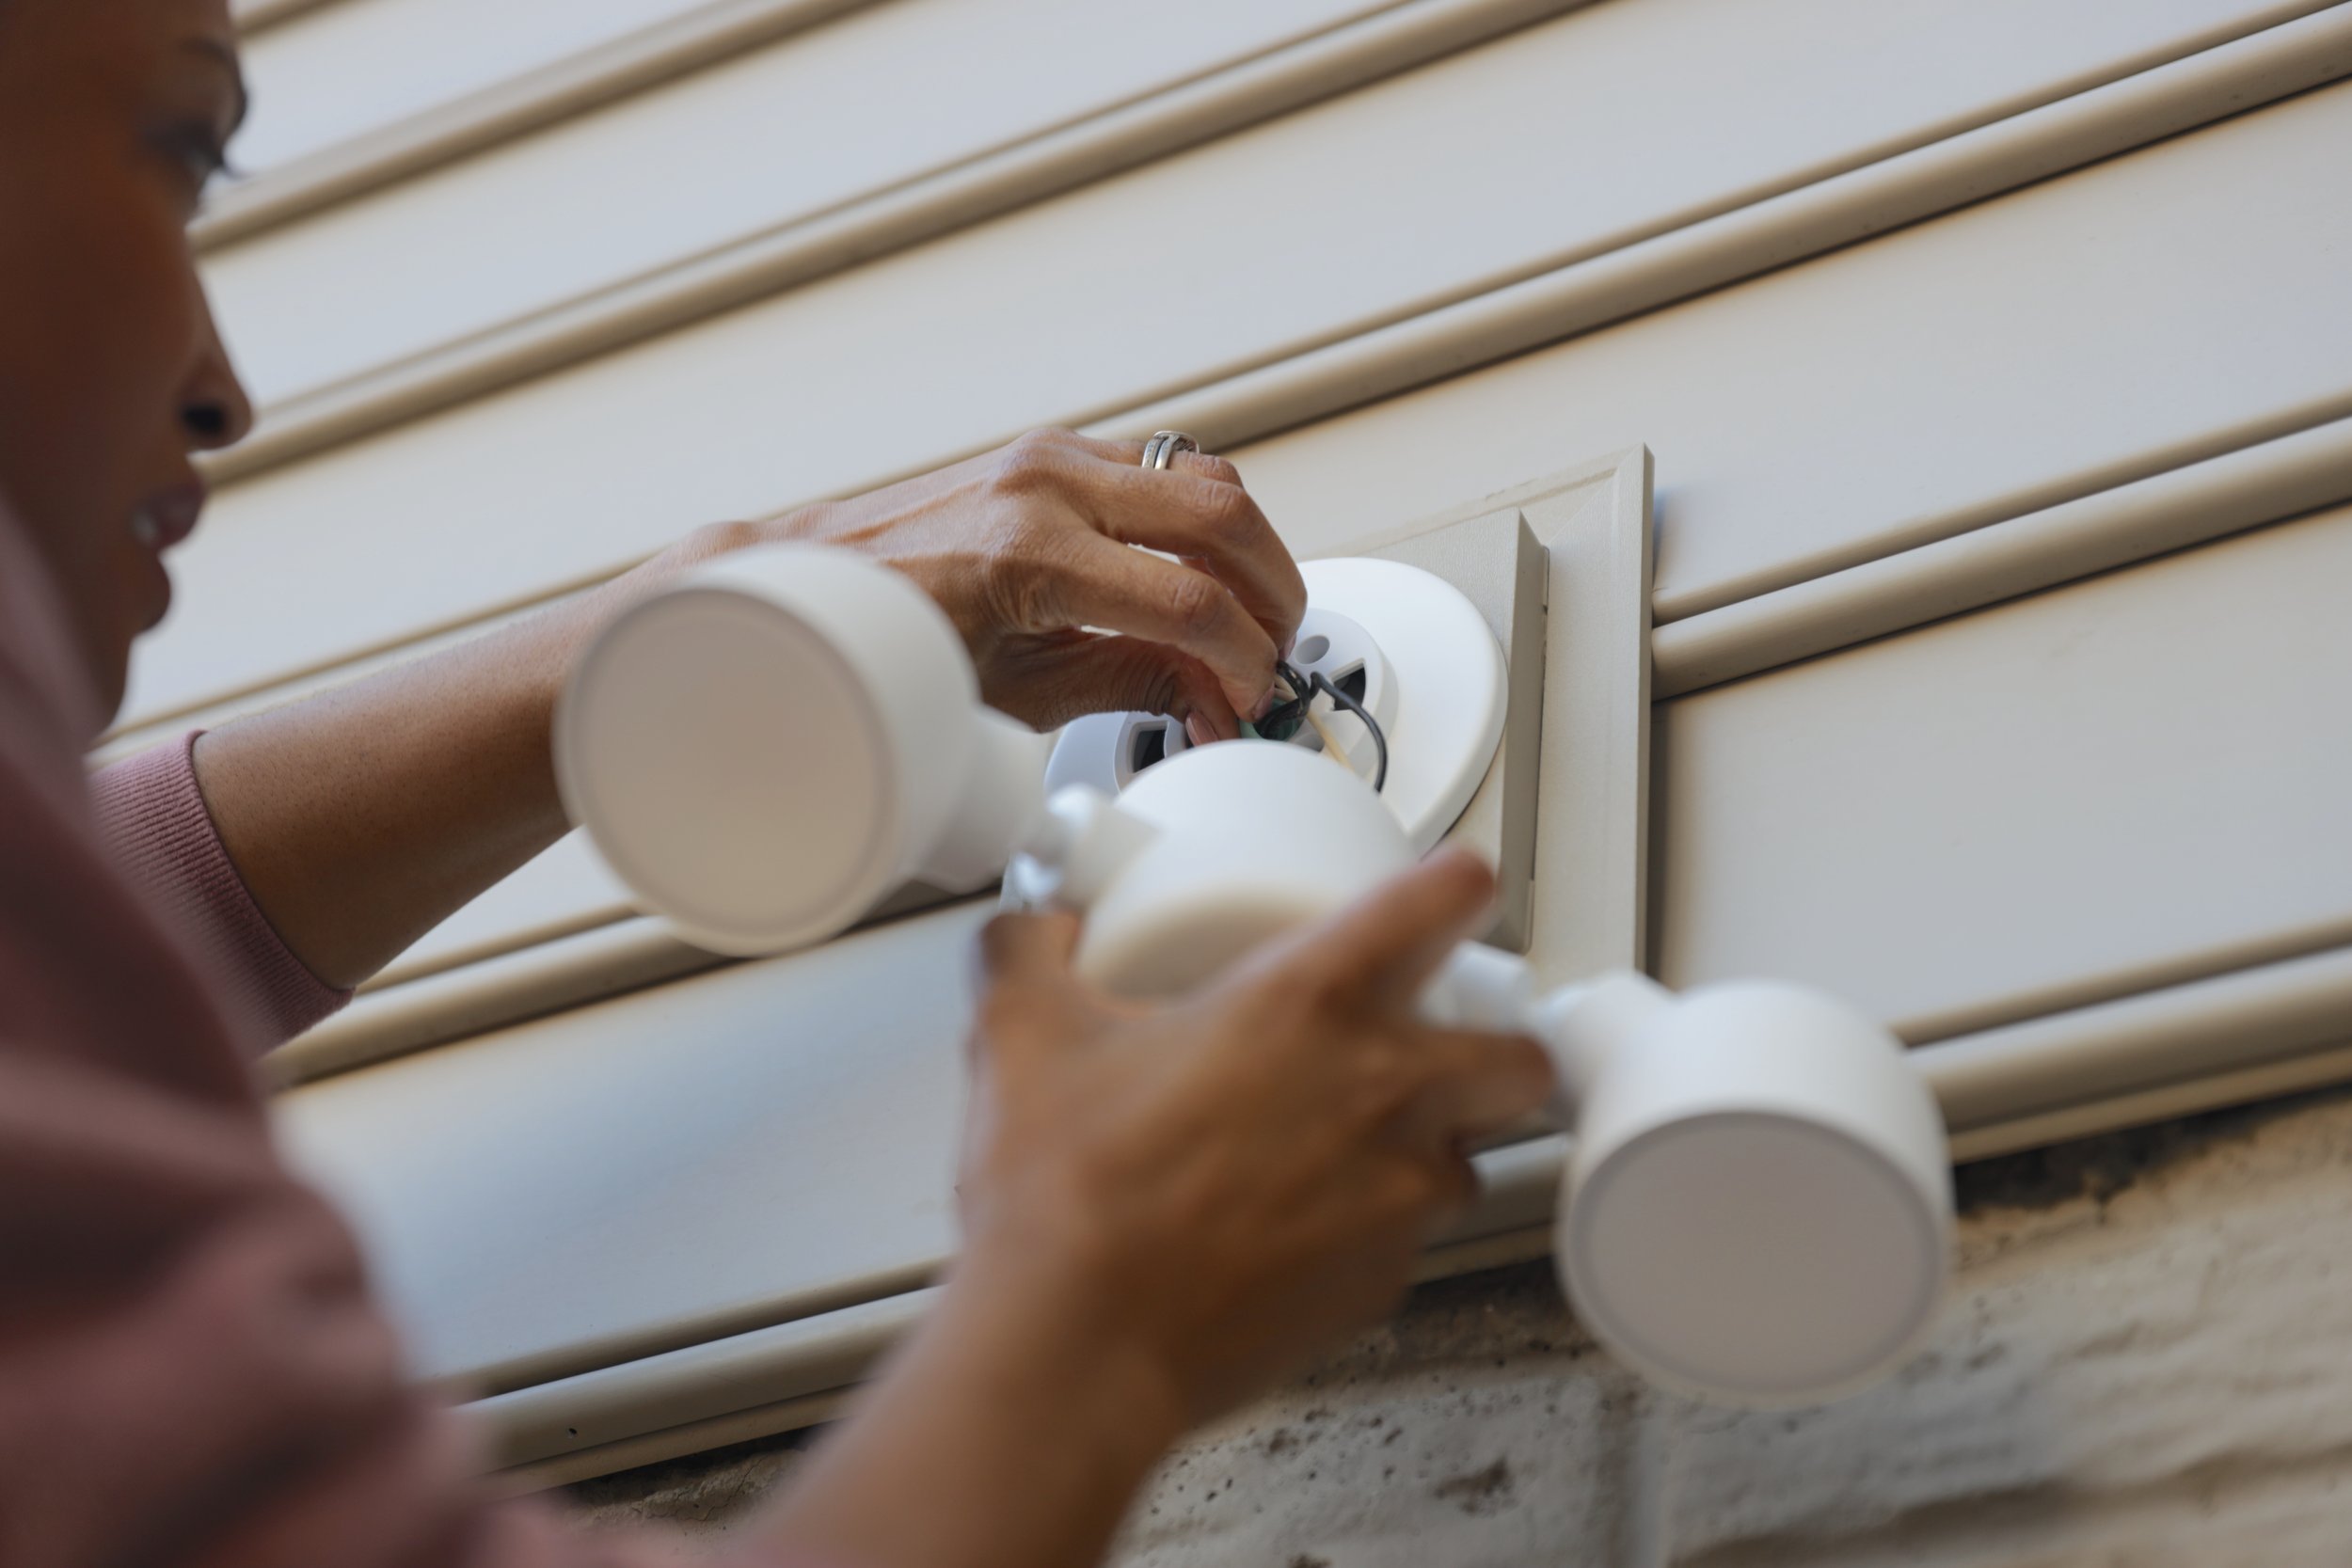
How to Install:
You’ll need to install the Nest Cam with Floodlight in a place where there’s already wiring for an existing floodlight.
Download the Google Home app.
Scan the QR code on the Nest Cam with Floodlight in the Google Home app.
Next, follow the instructions in the Google Home app on how to remove your old floodlight.
Turn off the power to your old floodlight via your home breaker first.
To start the installation process, connect the green grounding wire included to the existing grounding wire.
Pull the wires through the ground box, then secure the mounting plate to the wall by screwing it in.
Place the cover over the mounting plate with the blue arrow and G facing up. Once you hear a click, screw it in to secure it.
Connect the floodlight wires with the home wires by connecting by white wire with white wire, then black wire to black wire. Push the wires back through the cover and into the junction box.

10. Position the floodlight over the cover. Twist counterclockwise to align the clips with the holes, push, then twist clockwise to set in place. You’ll hear a click when it’s set.
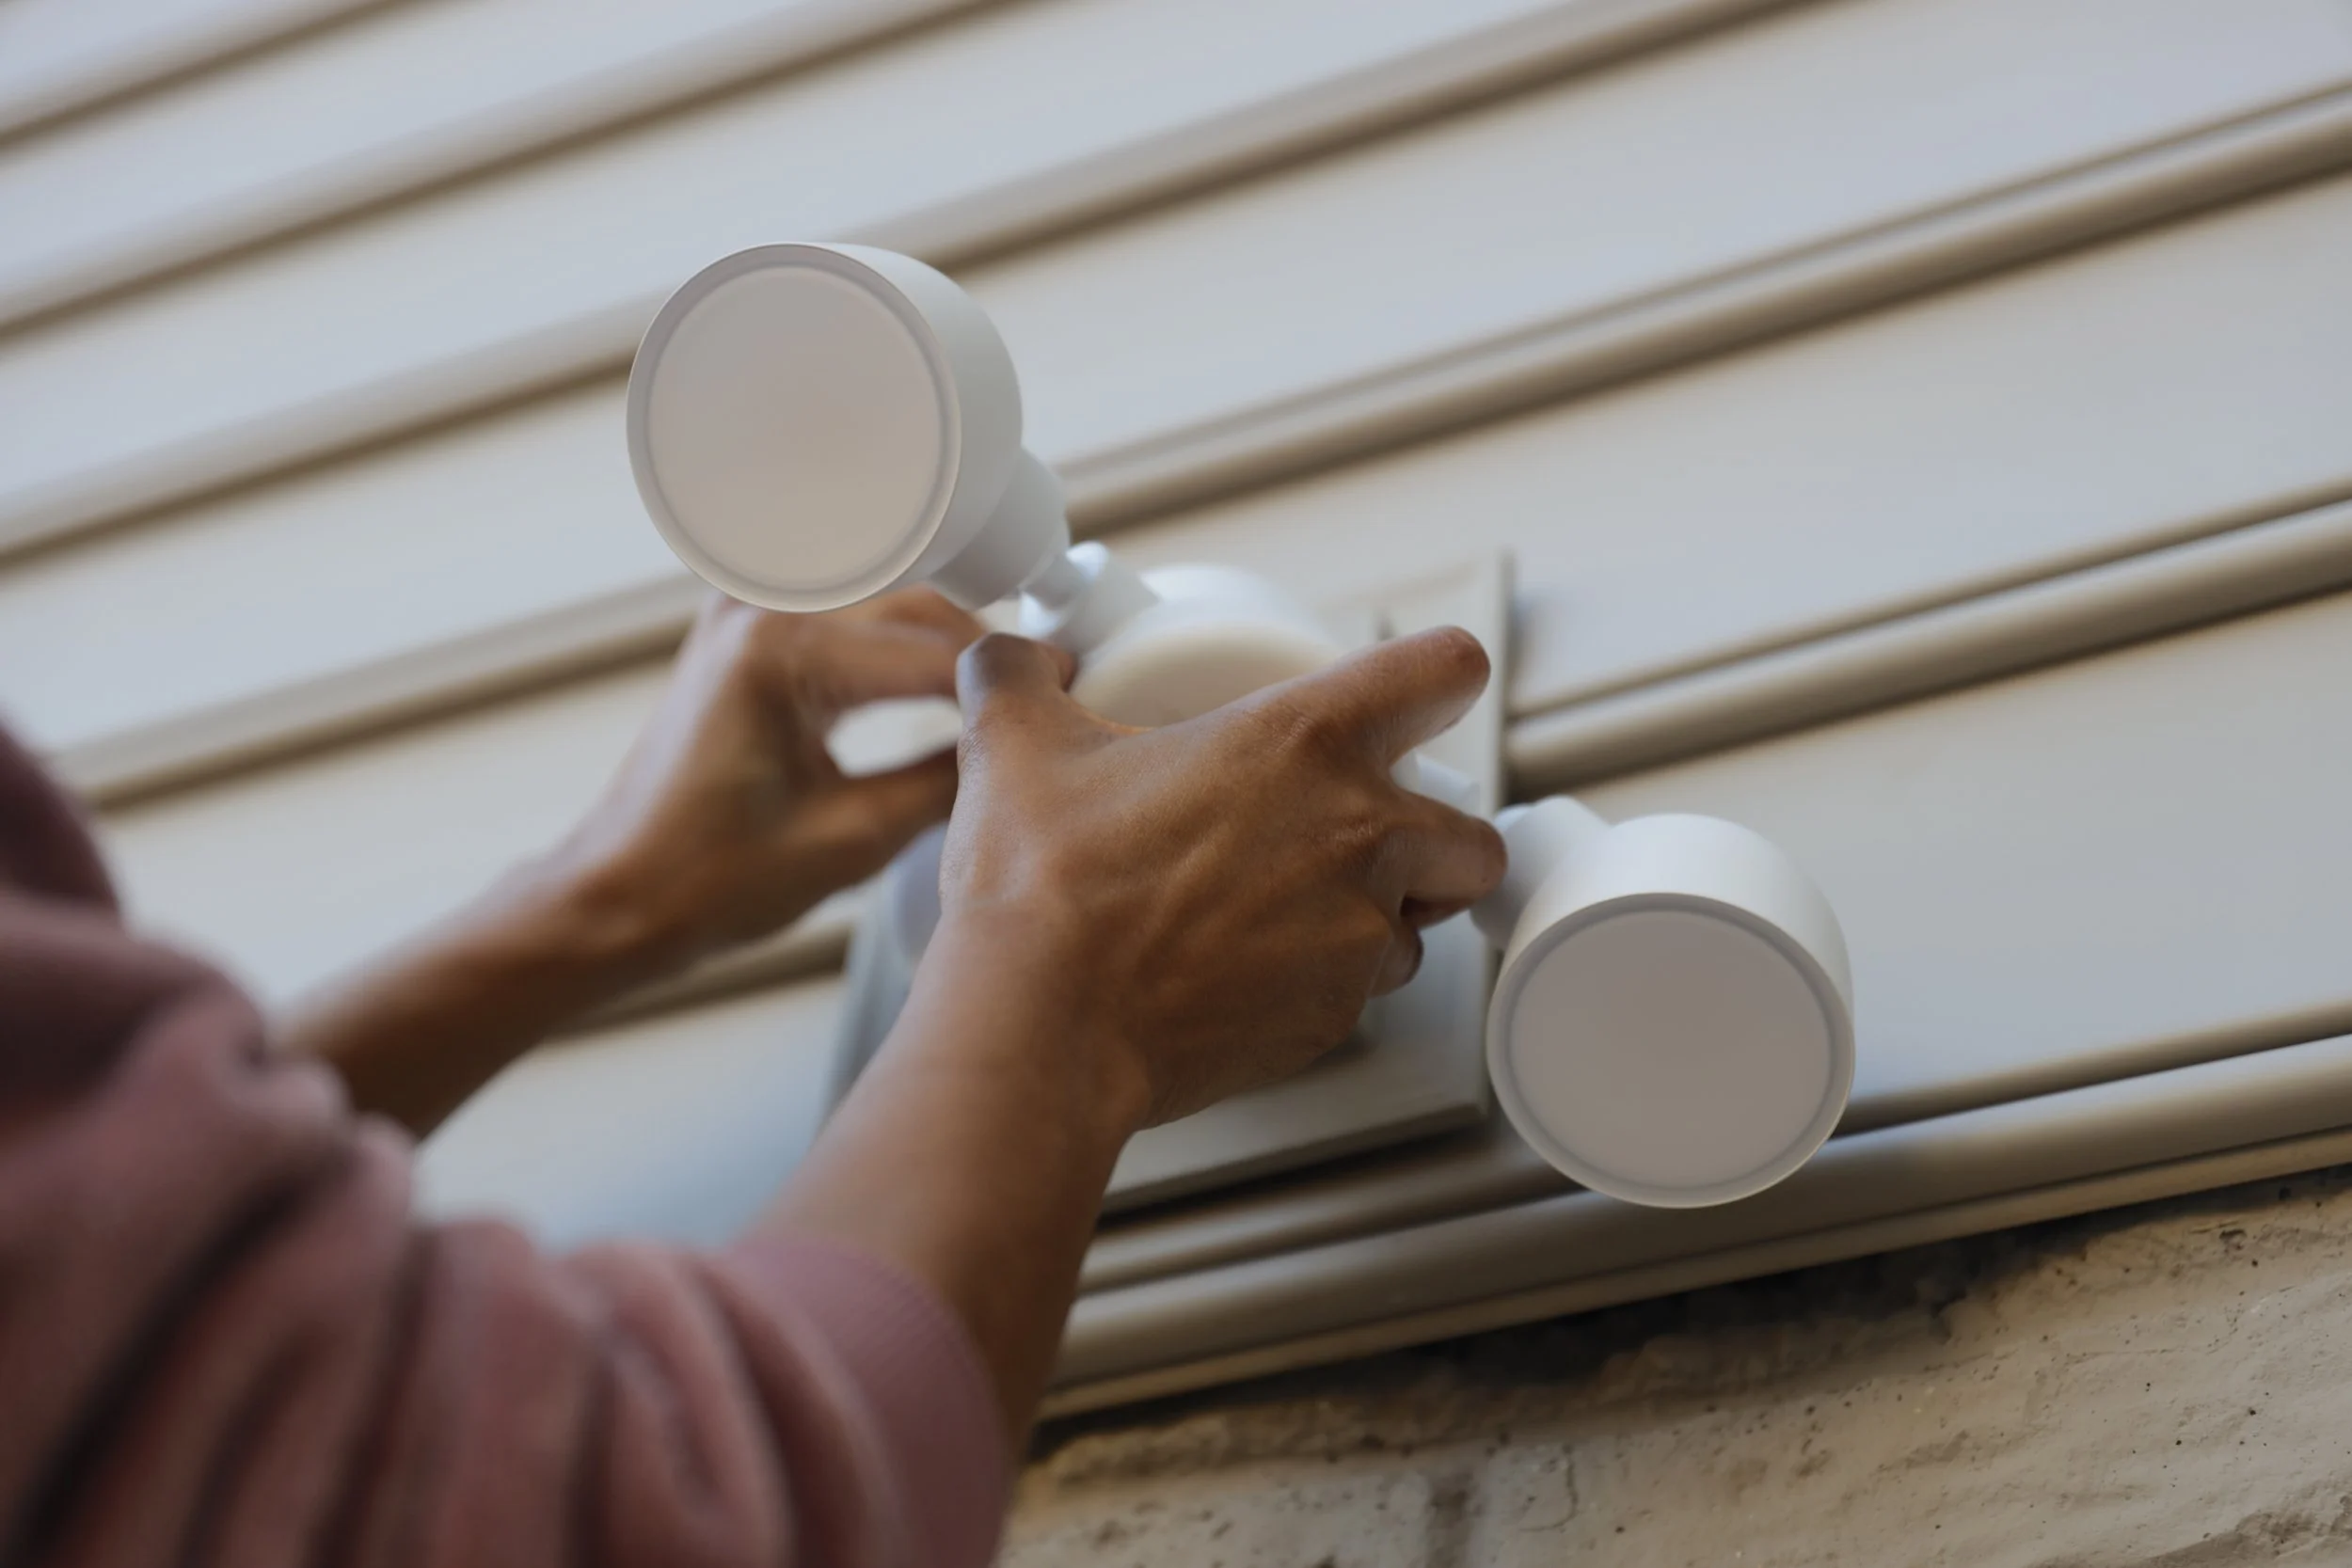
11. Connect the power cable to the camera and mount the camera to the magnetic plate on the floodlight.

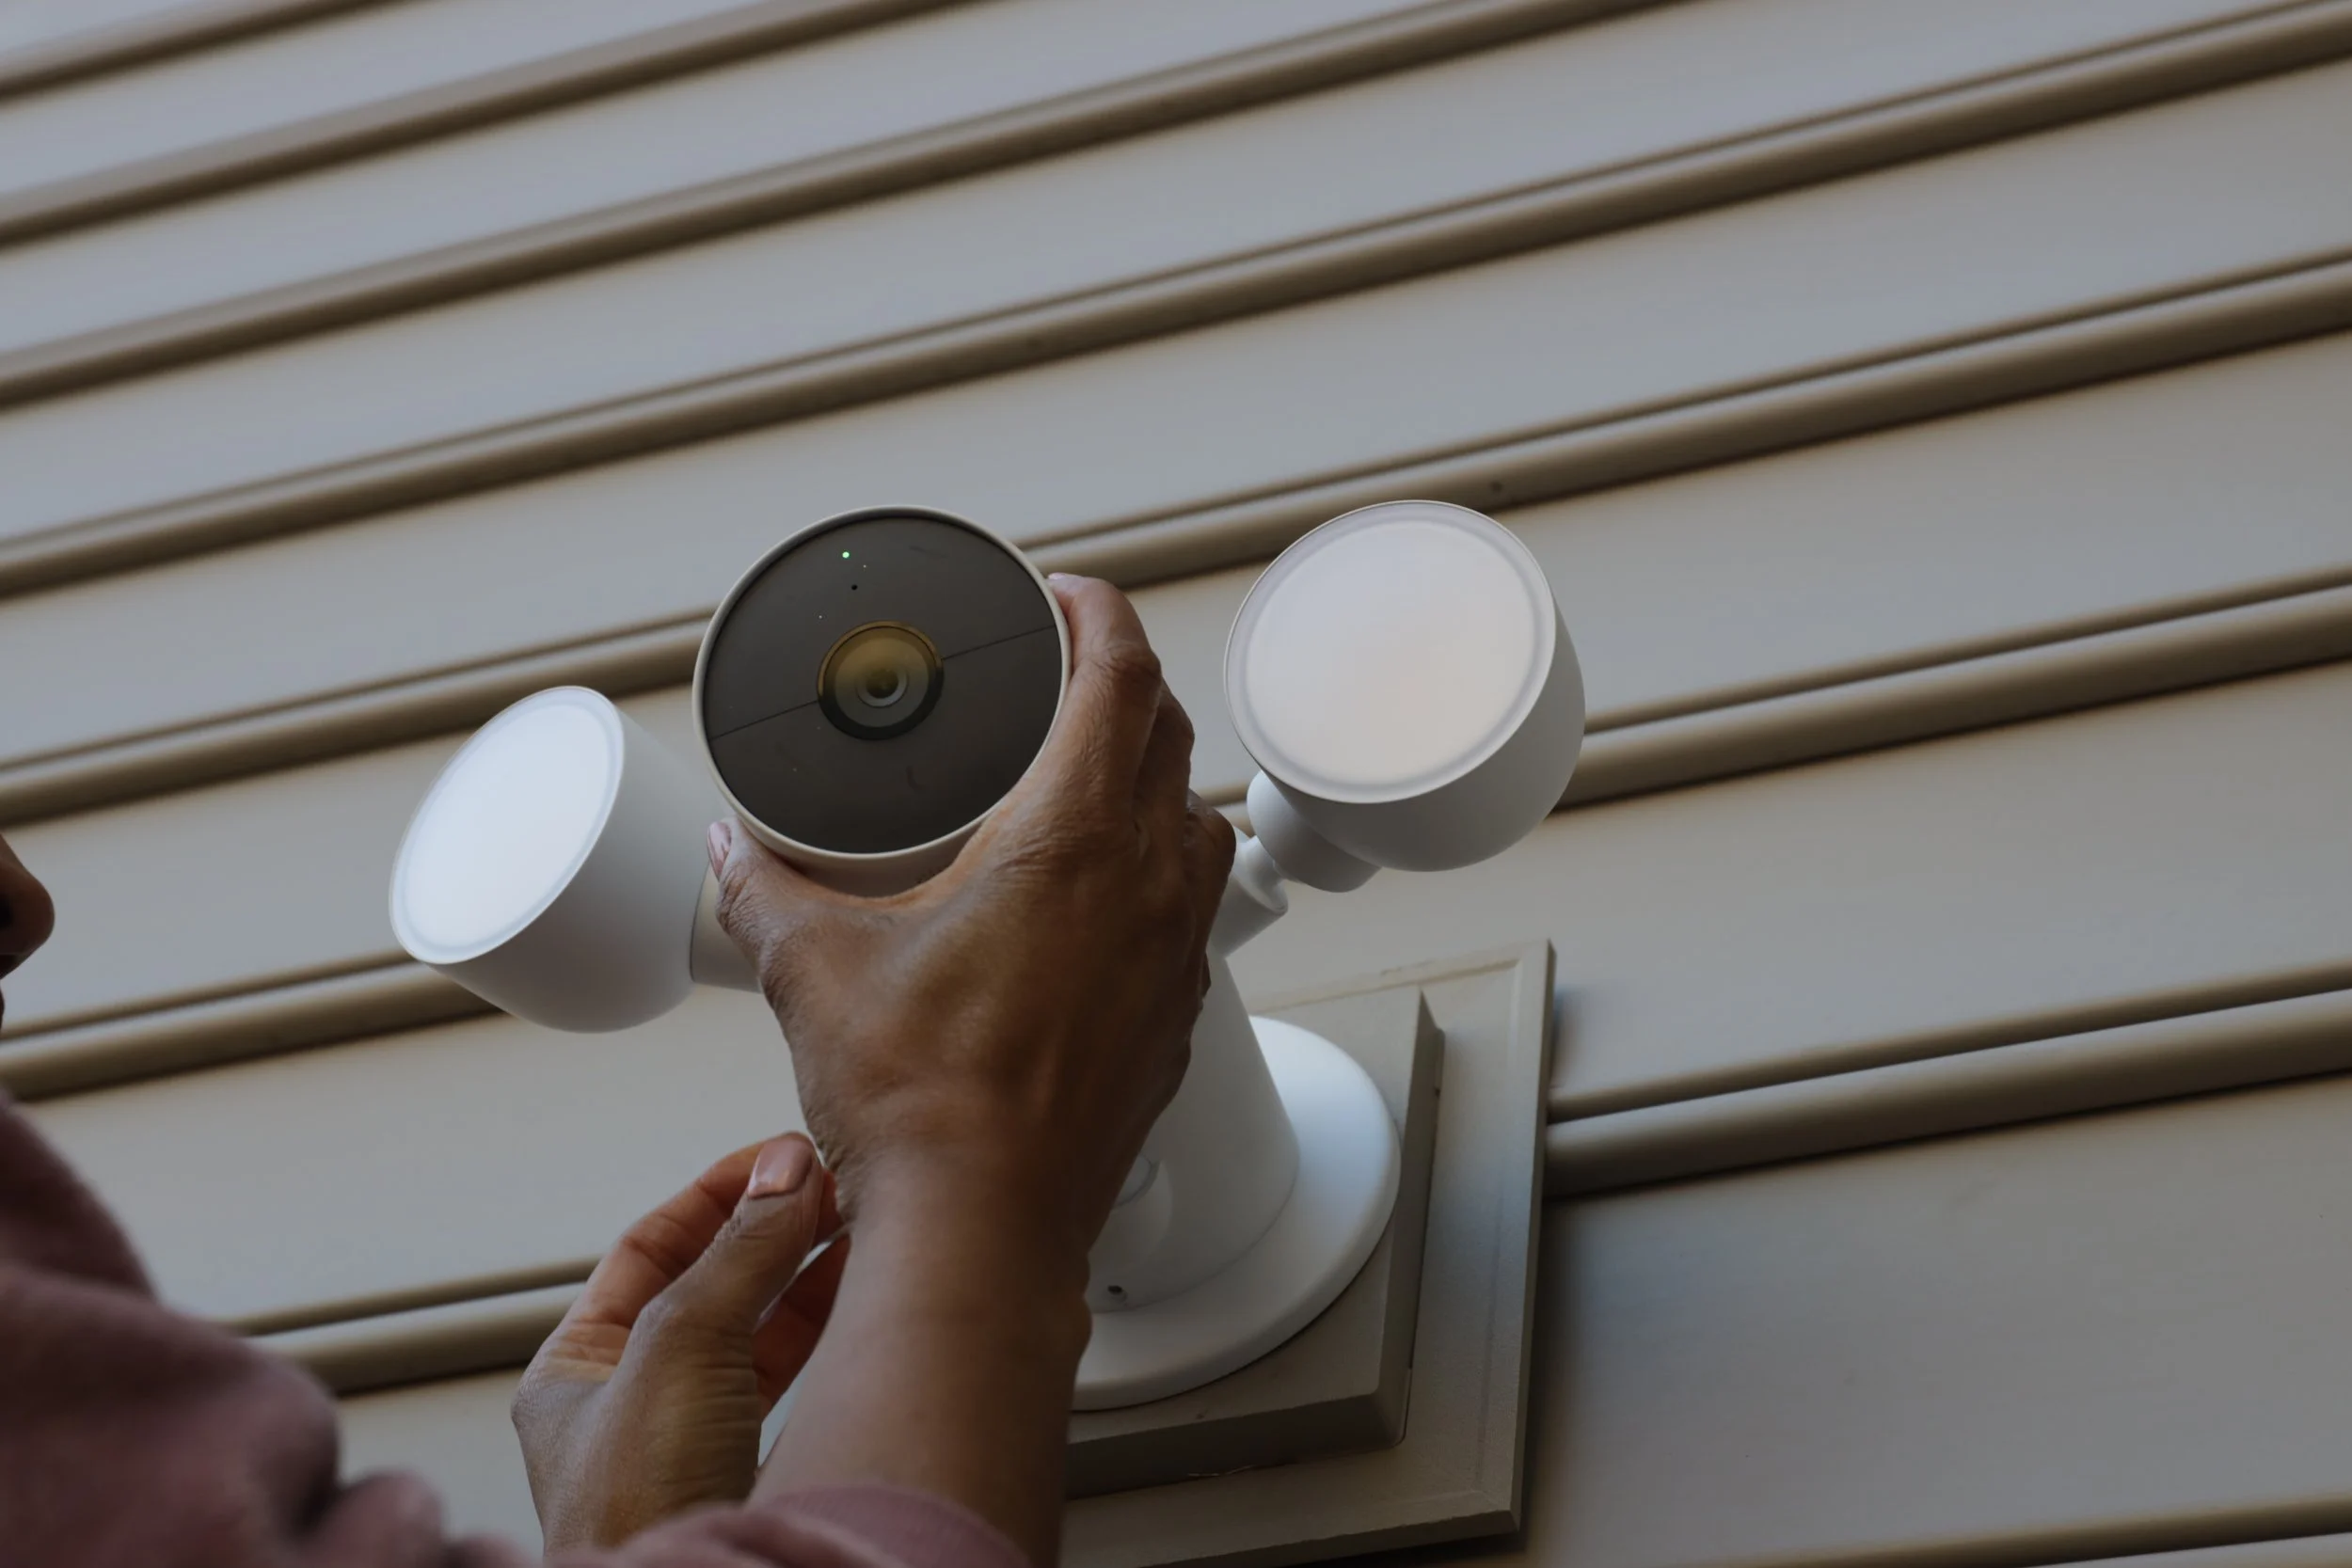
12. Turn the power back on. The floodlight will light up and the camera will blink blue to let you know that it’s working.
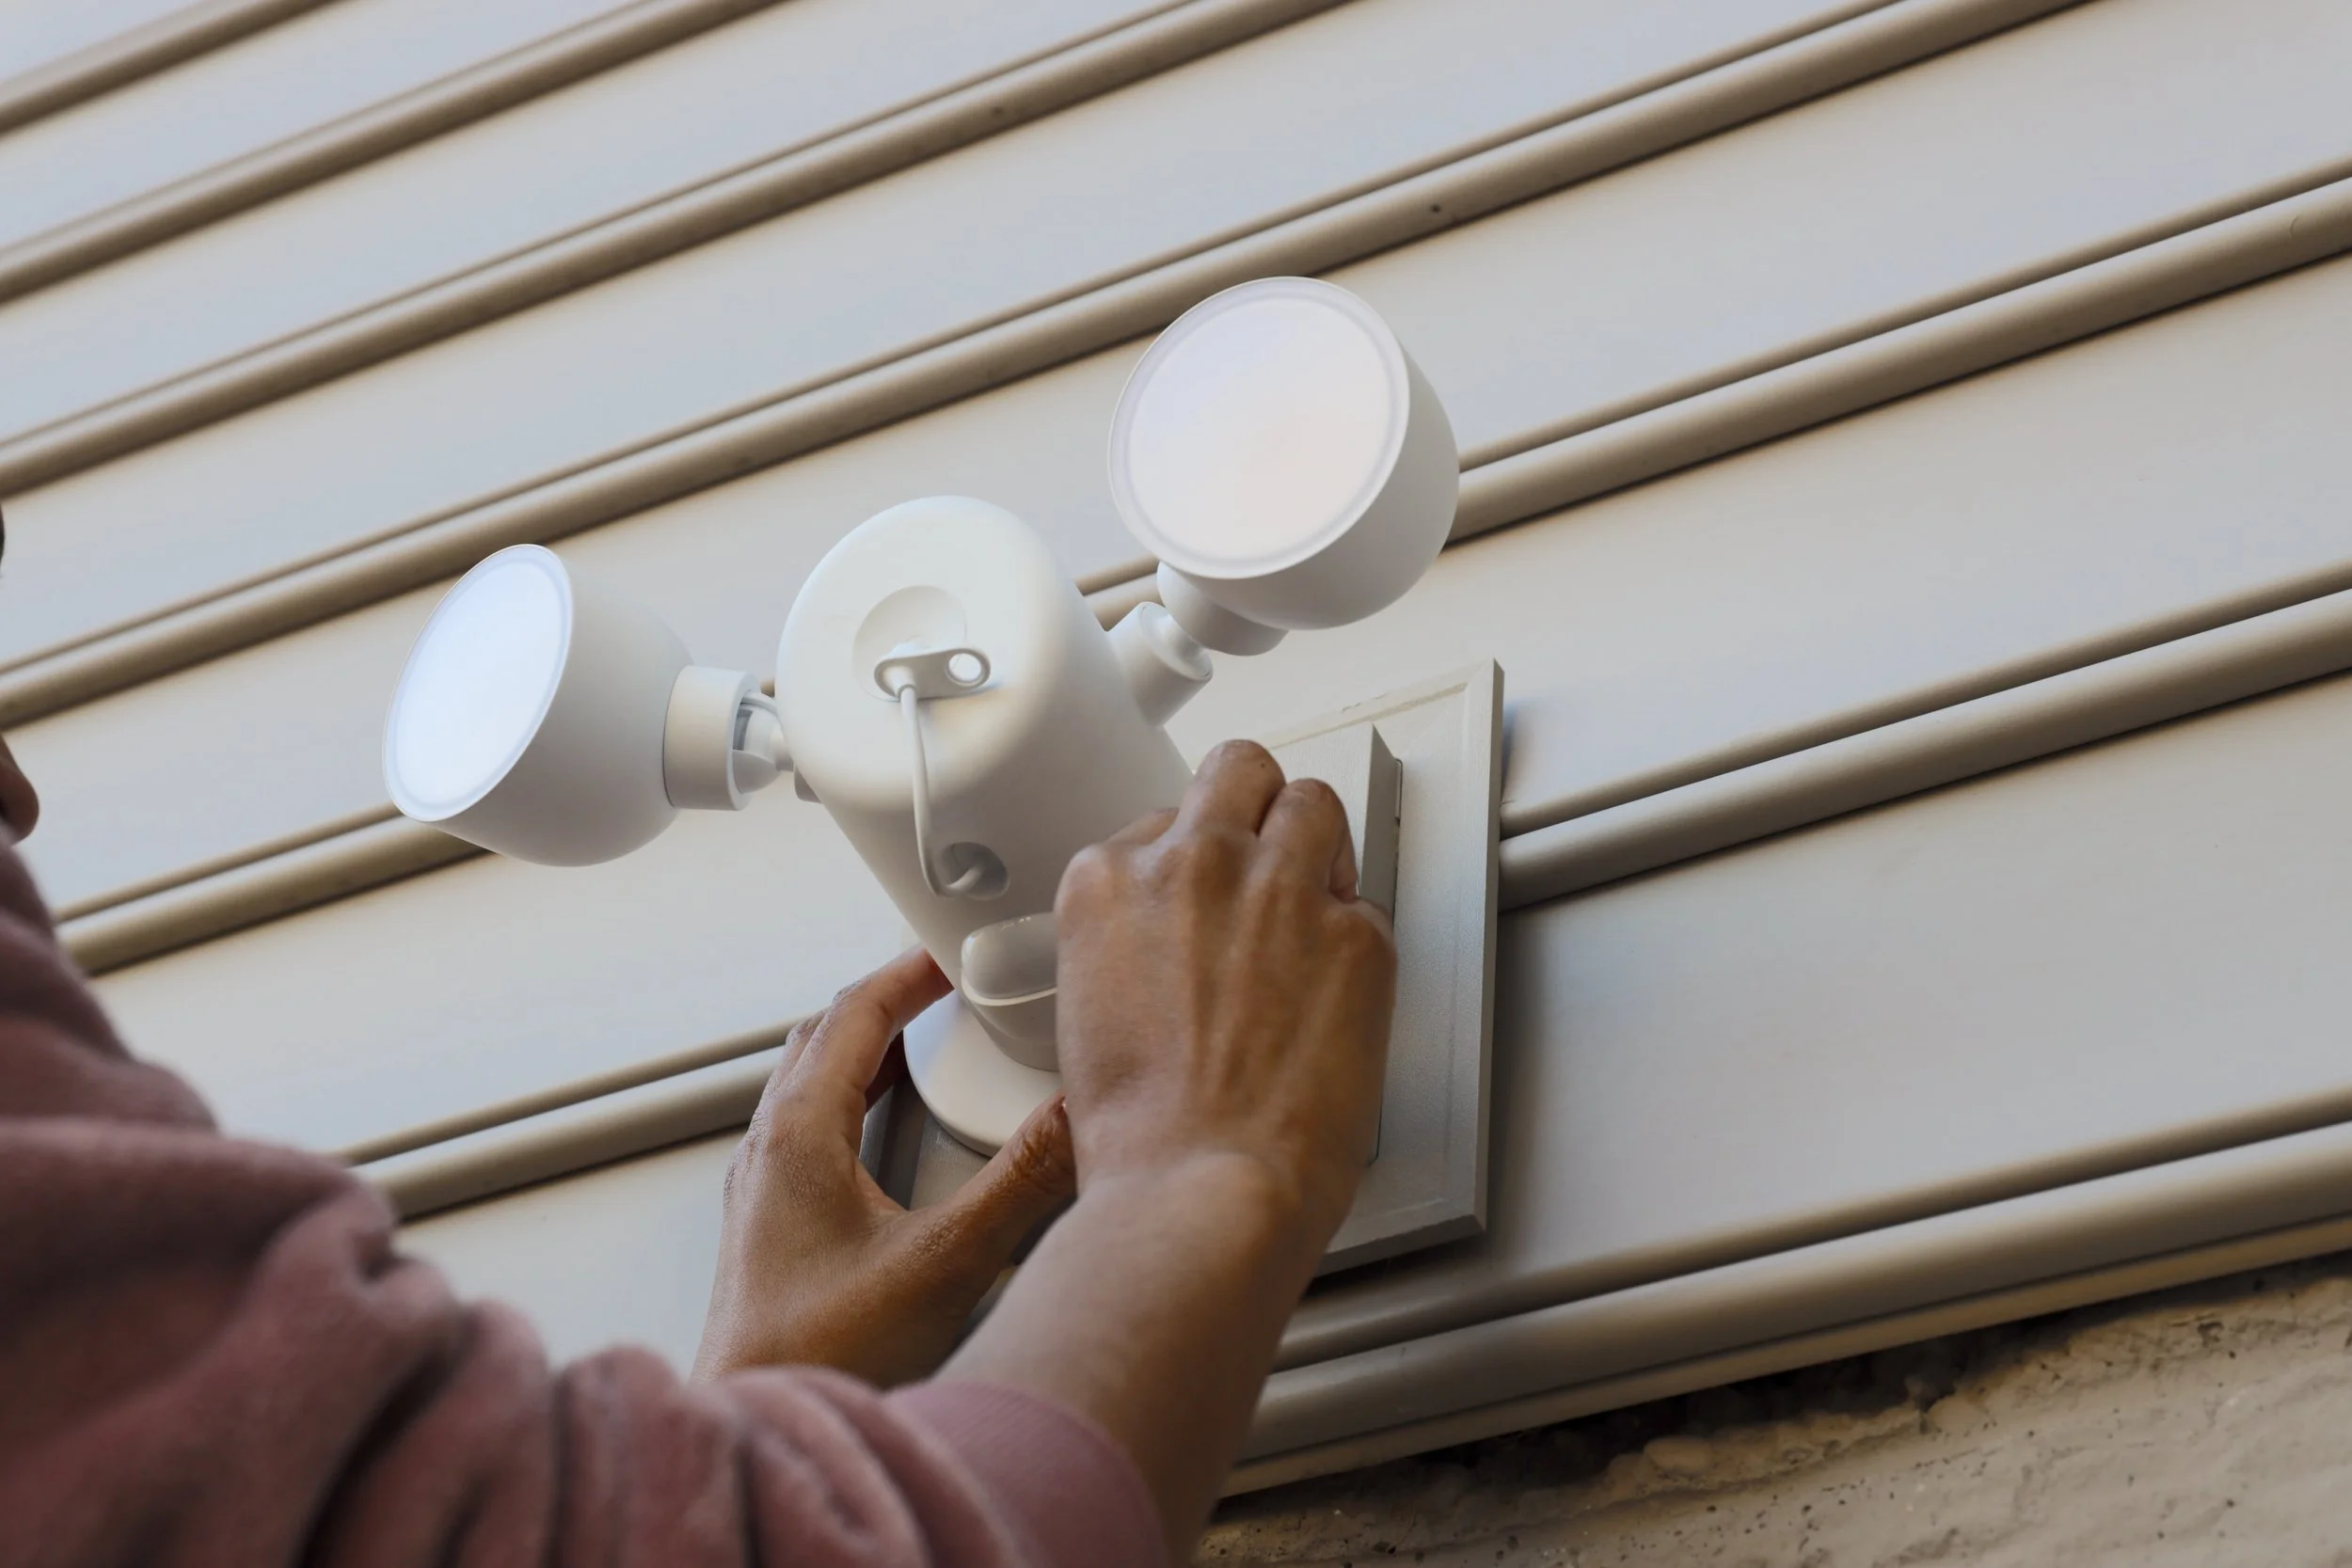
13. Position the lights where you want them, then twist the knobs to secure.
14. Use the hex key provided to secure the floodlight and camera with the anti-theft screws.
15. Connect the Nest Cam with Floodlight to your Wi-Fi network, and finish setting up in the Google Home app.
As you can see, Hailey loves how much smarter and more secure the Google Nest Home Security products have made our home too!
*Google Nest, Google Nest Cam, and Google Nest Doorbell are trademarks of Google LLC.
**This post contains affiliate links, which means that I may receive a small commission if you decide to purchase any of the products listed.